
Dishwashers have become an essential appliance in modern kitchens, offering a convenient and time-saving solution for maintaining cleanliness and organization. An adequately installed dishwasher improves your kitchen’s efficiency and reduces the time spent on manual dishwashing.
Learning how to install a dishwasher on your own can save you the expense of professional installation while also allowing you to customize the setup best to fit your kitchen’s layout and unique needs.
This article provides a comprehensive, step-by-step guide to installing a dishwasher. From gathering the necessary tools to preparing the space and completing the installation process, we aim to make the task straightforward and manageable for DIY enthusiasts.
With clear instructions and practical tips, this guide will empower you to install your dishwasher confidently, ensuring a functional and seamless addition to your kitchen.
Materials and Tools Needed
The right materials and tools are crucial for a successful dishwasher installation. Before starting the process, gather everything you need to ensure a smooth and efficient setup.
Essential Materials
- New dishwasher unit
- Dishwasher installation kit (usually includes hoses, clamps, and fittings)
- Water supply hose (if not included with the dishwasher)
- Drain hose (if not included with the dishwasher)
Tools You’ll Need
- Adjustable wrench – For tightening connections securely.
- Screwdrivers (Phillips and flathead) – To fasten screws and secure components.
- Level – To ensure the dishwasher is properly aligned and stable.
- Pipe insulation tape – To prevent leaks and protect connections.
- Plumbers’ tape or Teflon tape – To seal threaded plumbing connections and avoid leaks.
- Pliers – For gripping and turning fittings or wires.
- Utility knife – To trim materials such as hoses or insulation tape.
- Drill – Useful for drilling holes in cabinetry if routing hoses or other components require additional clearance.
These materials and tools will help streamline the installation process, minimizing interruptions and ensuring the dishwasher is securely and correctly installed.
Preparing for Dishwasher Installation
Step 1: Shut Off the Water Supply
Begin by locating the water supply valve under the sink. Please turn it off completely to stop the flow of water and avoid any potential leaks during the installation process. This precaution is crucial to ensure a safe and clean workspace.
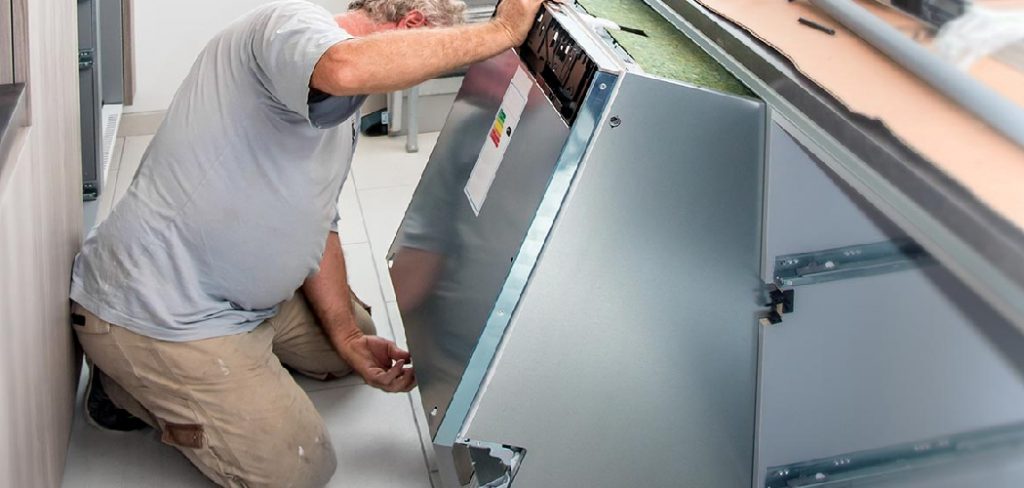
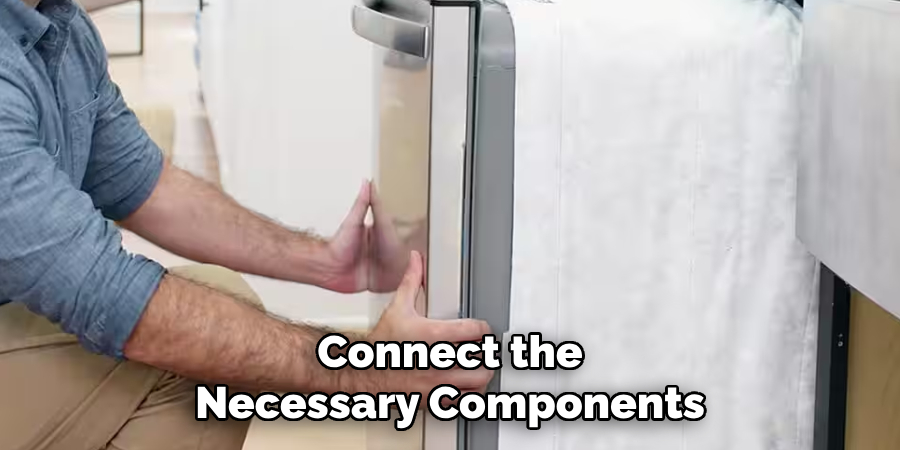
Step 2: Prepare the Installation Space
Measure the dimensions of the area under the countertop where the dishwasher will be installed to confirm that it meets the appliance’s size requirements. Clear the space of any obstacles, such as cabinet doors, drawer fronts, or other items that may hinder installation. Ensuring a clean and accessible area will make it easier to position the dishwasher properly and connect the necessary components.
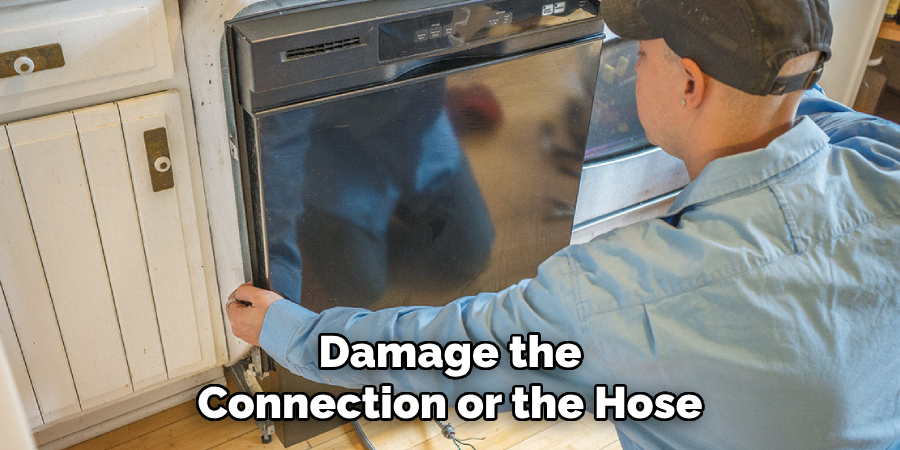
Step 3: Disconnect the Old Dishwasher (If Replacing)
If you are replacing an existing dishwasher, start by turning off the old unit’s water and electrical supply. Next, disconnect the water supply line, drain hose, and any wires connected to the appliance. Carefully slide the old dishwasher out of its space. Keep these disconnections orderly, as they may guide the new unit’s installation steps.
How to Install a Dishwasher: Connecting the Water Supply
Step 1: Attach the Water Supply Hose
Begin by connecting the water supply hose to the dishwasher’s inlet valve. Ensure the connection is tight and secure by wrapping plumbers’ tape around the threads of the inlet valve before attaching the hose. This will help create a leak-proof seal and prevent any water escaping during operation. Be sure to follow the manufacturer’s instructions for proper alignment and connection of the hose to avoid damaging the valve or the hose.
Step 2: Connect the Water Line to the Sink
Next, attach the water line from the dishwasher to the shutoff valve located beneath the sink. This is typically a connection on the cold water supply line. Position the water line carefully to prevent kinks or twists that could restrict the water flow. Using an adjustable wrench, tighten the fitting at the shutoff valve securely but avoid over-tightening, as this could damage the threads or fittings.
Step 3: Test for Leaks
Once all connections are in place, turn on the water supply to test for leaks. Check all connection points, including the inlet and shutoff valves, to ensure no dripping or pooling water. If you notice any leaks, turn off the water supply and tighten the connections further or reapply plumbers’ tape as needed. Repeat the process until all connections are watertight. Verifying this step is key to preventing future issues and ensuring your dishwasher operates efficiently.
Installing the Drain Hose
Step 1: Attach the Drain Hose to the Dishwasher
Connect one end of the drain hose to the dishwasher’s drain outlet. Locate the drain outlet on the back of the dishwasher, typically near the bottom. Slide the hose securely onto the outlet and fasten it in place using a hose clamp. Ensure the clamp is tightened enough to hold the hose in place, but avoid over-tightening, which could damage the connection or the hose.
Step 2: Connect the Drain Hose to the Sink Drain or Garbage Disposal
Attach the other end of the drain hose to the sink drain or the garbage disposal’s dishwasher port. First, verify that the dishwasher port on the garbage disposal is adequately knocked out if it hasn’t been used before. Slide the hose over the port and secure it with a hose clamp to ensure a watertight connection.
If you connect the hose to a sink drain, attach it to the branch fitting using the same method. Ensure the hose forms a loop above the connection point to prevent backflow during operation.
Step 3: Test the Drainage
Turn on the dishwasher and run a short cycle to test the drainage system. Watch for any leaks around the dishwasher, sink drain, or garbage disposal connections. Correct any leaks by adjusting the clamps or ensuring the hose is fully seated.
Additionally, confirm that the hose is positioned correctly to prevent any siphoning effects, ensuring that wastewater drains efficiently and doesn’t flow back into the dishwasher. This step is critical for maintaining smooth and effective operation.
Electrical Connections
Step 1: Ensure the Power is Off
Turn off the power supply at the circuit breaker to avoid any electrical hazards while handling the dishwasher’s electrical connections. This step is crucial for safety and ensures that no live wires are exposed during the process. Double-check that the power is fully off before proceeding.
Step 2: Connecting the Dishwasher to the Power Supply
Depending on the model of your dishwasher, you may need to connect the appliance directly to the house’s electrical supply or plug it into a designated outlet. If the dishwasher uses a hardwired connection, carefully connect the dishwasher’s power wire to the corresponding house electrical wires, typically black to black (hot), white to white (neutral).
Use wire nuts to secure each connection tightly, then wrap them with electrical tape for added safety and to prevent any wire slippage. If your dishwasher plugs into an outlet, ensure the outlet is adequately rated for the appliance and positioned conveniently.
Step 3: Attach the Ground Wire
Locate the dishwasher’s ground wire, which is usually green or bare copper. Connect this wire to the house ground wire or the grounding screw provided in the junction box. This grounding connection is essential as it reduces the risk of electrical malfunctions and enhances overall safety by preventing the buildup of static electricity or stray currents.

Step 4: Test the Power Supply
Once all connections are secure, turn the circuit breaker back on to restore power. Test the power supply by running a short dishwasher cycle. Pay attention to ensure the appliance powers on and operates as expected, confirming that the connections were made correctly. If you encounter any issues, turn the power off again to inspect the connections.
Securing the Dishwasher in Place
Step 1: Leveling the Dishwasher
Use a level to ensure the dishwasher is even and properly aligned in the cabinet space. Begin by adjusting the leveling legs at the appliance’s bottom corners. Turn the legs clockwise or counterclockwise as needed until the dishwasher sits evenly.
Proper leveling is crucial, as an uneven dishwasher can cause poor performance, including improper draining or increased noise during operation. Double-check your adjustments with the level and make sure there is no wobbling.
Step 2: Securing the Dishwasher to the Cabinet
Once the dishwasher is level, secure it to the underside of the countertop using screws. Most dishwashers come equipped with mounting brackets located at the top or sides, depending on the model.
Align the brackets with the underside of the countertop and carefully fasten them using the provided screws. Ensure that the dishwasher is tightly secured to prevent it from shifting or moving during operation, which could disrupt its performance or damage surrounding areas.
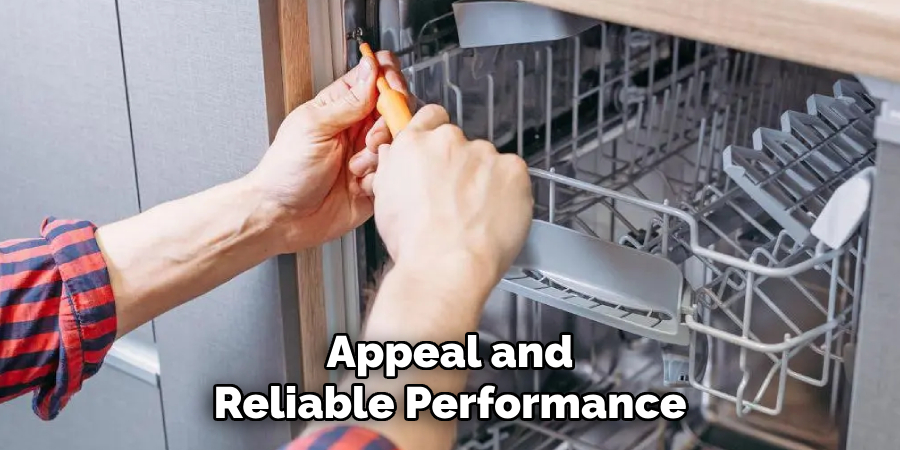
Step 3: Final Check for Alignment
After securing the dishwasher, perform a final check to ensure proper alignment. Open and close the dishwasher door to confirm it operates smoothly without obstruction. Verify that the appliance is flush with the surrounding cabinetry for a seamless fit. Taking time for this final alignment ensures both aesthetic appeal and reliable performance.
Final Testing and Adjustments
Step 1: Test for Leaks and Drainage
Run the dishwasher through a short cycle to ensure there are no leaks around the water and drain connections. Carefully inspect the area beneath the dishwasher and around the connections for any signs of dripping water. Pay close attention to the water inlet and drain hose to confirm they are securely fastened and functioning as intended. Resolving any leakage early prevents potential water damage to your cabinetry and flooring.
Step 2: Adjust Any Settings or Connections
If issues arise during the test cycle, make necessary adjustments to the water supply or drainage connections. Ensure the hoses are correctly aligned and not kinked or twisted. Check the dishwasher settings to confirm they are appropriate for your plumbing system’s pressure and flow. Small adjustments can make a big difference in ensuring optimal performance and preventing long-term operational problems.
Step 3: Check for Proper Functionality
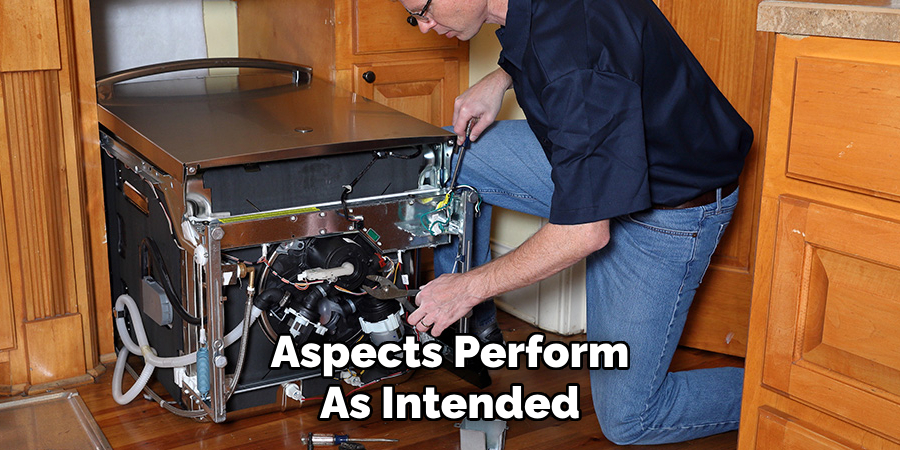
After confirming no leaks or connection issues, run a full cycle with dishes loaded to test the dishwasher’s functionality. Observe its noise level during operation to ensure it runs quietly and efficiently. Check that the dishes come out clean, confirming the appliance is working as expected. Your dishwasher is ready for regular use if all aspects perform as intended.
Conclusion
Installing a dishwasher is a straightforward process if you follow the right steps. From connecting the water supply and drain hose to securing the electrical connections and mounting the appliance, each task is crucial in ensuring proper functionality.
Performing final tests to check for leaks, alignment, and cleaning performance is equally important for a successful installation. Always double-check your connections to avoid potential issues down the line.
A final tip for “How to install a dishwasher”: if you’re not confident with electrical work, consulting a professional can ensure both safety and peace of mind throughout the process.
Professional Focus
Angela Ervin, a former interior designer turned blogger, specializes in kitchen design and renovations. Through her website, she blends her passion for cooking with design expertise, sharing practical and creative ideas. Known for balancing functionality and beauty, Angela’s insightful content has made her a trusted voice in home design and lifestyle.
About the Author
Angela Ervin, an experienced interior designer and blogger, combines her passion for kitchen renovations with storytelling. Living in Petersburg with her family, she enjoys cooking and testing her projects firsthand. Known for her humor and relatable style, Angela shares creative, functional design insights through her content, making her a trusted voice in home design.
Education History
University: Virginia Commonwealth University
Degree: Bachelor of Fine Arts (BFA) in Interior Design
- Angela’s education at VCU focused on mastering core interior design principles, including spatial planning, color theory, materials selection, and sustainable design practices.
- She gained hands-on experience through studio projects and collaborative design exercises, which honed her ability to create functional and aesthetically pleasing environments.
- Her coursework also emphasized problem-solving and practical applications of design, preparing her for real-world projects like her self-directed kitchen renovations.
- The program’s strong foundation in both technical skills and creative expression shaped Angela’s ability to seamlessly integrate form and function in her work.