
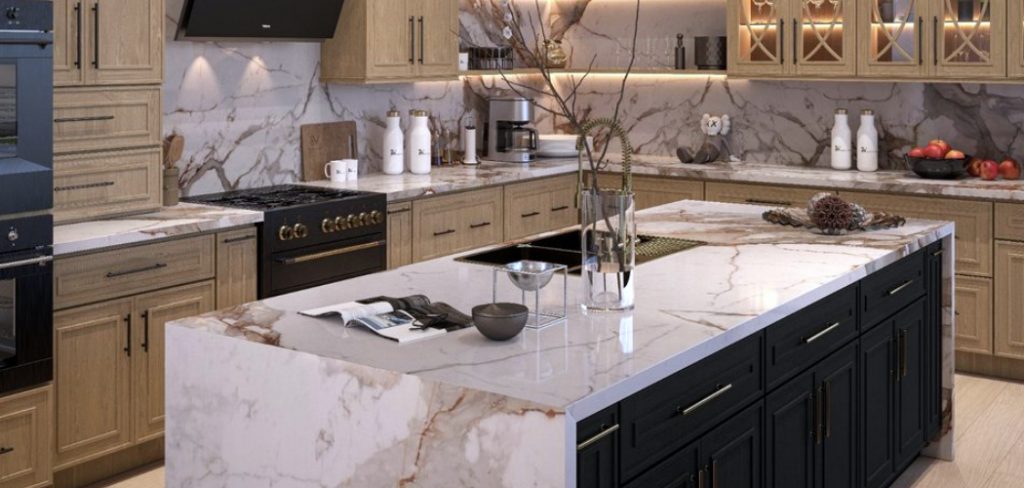
Marble countertops are a timeless and elegant choice for enhancing the aesthetic appeal of any kitchen or bathroom. Known for their durability and natural beauty, marble surfaces add a touch of sophistication to your space. Installing marble countertops might seem like a daunting task, but with the right tools, preparation, and guidance, it can be a manageable and rewarding project. This guide will walk you through the steps of how to install marble countertops.
Why Marble Countertops Are a Timeless Choice
Marble countertops have been a symbol of elegance and refinement for centuries, gracing everything from ancient architecture to modern interiors. One of the reasons for their enduring appeal is their unique natural veining, which gives each countertop its own distinct character and beauty. This one-of-a-kind pattern ensures that no two marble surfaces are exactly alike, adding a personalized touch to any room. Additionally, marble is a highly durable material, resistant to heat, which makes it ideal for kitchens and bathrooms.
Its classic appeal transcends fleeting trends, allowing it to seamlessly complement both traditional and contemporary design styles. By choosing marble countertops, you’re investing in a material that not only enhances the value of your home but also stands the test of time in both form and function.
Planning and Preparation
Before starting the installation process, careful planning and preparation are essential to ensure a successful outcome. Begin by measuring the dimensions of your countertop area accurately. Use a tape measure to determine the length, width, and depth, accounting for any overhangs or cutouts needed for sinks and appliances. Once measurements are complete, select a marble slab that fits these dimensions and complements your design aesthetic.
Next, gather all necessary tools and materials, such as a marble saw, level, adhesive, clamps, and a sealant. It’s also critical to inspect the marble slab for any cracks, chips, or imperfections before installation. If possible, dry-fit the slab to ensure it aligns properly with the countertop area. Additionally, enlist the help of another person, as marble is heavy and may require multiple people to handle and position it safely. By taking the time to plan and prepare, you’ll set the foundation for a smooth and efficient installation process.
10 Methods How to Install Marble Countertops
1. Measure and Plan the Layout
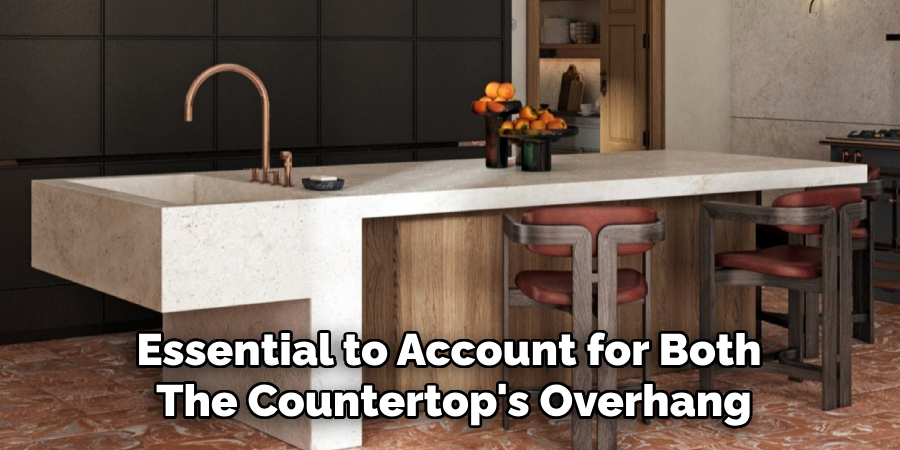
Before you even begin installing your marble countertops, proper measurements are crucial. Start by measuring the dimensions of the area where you plan to install the countertop, including the length, width, and any cutouts for sinks, stovetops, or faucets. It’s essential to account for both the countertop’s overhang and the thickness of the marble slab, as these factors affect the final fit. Plan the layout by determining the positioning of seams and how the marble slabs will be arranged to ensure the natural veins and patterns flow harmoniously. A template made of cardboard or plywood can be used to mock up the layout and ensure the best possible fit.
2. Order the Marble Slabs
Once you’ve taken accurate measurements and have planned your layout, it’s time to order the marble slabs. Ensure that the slabs you choose match your style and needs. Marble comes in a variety of colors and patterns, and it’s important to select the right one for your space. Work with a supplier to find slabs that are of sufficient size to cover your countertop area, keeping in mind the need for cutouts. Many suppliers will also offer to cut the slabs to your exact specifications, saving you time during installation. Verify that the slabs are free of defects, such as large cracks or chips, which could interfere with the installation process.
3. Prepare the Cabinets or Base for Installation
Before placing the marble countertop on the cabinetry or base, ensure that the cabinets are level and sturdy. A countertop can only be as stable as the structure it sits on, so if the cabinets are not level, you will need to adjust them. Use a level to check each section of the cabinet and make any necessary adjustments to ensure the surface is perfectly flat. Additionally, make sure the base is clean and free from debris, as even a small piece of dirt can affect the stability of the countertop. In some cases, additional bracing or reinforcement may be necessary if your cabinets are not adequately supportive of the weight of the marble.
4. Cut and Shape the Marble Slabs

Cutting and shaping the marble slabs is often best left to professionals due to the precision required. However, if you are handling this step yourself, ensure that you use the correct tools. A diamond blade saw is essential for cutting through marble efficiently and with clean edges. Wear proper safety gear, including goggles, gloves, and a dust mask, as cutting marble creates dust that can be harmful. Measure the cuts carefully, and be mindful of any patterns or veins in the marble that need to align across seams.
5. Install the Countertop in Sections
Because marble slabs are heavy and difficult to move, it’s often easier to install the countertop in sections. If your countertop is made up of several pieces, apply a thin layer of construction adhesive to the top of the cabinets to help secure the slabs in place. Carefully lift and position the first slab, ensuring it fits snugly against the wall and is properly aligned. Use suction cups or a helper to lift and place the marble to avoid damaging it during the process.
6. Join the Seams and Apply Epoxy

If your marble countertop consists of multiple slabs, you will need to join the seams. Start by applying a thin layer of epoxy resin along the seam. This helps to bond the slabs together and creates a strong connection. Once the resin is applied, carefully align the edges of the slabs, pressing them together firmly but gently to ensure a seamless connection. After the epoxy cures, use a sander or buffer to smooth out the seam, ensuring it’s level with the rest of the countertop. Pay attention to the veins in the marble, ensuring that they align as much as possible for a natural, cohesive look.
7. Secure the Marble with Adhesive and Support
Once the marble slabs are positioned correctly, apply adhesive to the edges of the countertop where the slabs meet the base or wall. This helps to secure the marble in place and prevents any shifting or movement. Use a silicone-based adhesive that is safe for marble to avoid damaging the surface. Additionally, it’s important to provide proper support for the marble, especially in areas that experience heavy use. You may need to add brackets or clips to support the overhangs or edges of the countertop to prevent the marble from cracking under pressure.
8. Install the Sink and Faucet Cutouts
Before you complete the installation, make sure to cut the appropriate openings for the sink, faucet, and other fixtures. Most marble slabs come pre-cut for standard sink sizes, but if custom cuts are needed, they can be made with a diamond blade or router. Ensure that the cuts are precise and smooth to allow for proper installation of the sink and faucet. If you are installing an undermount sink, apply a bead of silicone caulk around the edges of the cutout to seal it and prevent moisture from seeping beneath the marble. Carefully lower the sink into place and allow the adhesive to set.
9. Polish the Marble Surface
After the countertop is fully installed, it’s time to bring out the marble’s natural shine. Use a high-quality marble polish or a mixture of mild dish soap and water to buff the surface. Apply the polish using a microfiber cloth or a soft buffer, working in small sections. This not only enhances the beauty of the marble but also provides a protective layer that helps prevent stains and scratches. Be careful not to over-polish or apply too much product, as this can leave a residue on the surface. Regular polishing will help maintain the glossy finish and keep your countertop looking fresh.
10. Seal the Marble Countertop

Marble is a porous material, and sealing it is an essential part of the installation process. Use a high-quality marble sealer to protect the surface from stains and moisture. Apply the sealer with a clean cloth, following the manufacturer’s instructions for the best results. Allow the sealer to penetrate the surface and then wipe away any excess. Depending on the type of sealer you use, you may need to apply multiple coats for full protection. Sealing should be done periodically (every 6 to 12 months) to maintain the integrity and appearance of the marble.
Conclusion
Installing marble countertops requires patience, skill, and careful attention to detail. From measuring and ordering slabs to cutting, shaping, and securing the material, every step is important to ensure a flawless result. Whether you are a DIY enthusiast or working with professionals, following these ten methods will help you achieve a beautiful and durable marble countertop that will enhance your space for years to come. Now that you know how to install marble countertops, try it yourself today and feel good about completing such a big DIY job!
Professional Focus
Angela Ervin, a former interior designer turned blogger, specializes in kitchen design and renovations. Through her website, she blends her passion for cooking with design expertise, sharing practical and creative ideas. Known for balancing functionality and beauty, Angela’s insightful content has made her a trusted voice in home design and lifestyle.
About the Author
Angela Ervin, an experienced interior designer and blogger, combines her passion for kitchen renovations with storytelling. Living in Petersburg with her family, she enjoys cooking and testing her projects firsthand. Known for her humor and relatable style, Angela shares creative, functional design insights through her content, making her a trusted voice in home design.
Education History
University: Virginia Commonwealth University
Degree: Bachelor of Fine Arts (BFA) in Interior Design
- Angela’s education at VCU focused on mastering core interior design principles, including spatial planning, color theory, materials selection, and sustainable design practices.
- She gained hands-on experience through studio projects and collaborative design exercises, which honed her ability to create functional and aesthetically pleasing environments.
- Her coursework also emphasized problem-solving and practical applications of design, preparing her for real-world projects like her self-directed kitchen renovations.
- The program’s strong foundation in both technical skills and creative expression shaped Angela’s ability to seamlessly integrate form and function in her work.