
Are you tired of your old boring countertops and want to upgrade your kitchen with butcher block?
How to join butcher block countertops is a practical and rewarding project for those looking to enhance the functionality and aesthetics of their kitchen or workspace. Butcher block is well-known for its durability, natural warmth, and versatility, making it a popular choice for countertops.
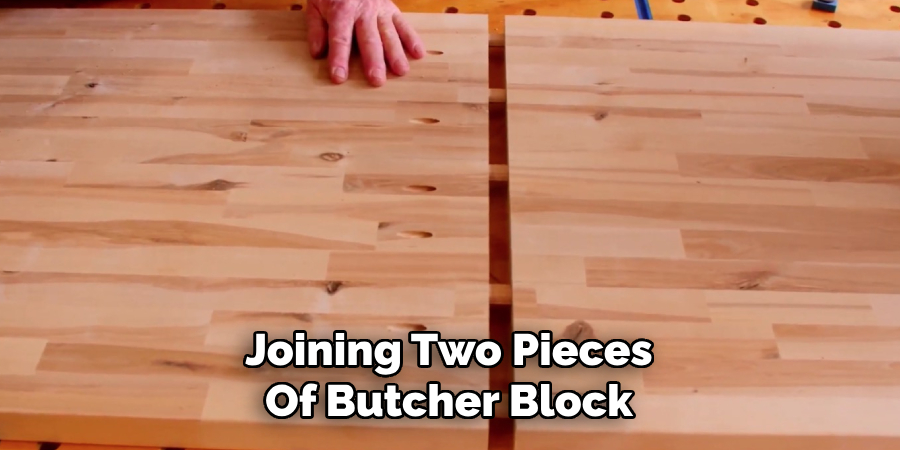
Joining two pieces of butcher block ensures a seamless, smooth, and professional appearance while maintaining structural integrity. This process involves careful preparation, precise measurements, and the tools to create a sturdy and visually appealing result.
Whether you’re renovating your kitchen or crafting a custom piece, learning to join butcher block countertops is a valuable skill that combines craftsmanship and creativity.
What Are the Benefits of Butcher Block Countertops?
Before diving into the specifics of joining butcher block countertops, it’s essential to understand why they’re a preferred choice for many homeowners and professionals.
- Durability: Butcher block is made from multiple strips of wood bonded together under high pressure and heat, creating a sturdy and stable surface. It can withstand heavy-duty use and is less prone to damage from sharp objects.
- Natural Beauty: Unlike other countertop materials, such as granite or quartz, butcher block has a warm and natural appearance that adds character to any space.
- Versatility: Butcher block can be used for various purposes beyond countertops, such as cutting boards, table tops, and furniture.
- Affordability: In comparison to other countertop materials, butcher block is a more budget-friendly option, making it accessible for those on a tight budget.
Once you’ve decided to join butcher block countertops, it’s time to gather the necessary materials and tools.
What Will You Need?
- Butcher Block Countertops: Measure and purchase enough butcher block to cover your desired area. Getting an extra piece in case of any mistakes or unforeseen circumstances is always a good idea.
- Wood Glue: Choose a high-quality, waterproof wood glue that is specifically designed for joining wooden surfaces.
- Clamps: These will help keep the pieces of butcher block securely in place while the glue dries.
- Sander and Sandpaper: To smooth out any rough edges or imperfections on the butcher block.
- Circular Saw or Table Saw: You’ll need one of these tools to cut the butcher block to the correct size and shape.
- Tape Measure and Pencil: Essential for precise measurements and marking the butcher block before cutting.
- Biscuit Joiner (Optional): This tool creates slots in the wood for inserting biscuits, which help align and reinforce the joint.
Now that you have all the necessary materials and tools, it’s time to get started on joining your butcher block countertops.
8 Easy Steps on How to Join Butcher Block Countertops
Step 1: Prepare the Butcher Block
Begin by thoroughly inspecting the butcher block pieces to ensure they are free of damage, warping, or defects that could affect the quality of the joint. Lay the butcher block sections on a flat and stable surface, ensuring they align properly. Clean the edges that will be joined to remove any dust, debris, or oil that may interfere with the adhesion process.
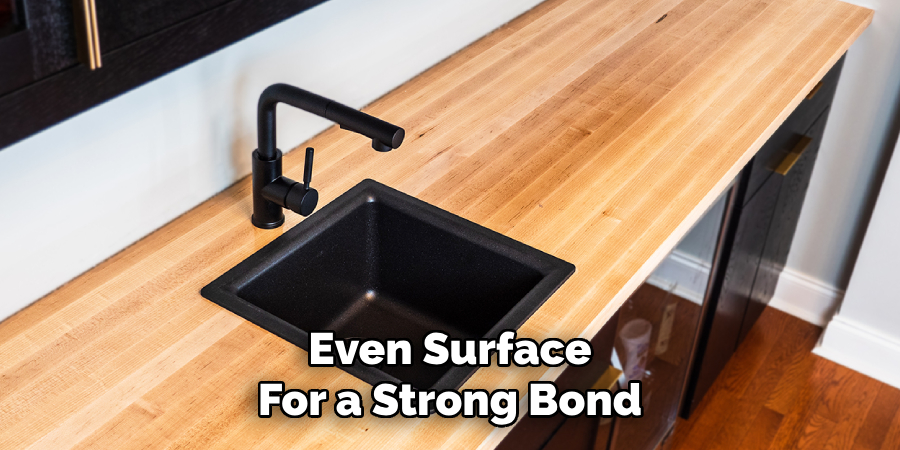
Use the sander and sandpaper to smooth out rough areas along the joining edges and create an even surface for a strong bond. This step is crucial as a clean, flat edge will allow the glue to adhere evenly, resulting in a seamless and sturdy joint. Take your time during this step to ensure the surfaces are well-prepared for the upcoming assembly process.
Step 2: Measure and Mark the Joining Points
Take accurate measurements of the area where the butcher block sections will be joined. Using a measuring tape and a pencil, mark the exact positions for dowels, biscuits, or other joining hardware you plan to use. Ensure the markings are aligned on both pieces of the butcher block to guarantee a precise fit. Double-check your measurements to avoid errors, as proper alignment is key to a seamless connection between the two sections.
Step 3: Drill Holes for the Joining Hardware
Using the markings from the previous step as a guide, carefully drill holes for the dowels, biscuits, or other selected joining hardware. Select the appropriate drill bit size to match the hardware, ensuring a snug fit. Keep the drill perpendicular to the butcher block surface to maintain proper alignment. This will help ensure that the pieces align seamlessly during assembly.
After drilling, remove any wood dust or shavings from the holes to keep a clean surface. Taking care during this step will ensure a strong and secure joint.
Step 4: Apply Wood Glue
Before assembling the butcher block, apply a generous amount of wood glue to the edges and inside the holes or slots where the joining hardware will be inserted. Spread the glue evenly to ensure complete coverage, which will help create a strong bond between the pieces.
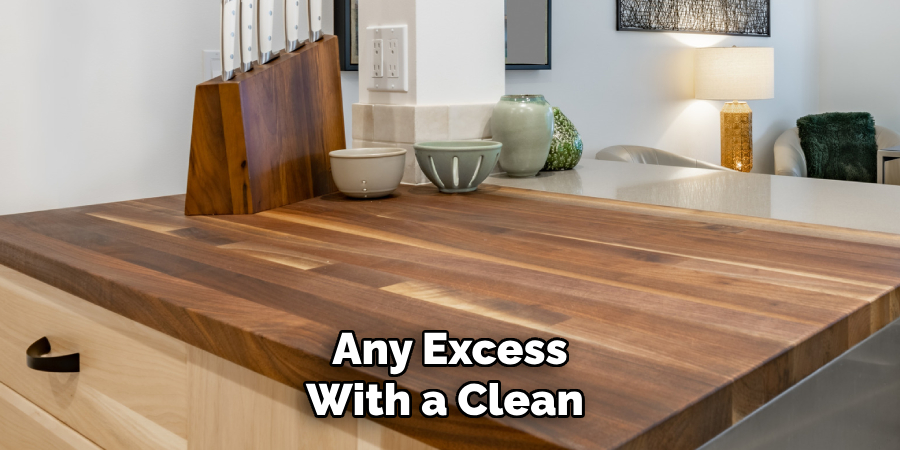
Be careful not to apply excessive glue, which may squeeze out during assembly. If any excess glue does seep out, wipe it away immediately with a damp cloth for a clean finish. Proper application of wood glue is essential for durability and long-lasting stability.
Step 5: Assemble and Clamp

Carefully align the butcher block pieces and insert the joining hardware into the pre-drilled holes or slots. Ensure the edges are perfectly aligned to achieve a smooth surface. Once all pieces are securely joined, clamps hold the butcher block tightly together while the wood glue cures.
Position the clamps evenly across the surface to distribute pressure and prevent uneven bonding. Allow the assembly to sit undisturbed for the recommended curing time, as specified by the wood glue manufacturer. Proper clamping is crucial for achieving a strong and durable assembly.
Step 6: Sand the Surface
Once the wood glue has fully cured and the clamps are removed, inspect the butcher block for any uneven areas or excess glue that may need attention. Using a coarse grit sandpaper, begin sanding the surface to remove any imperfections and achieve a uniform texture. Gradually transition to finer grit sandpapers to create a smooth and polished finish.
Be sure to sand in the direction of the wood grain to avoid scratches or unwanted marks. After sanding, wipe the surface clean with a damp cloth to remove any dust or debris, preparing the butcher block for the final finishing steps. Sanding is crucial for a professional and refined look.
Step 7: Apply the Finish
After sanding and cleaning the surface, it is time to apply a finish to protect the butcher block and enhance its appearance. Begin by selecting a food-safe finish, such as mineral oil or a butcher block conditioner, to penetrate the wood and provide long-lasting protection. Apply the finish evenly across the entire surface using a clean cloth or brush, ensuring complete coverage.
Allow the finish to soak into the wood for the recommended time before wiping away any excess with a clean, dry cloth. Repeat this process if necessary to build up a protective layer. Proper finishing not only safeguards the butcher block from moisture and wear but also enriches the natural beauty of the wood grain, creating a durable and visually appealing final product.
Step 8: Maintain the Butcher Block
Regular maintenance is essential to ensure your butcher block’s longevity and performance. Clean the surface after each use with a damp cloth and mild soap, avoiding harsh chemicals that can damage the finish. Periodically reapply a food-safe finish, such as mineral oil, to keep the wood hydrated and protected.
Inspect the butcher block for any signs of wear or damage, such as cracks or stains, and address these promptly to prevent further issues. With proper care and attention, your butcher block will remain a functional and beautiful kitchen asset for years to come.
By following these steps, you can successfully join two butcher block sections and create a sturdy, seamless surface.
5 Things You Should Avoid
1. Skipping Proper Measurement: Proper measurement is critical when joining butcher block countertops. Skipping this step can lead to uneven joints or gaps that are difficult to fix later. Always measure multiple times to ensure accuracy.
2. Using the Wrong Tools: Using inappropriate or dull tools can damage the wood and lead to poor-quality joints. Invest in high-quality tools like a router, clamps, and a biscuit joiner for precise cuts and a seamless finish.
3. Neglecting to Seal the Edges: Failing to seal the cut edges of the butcher block can leave the wood vulnerable to moisture and warping. Always seal the edges to maintain the longevity and durability of the countertop.
4. Applying Insufficient Adhesive: Using too little wood glue can weaken the bond between pieces, causing separation over time. Use a strong adhesive and apply it evenly across the joint for a secure connection.
5. Rushing the Clamping Process: Removing clamps too quickly before the adhesive sets fully can result in misaligned edges or weak joints. Always follow the manufacturer’s recommended drying time to ensure a solid bond.
Conclusion
How to join butcher block countertops successfully requires careful planning, attention to detail, and the proper tools.
You can ensure a sturdy and long-lasting connection by avoiding common mistakes—such as improper measurements, poor tool selection, neglecting to seal edges, insufficient adhesive application, or rushing the clamping process. Taking the time to follow these guidelines enhances durability and maintains the aesthetic appeal of the butcher block countertop.
With patience and precision, your countertops will provide a beautiful and functional surface for years to come.
Professional Focus
Angela Ervin, a former interior designer turned blogger, specializes in kitchen design and renovations. Through her website, she blends her passion for cooking with design expertise, sharing practical and creative ideas. Known for balancing functionality and beauty, Angela’s insightful content has made her a trusted voice in home design and lifestyle.
About the Author
Angela Ervin, an experienced interior designer and blogger, combines her passion for kitchen renovations with storytelling. Living in Petersburg with her family, she enjoys cooking and testing her projects firsthand. Known for her humor and relatable style, Angela shares creative, functional design insights through her content, making her a trusted voice in home design.
Education History
University: Virginia Commonwealth University
Degree: Bachelor of Fine Arts (BFA) in Interior Design
- Angela’s education at VCU focused on mastering core interior design principles, including spatial planning, color theory, materials selection, and sustainable design practices.
- She gained hands-on experience through studio projects and collaborative design exercises, which honed her ability to create functional and aesthetically pleasing environments.
- Her coursework also emphasized problem-solving and practical applications of design, preparing her for real-world projects like her self-directed kitchen renovations.
- The program’s strong foundation in both technical skills and creative expression shaped Angela’s ability to seamlessly integrate form and function in her work.