
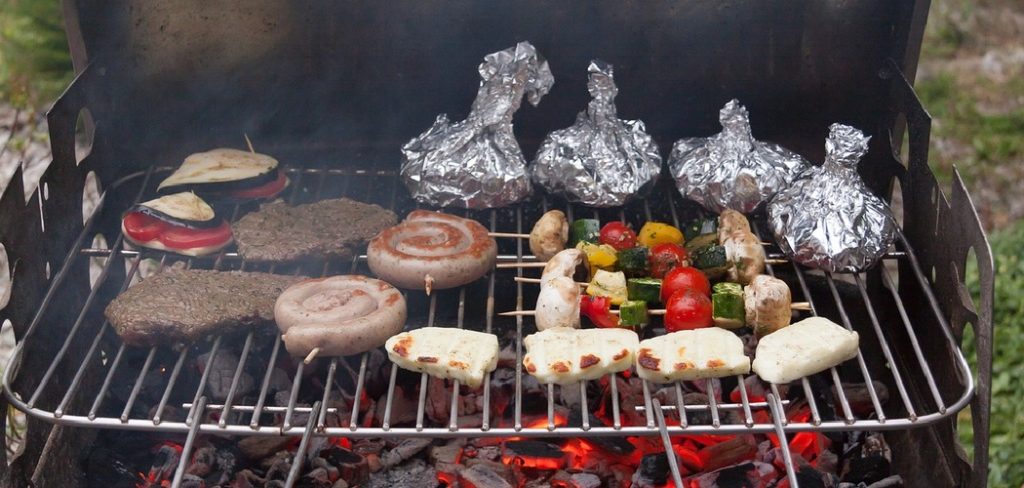
Have you been struggling to get your gas grill hot enough to give your food that perfect char? Whether you’re hosting a backyard barbecue or grilling up steaks for a weeknight dinner, achieving higher grill temperatures can make a world of difference in flavor and texture. Many grill enthusiasts find themselves battling inconsistent heat or lower-than-desired temperatures, which can hinder their cooking experience.
One of the first steps to make your gas grill hotter is to ensure that it is clean and free of grease or food debris. Over time, buildup can block the burners, reducing the efficiency and heat output of the grill. Regularly clean the grates, burners, and the inside of the grill to maintain optimal performance. Additionally, check that the propane tank is adequately filled or that the gas line is functioning properly, as low fuel levels can lead to lower temperatures.
Preheating your grill for at least 10-15 minutes with the lid closed will also help retain heat and allow it to reach maximum temperature. Finally, avoid opening the lid too often during cooking, as this can cause significant heat loss and prolong the cooking process.
This guide will walk you through how to make a gas grill hotter, covering easy-to-follow steps and practical advice. By the end, you’ll gain the confidence to optimize your grill’s performance and cook like a pro.
Why the Ability to Increase Gas Grill Heat Matters
Understanding how to maximize your gas grill’s heat output is essential for several reasons. First, a hotter grilling surface ensures faster cooking, especially for thicker cuts of meat. When your grill reaches optimal temperatures, it creates those coveted sear marks and seals in juices, delivering richer flavors.
For grilling enthusiasts, range and control over temperature allow for more versatile cooking, from slow-cooked barbecue ribs to flash-seared veggies. Without sufficient heat, food can take longer to cook, reducing its overall quality. Additionally, a gas grill struggling to generate heat may indicate issues with airflow, the burners, or even propane levels. By addressing these factors, you improve both the efficiency of cooking and the longevity of the grill.
10 Step-by-Step Guide on How to Make a Gas Grill Hotter
Getting the most out of your gas grill doesn’t have to be complicated. With a few adjustments and some maintenance, you can boost its temperature and enhance your overall grilling experience. Follow these steps to find out how to make a gas grill hotter.
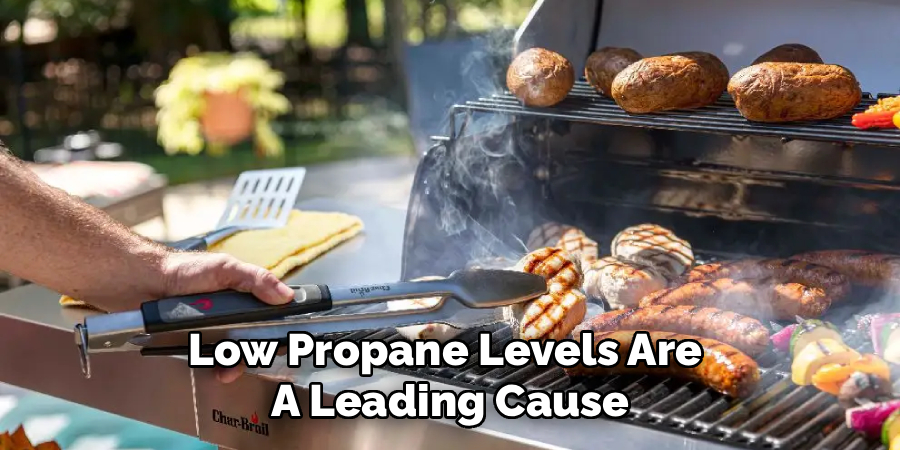
Step 1: Check and Refill the Propane Tank
Low propane levels are a leading cause of poor grill performance. Before making adjustments, ensure your propane tank is adequately filled. If the tank is nearly empty, the gas flow will be inconsistent, preventing the burners from reaching their full capacity. Detach the tank, weigh it, and compare its weight to the marked capacity to determine if it requires a refill or replacement.
Always check for leaks or damage in the propane tank or hoses. Leaks can reduce gas flow and become a safety hazard. Use a solution of soapy water to check for bubbles on connected points, which would signify a leak.
Step 2: Clean the Burners Thoroughly
Dirty or clogged burners can obstruct gas flow, leading to reduced heat production. Over time, grease and food particles accumulate, which may cause uneven flames or burner malfunctions. Turn off the grill, remove the grates, and brush the burners gently with a wire brush to remove debris.
Inspect the burner ports for blockages. If blockages are present, use a thin wire or paperclip to unclog the holes. Be sure to reattach all components securely before reigniting the grill.
Step 3: Adjust the Airflow
Proper airflow is essential for maintaining high heat on your gas grill. Most grills have adjustable air shutters or vents, which regulate oxygen levels. More oxygen means higher flames and, consequently, hotter temperatures. Locate the air shutters near the burners and tighten or loosen them as needed to boost the airflow.
Experiment with different positioning to find the ideal setting. Too much air can extinguish the flame, while too little will suffocate it, so aim for balance. You’ll often notice immediate performance improvements after adjusting the airflow.
Step 4: Preheat the Grill Completely
Some cooking enthusiasts underestimate the importance of preheating. Turning on your grill and waiting only a few minutes may result in less heat retention. Proper preheating ensures all internal components reach the desired temperature, offering a better cooking experience.
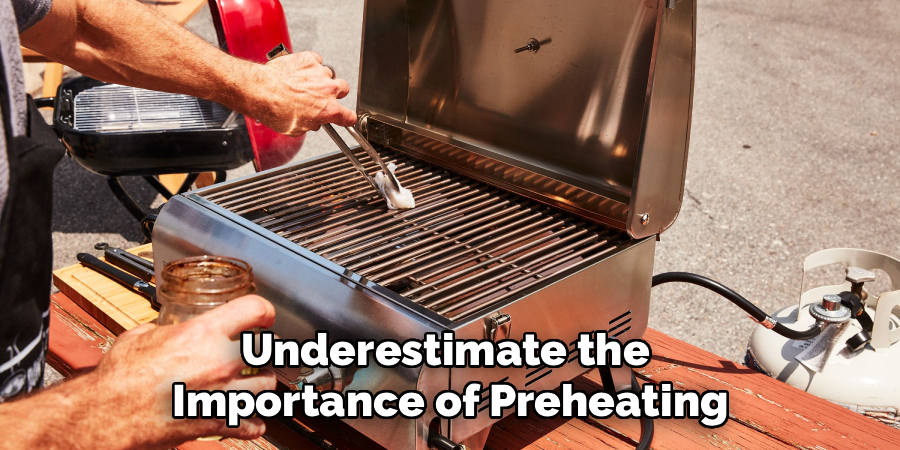
Allow the grill to heat for at least 10–15 minutes with the lid closed. During this time, set your burners to the highest setting to achieve maximum potential. Use a grill thermometer to confirm when it has reached the correct temperature.
Step 5: Place Lava Rocks or Ceramic Briquettes
Adding lava rocks or ceramic briquettes inside your gas grill can intensify the heat. These materials are fantastic at absorbing and radiating heat evenly across the grilling surface. Start by placing them on the metal heat shield above the burners.
Be sure to place the rocks or briquettes uniformly to avoid uneven heat distribution. This small adjustment retains and distributes heat more effectively, resulting in faster and more consistent cooking.
Step 6: Grill with the Lid Down
Cooking with the lid open creates a significant heat loss since hot air escapes constantly. To make your gas grill hotter, keep the lid closed while grilling. This allows heat to circulate throughout the enclosed space, significantly raising its internal temperature.
It’s helpful to invest in a grill with a built-in thermometer to monitor temperature changes when you open or close the lid. The thermometer allows you to track when it’s safe to check your food without sacrificing too much heat.
Step 7: Repair or Replace Faulty Components
Sometimes, old or malfunctioning parts may hinder heat regulation. Worn-out burners or faulty ignition systems can disrupt efficient cooking. Visually inspect your grill for signs of corrosion, damage, or missing parts, especially over the burners and heat shields.
Replacing parts like control knobs, burners, or ignitors guarantees your grill is working as intended. Manufacturer-specific replacement kits are widely available if needed.
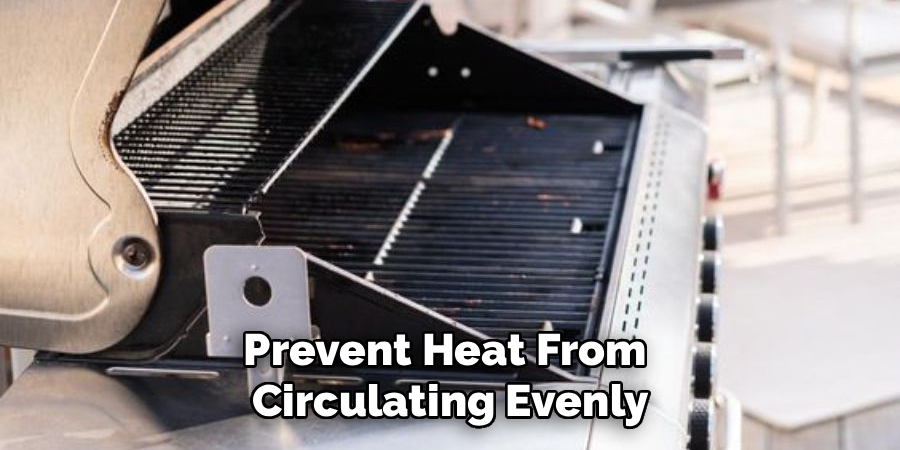
Step 8: Rearrange the Grates
Improper grate placement can prevent heat from circulating evenly. Ensure that the grates are lying flat and securely fastened. Sometimes, flipping the grates can expose surfaces less affected by grease buildup, allowing for better heat transfer.
Additionally, avoid placing food directly above low-performing burners. Instead, move your ingredients over hotter zones to optimize cooking efficiency.
Step 9: Eliminate Wind Barriers
Surrounding environmental factors like wind can considerably affect your grill’s temperature. Wind cools the grill and causes heat dispersion. If you’re grilling outdoors on a windy day, consider relocating your grill to a more sheltered area or using wind guards.
Positioning your gas grill perpendicular to the wind direction ensures you retain optimal heat levels. A calm grilling environment lets your burners work efficiently without heat loss.
Step 10: Upgrade to High-Efficiency Burners
For long-term improvements, consider upgrading to high-efficiency burners. These are often made from premium materials, such as stainless steel, and distribute heat more evenly. Newer burners also provide greater temperature control, allowing you to focus on grilling performance rather than worrying about maintenance issues.
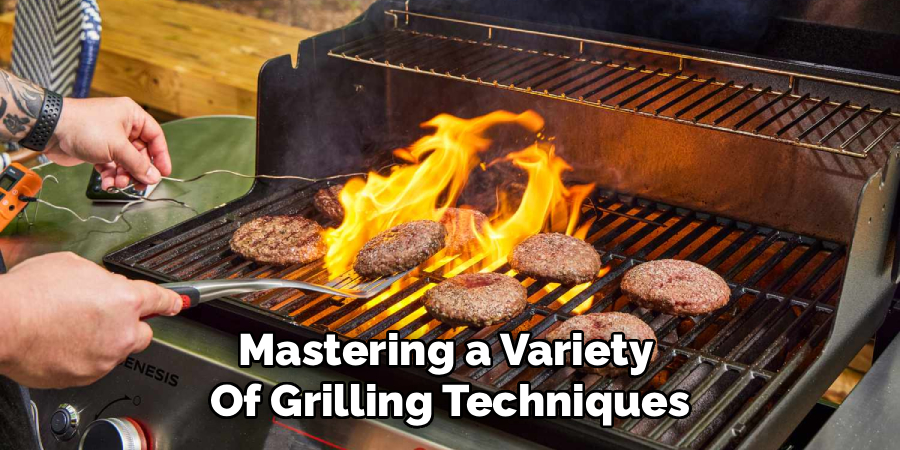
Different Grilling Techniques
Mastering a variety of grilling techniques can significantly elevate your cooking skills and help you create diverse, flavorful meals. Direct grilling is one of the most popular methods, ideal for quick-cooking items like burgers, steaks, and vegetables. This technique uses high heat to sear the exterior of food while locking in juices.
On the other hand, indirect grilling is perfect for larger cuts of meat, such as roasts or whole chickens. By setting up a two-zone fire, you can cook your food more slowly and evenly, avoiding burnt exteriors while ensuring the inside is properly cooked. For a distinct smoky flavor, try incorporating the smoking technique by adding wood chips to your grill. This method imparts depth and complexity to foods like brisket or ribs, making them rich and aromatic.
Finally, experimenting with techniques like rotisserie grilling or plank grilling can broaden your repertoire. Rotisserie grilling involves slowly turning meat over a heat source, producing evenly cooked, tender meals. Plank grilling, meanwhile, relies on cooking food on a soaked wooden plank placed on the grill, infusing it with a unique, woodsy flavor. Whether you’re new to grilling or a seasoned enthusiast, varying your techniques allows you to explore endless possibilities to delight your palate.
Frequently Asked Questions
How can I tell if my gas grill is hot enough?
The quickest way to gauge your grill’s heat is by using a built-in thermometer or a handheld grill thermometer. A properly heated grill typically reaches temperatures between 400–500°F for high-heat cooking. You can also perform a palm test by holding your hand above the grates (without touching them) and feeling the intensity of the heat.
Why does my gas grill heat unevenly?
Uneven heating is often caused by clogged burners, corroded grates, or blocked airflow. Cleaning the burners and grates can help resolve this issue. Additionally, check the placement of lava rocks or ceramic briquettes, as improper positioning can lead to hot and cold zones on the grilling surface.
Do I need special lava rocks for gas grills?
While gas grills don’t come with lava rocks by default, adding them enhances heat retention and distribution. Standard lava rocks or ceramic briquettes designed for high-temperature grilling are ideal. These materials work to stabilize the grill’s temperature more effectively.
How often should I clean my gas grill burners?
Cleaning burners every two to three months ensures consistent gas flow and prevents blockages. For frequent grillers, however, cleaning once monthly is advisable to remove debris and grease that may interfere with performance.
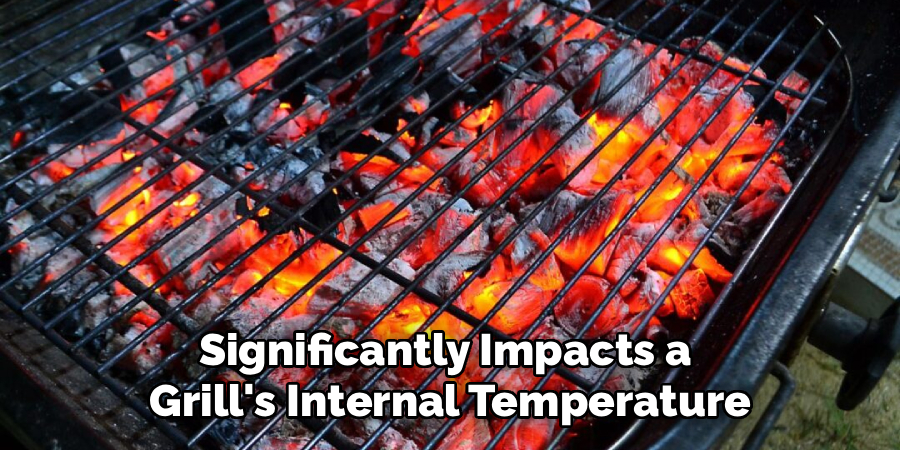
Can wind affect the temperature of my gas grill?
Yes, wind significantly impacts a grill’s internal temperature. Strong winds pull heat away from the grill, making it harder to maintain optimal cooking conditions. Using wind guards or repositioning the grill to a sheltered area can combat these effects.
Conclusion
Achieving higher temperatures on your gas grill doesn’t have to be a frustrating process. By following the steps outlined above, you can optimize your grill’s performance and confidently cook a variety of meals. From cleaning burners to adding heat-retentive materials like lava rocks, understanding how to make a gas grill hotter will elevate your barbecue game.
Remember to always prioritize safety while making adjustments to your gas grill. Regularly inspect for gas leaks and ensure that all connections are secure before igniting the grill. These precautions not only protect you but also maintain the longevity of your equipment, allowing you to enjoy hassle-free grilling for years to come.
Now is the perfect time to test these strategies and unlock your grill’s full potential. Happy grilling!
Professional Focus
Angela Ervin, a former interior designer turned blogger, specializes in kitchen design and renovations. Through her website, she blends her passion for cooking with design expertise, sharing practical and creative ideas. Known for balancing functionality and beauty, Angela’s insightful content has made her a trusted voice in home design and lifestyle.
About the Author
Angela Ervin, an experienced interior designer and blogger, combines her passion for kitchen renovations with storytelling. Living in Petersburg with her family, she enjoys cooking and testing her projects firsthand. Known for her humor and relatable style, Angela shares creative, functional design insights through her content, making her a trusted voice in home design.
Education History
University: Virginia Commonwealth University
Degree: Bachelor of Fine Arts (BFA) in Interior Design
- Angela’s education at VCU focused on mastering core interior design principles, including spatial planning, color theory, materials selection, and sustainable design practices.
- She gained hands-on experience through studio projects and collaborative design exercises, which honed her ability to create functional and aesthetically pleasing environments.
- Her coursework also emphasized problem-solving and practical applications of design, preparing her for real-world projects like her self-directed kitchen renovations.
- The program’s strong foundation in both technical skills and creative expression shaped Angela’s ability to seamlessly integrate form and function in her work.