
Plywood countertops have become popular as an affordable and customizable option for kitchens, workshops, and home offices. These versatile countertops perfectly balance functionality and style, making them a great choice for DIY enthusiasts. One of the key advantages of plywood is its cost-effectiveness, allowing for a budget-friendly alternative to more expensive materials. Additionally, using basic tools, plywood is easy to work with, making it accessible even for beginners. Depending on the finish, it can deliver either a rustic charm or a sleek modern aesthetic, fitting a wide range of interior designs.
The purpose of this article is to provide a comprehensive, step-by-step guide on how to make a plywood countertop. This guide covers everything from selecting the right materials to cutting, assembling, finishing, and installing. Whether you’re a seasoned DIYer or just starting, this project is an opportunity to craft a beautiful and personalized countertop.
Materials and Tools Needed
Essential Materials
- Plywood Sheets (usually 3/4-inch thick for strength): This serves as the primary material for the countertop, providing durability and support.
- Wood Glue: Used for joining plywood pieces together to ensure a strong bond.
- Wood Filler: Ideal for smoothing out any seams, gaps, or imperfections in the surface.
- Finish (e.g., polyurethane, wood oil, or stain): It is Necessary to protect the countertop’s surface and enhance its appearance.
Tools Required
- Circular Saw Or Table Raw: Essential for cutting plywood sheets to the desired dimensions.
- Drill And Screws: Used to secure the pieces of plywood together and reinforce the structure.
- Measuring Tape And Pencil: Crucial for taking accurate measurements and marking cut lines.
- Sandpaper Or Electric Sander: Ensures smooth edges and a polished surface for the plywood.
- Clamps: Helpful for holding pieces securely in place during the gluing process.
Having these materials and tools ready will ensure a seamless and efficient construction process, making achieving a professional-quality plywood countertop easier.
Choosing the Right Plywood for Your Countertop
Types of Plywood
Two primary types of plywood are commonly used for countertops, each offering distinct advantages. Hardwood plywood is known for its superior quality and attractive appearance, making it an excellent choice for high-end projects or visible areas. On the other hand, softwood plywood is a more cost-effective option but tends to be less durable, making it better suited for projects with lower wear and tear requirements.
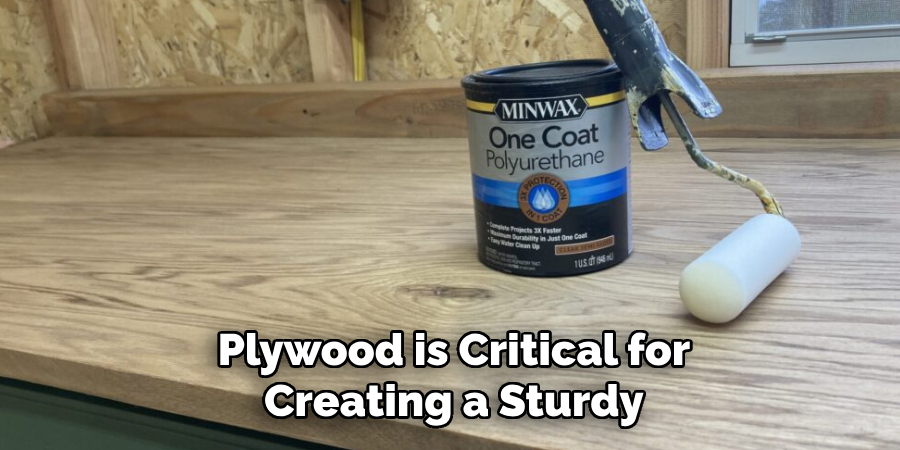
Thickness of Plywood
The thickness of the plywood is critical for creating a sturdy and reliable countertop. A 3/4-inch thickness is the standard choice, providing sufficient strength for most countertop applications. For larger countertops or those subject to heavier use, you may want to consider stacking multiple layers of plywood or opting for thicker sheets to ensure optimal durability and performance.
Aesthetic Considerations
For countertops with exposed edges, selecting plywood with a clean, attractive grain for countertops with exposed edges minimal knots and imperfections ensures a smooth, even surface that can be easily finished with stain or sealant. Paying attention to the plywood’s aesthetic quality will enhance your countertop’s overall appearance and complement its functionality.
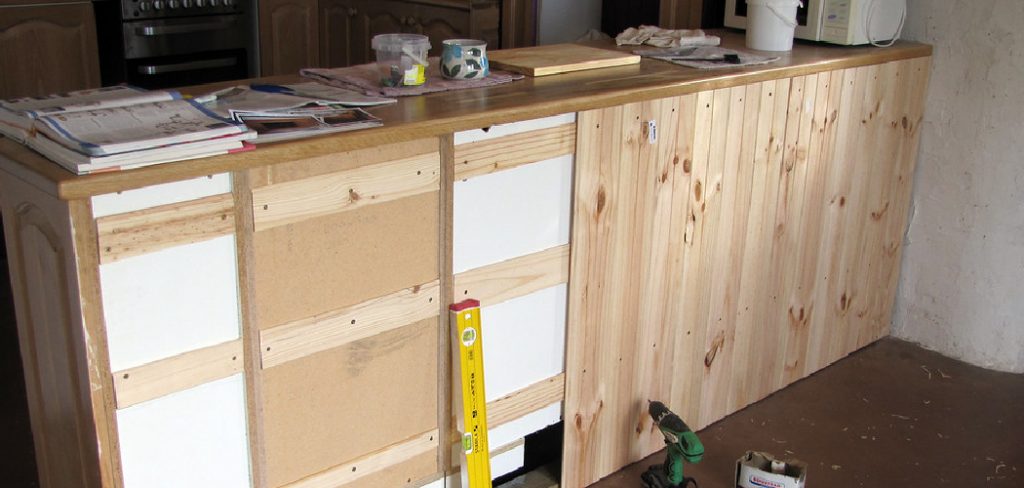
How to Make a Plywood Countertop: Assembling the Plywood Countertop
Step 1: Joining Pieces Together
If your countertop requires a wider surface, you must join multiple pieces of plywood together. Begin by applying a generous, even layer of wood glue to the edges where the pieces will meet. This ensures a strong bond between the sections. Align the plywood carefully to maintain a straight and seamless joint, then use clamps to secure the pieces tightly. Be sure to remove any excess glue that seeps out during clamping to achieve a clean final product. Allow the glued sections to sit undisturbed, giving the adhesive the necessary time to bond firmly.
Step 2: Reinforcing the Joint
To further strengthen the joint, use screws or wood dowels to secure the plywood pieces together. Evenly space screws or dowels along the joint at regular intervals to ensure balanced reinforcement. If using screws, drill pilot holes first to prevent splitting the wood. For dowels, mark precise alignment points to guide your drilling. Once installed, double-check that the joint remains flush and aligned. Allow the glue to cure completely before you handle or move the plywood to maintain the integrity of the bond.
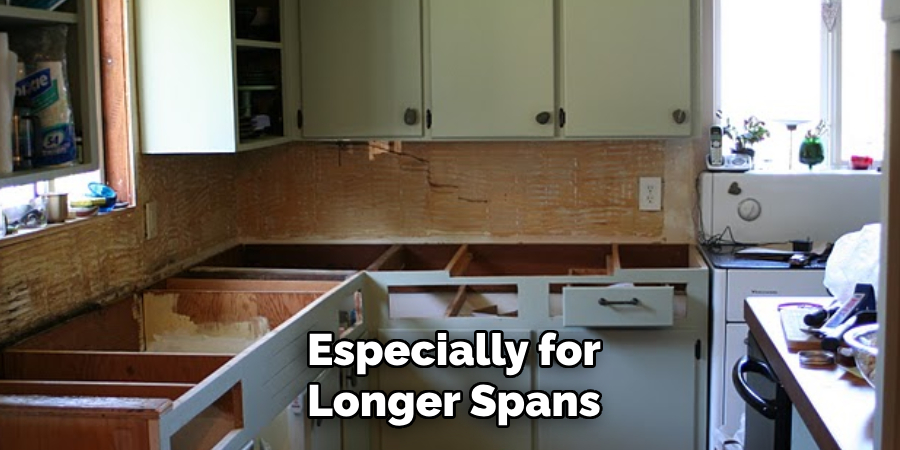
Step 3: Adding Supports for Strength
To enhance the countertop’s durability, especially for longer spans, consider installing wood braces or adding a second layer of plywood. These additional supports will help prevent sagging and provide stability under significant weight. Ensure that the braces or layers are securely attached using screws or wood glue. This extra reinforcement is significant near the edges and corners, as these areas are prone to stress over time.
Sanding and Preparing the Countertop Surface
Step 1: Sanding the Surface
Using an electric sander or sanding by hand, smooth out any imperfections on the plywood surface. Start with coarse-grit sandpaper to remove rough patches, seams, or uneven textures. Gradually transition to finer grit sandpaper for a polished finish, ensuring the surface is even and smooth to the touch. Work methodically across the entire area to avoid uneven spots, paying extra attention to the edges and corners. Regularly inspect the surface to ensure all imperfections have been addressed before moving to the next step.
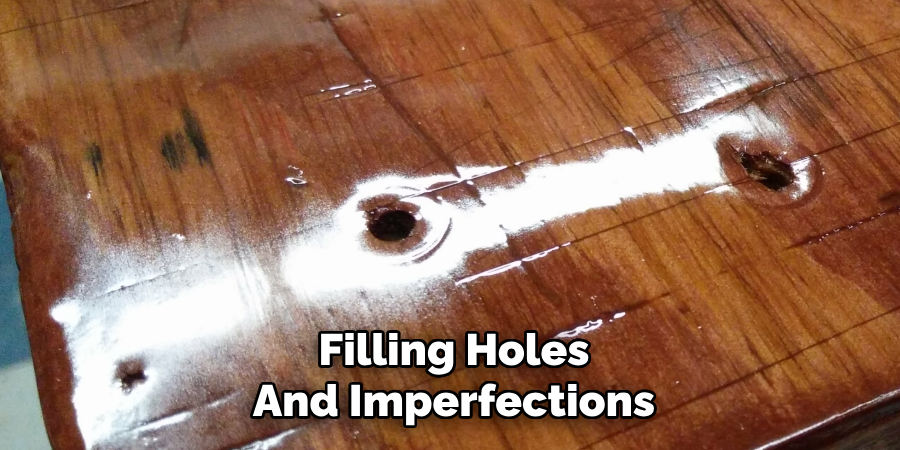
Step 2: Filling Holes and Imperfections
Utilize wood filler to address any knots, seams, or screw holes that may still be visible on the plywood. Apply the filler with a putty knife, pressing it firmly into each gap or imperfection. Allow the filler to dry completely as per the manufacturer’s instructions. Once dry, sand the filled areas again using fine-grit sandpaper to blend them seamlessly with the surrounding surface. This ensures a flawless, uniform countertop finish, ready for further treatment or installation.
Finishing and Sealing the Plywood Countertop
Step 1: Staining the Countertop
To enhance the natural grain of the plywood, apply a wood stain of your choice. Use a clean, lint-free cloth or a foam brush to evenly distribute the stain across the surface, working with the grain to ensure a smooth, uniform appearance. Allow the stain to penetrate the wood for a few minutes before wiping off any excess with a clean cloth. Adjust the color intensity by applying additional coats as needed, allowing each layer to dry thoroughly according to the stain manufacturer’s instructions. This step adds depth and character to the plywood, highlighting its natural texture and patterns.
Step 2: Sealing the Plywood
Protect the countertop once the stain has entirely dried by applying a clear polyurethane or varnish. This layer acts as a barrier, shielding the surface from moisture, scratches, and general wear. Using a high-quality brush or applicator, apply thin, even coats of the finish, ensuring full coverage across the entire surface, including edges. Allow each coat to dry as directed, and lightly sand with fine-grit sandpaper between layers to achieve a smooth and professional finish. Typically, two to three sealing coats are recommended for durability and a polished appearance.
Step 3: Curing and Drying
After the final coat is applied, allowing the countertop to cure and dry completely is vital. This process ensures the sealant has hardened fully, providing maximum protection and a lasting finish. Depending on the sealant used, this may take up to several days. Ensure the countertop remains in a clean, dust-free environment during this time to maintain the integrity of the finish. Once cured, the plywood countertop is ready for installation and daily use.
Installing the Plywood Countertop
Step 1: Preparing the Space for Installation
Before installing the plywood countertop, ensure that the cabinets or base it will sit on are level and properly supported. Use a spirit level to check for any uneven surfaces, adjusting as necessary by shimming low spots or tightening bolts. A stable and level base will help prevent warping or movement over time, ensuring a secure and professional installation. Double-check that all measurements align with the countertop dimensions.
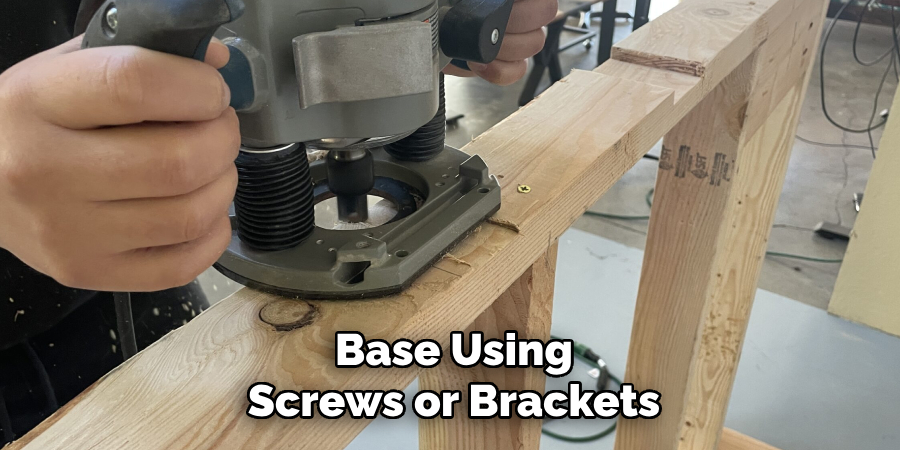
Step 2: Securing the Countertop
Position the plywood countertop onto the prepared base, ensuring it is level and flush with the edges of the cabinets or support frame. Secure the countertop by attaching it to the base using screws or brackets, ensuring they are evenly spaced to distribute pressure. When drilling screws, countersink them slightly to avoid protrusions, and fill any gaps with adhesive or caulk for added stability and a seamless finish.
Conclusion
Creating your plywood countertop involves several straightforward steps, from selecting high-quality plywood and cutting it to size, to assembling, finishing, and finally installing it in your space. This guide on how to make a plywood countertop highlights the benefits of customization, allowing you to choose a design that complements your home perfectly. Not only is it a cost-effective alternative to traditional countertops, but it also offers a unique, modern aesthetic. Don’t be afraid to experiment with different finishes or installation techniques to make the countertop truly your own. With some effort, you’ll have a stunning and functional result!
Professional Focus
Angela Ervin, a former interior designer turned blogger, specializes in kitchen design and renovations. Through her website, she blends her passion for cooking with design expertise, sharing practical and creative ideas. Known for balancing functionality and beauty, Angela’s insightful content has made her a trusted voice in home design and lifestyle.
About the Author
Angela Ervin, an experienced interior designer and blogger, combines her passion for kitchen renovations with storytelling. Living in Petersburg with her family, she enjoys cooking and testing her projects firsthand. Known for her humor and relatable style, Angela shares creative, functional design insights through her content, making her a trusted voice in home design.
Education History
University: Virginia Commonwealth University
Degree: Bachelor of Fine Arts (BFA) in Interior Design
- Angela’s education at VCU focused on mastering core interior design principles, including spatial planning, color theory, materials selection, and sustainable design practices.
- She gained hands-on experience through studio projects and collaborative design exercises, which honed her ability to create functional and aesthetically pleasing environments.
- Her coursework also emphasized problem-solving and practical applications of design, preparing her for real-world projects like her self-directed kitchen renovations.
- The program’s strong foundation in both technical skills and creative expression shaped Angela’s ability to seamlessly integrate form and function in her work.