
A freestanding dishwasher is a versatile appliance designed for convenience and flexibility in the kitchen. Unlike built-in models, a freestanding dishwasher can be positioned anywhere that has access to a water supply and drainage, making it an excellent choice for rental properties or kitchens with limited cabinetry space.
One of its greatest benefits is the ability to move it as needed, providing flexibility in kitchen design while still ensuring optimal cleaning performance. Additionally, mounting a freestanding dishwasher is a relatively simple process requiring less structural modification than installing a built-in unit.
This article aims to provide a clear and comprehensive step-by-step guide on how to mount a freestanding dishwasher, ensuring it remains stable and functional during operation. By following these instructions, you can maximize the longevity and efficiency of your appliance while maintaining a secure setup that integrates seamlessly into your kitchen environment.
Materials and Tools Needed
Materials
- Freestanding dishwasher unit
Ensure you have the appliance ready for installation.
- Mounting brackets
These are typically provided with the dishwasher and are essential for securing the unit.
- Screws and anchors
Required to firmly attach the dishwasher to prevent movement during operation.
- Water supply hose and drain hose
These hoses connect the dishwasher to your home’s plumbing system for water input and wastewater output.
- Power cord or plug
If the dishwasher does not come with a pre-installed cord, one will be necessary for an electrical connection.
Tools You’ll Need
- Drill with appropriate drill bits
Allows you to make precise holes for screws and anchors.
- Screwdriver or impact driver
Necessary for tightening screws to secure the dishwasher.
- Adjustable wrench or pliers
Useful for connecting hoses and ensuring they are tightly secured.
- Level
Ensures the dishwasher is properly aligned to avoid improper function or leaks.
- Tape measure
Helps achieve precise measurements, ensuring accurate placement and fit.
- Utility knife
It can be used to make minor hose adjustments or trim as necessary.
Having these materials and tools ready will make the mounting process smoother and help you achieve a secure and professional installation.

Preparing the Installation Area
Step 1: Choose the Ideal Location
Begin by selecting a suitable location for your dishwasher. Ensure the space has adequate room to accommodate the appliance’s dimensions and is close to plumbing connections, such as the water inlet and drain and electrical outlets. The location should allow the dishwasher’s door to open fully without obstruction. Double-check the surrounding area to ensure that it will not interfere with other appliances, cabinets, or walkways when the dishwasher is in use.
Step 2: Clear the Area
Before installing, clear the designated space of any obstacles, debris, or previous fixtures. This might include removing old appliances, cabinetry panels, or other materials that would prevent the dishwasher from being securely mounted.
Examine any present plumbing connections to confirm compatibility with the dishwasher’s hoses, and check the electrical outlet to ensure it meets the power requirements. If necessary, make adjustments or replacements to these connections to guarantee a proper and safe setup. These steps will streamline the installation process and ensure the area is ready for the next stage.
How to Mount a Freestanding Dishwasher: Installing the Water Supply and Drain Connections
Step 1: Attach the Water Supply Hose
Begin by connecting the dishwasher’s water inlet hose to the hot water supply valve under the kitchen sink. Use an adjustable wrench to tighten the connection firmly to ensure it is secure and leak-free. Take care not to overtighten, as this could damage the fitting or the hose threads. A proper connection is crucial for maintaining consistent water pressure during the dishwasher’s operation.
Step 2: Install the Drain Hose
Next, connect the dishwasher’s drain hose to its designated drain outlet. Secure the hose firmly using a clamp or connector to prevent it from dislodging during use. To reduce the risk of wastewater backflow, make sure the drain hose is positioned with a high loop, which can be achieved by securing the hose to the underside of the countertop or cabinet wall. This precaution is essential for avoiding contamination and maintaining efficient drainage.
Step 3: Ensure Proper Water Flow
Test the water flow to confirm the installation’s success once the water supply and drain connections are tightly secured. Turn on the hot water valve and inspect the water inlet hose connection for any leaks. If leaks are found, use the wrench to make necessary adjustments.
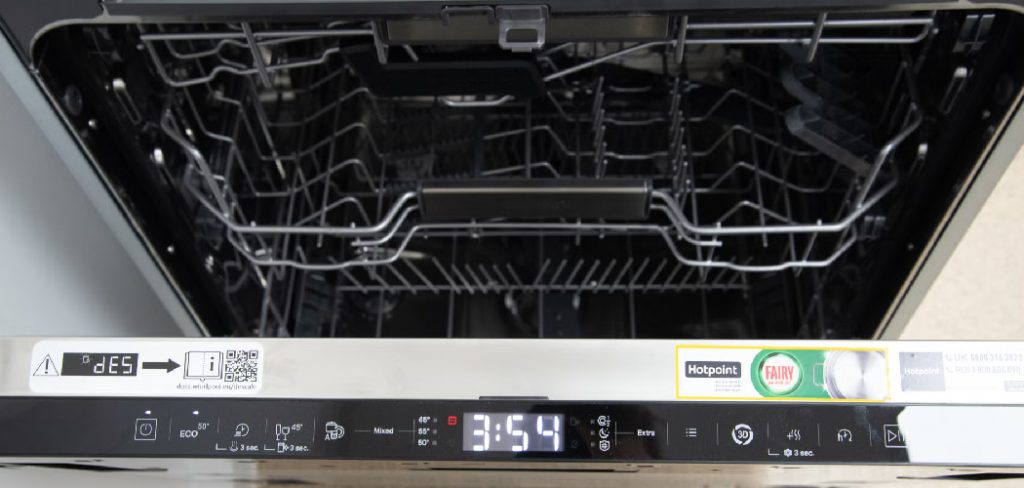
Then, run a short cycle on the dishwasher while monitoring both the water supply and drain lines. Check for proper water flow and ensure no leaks or drainage issues. If everything is functioning correctly, the connections are ready for long-term operation.
Mounting the Dishwasher to the Countertop
Step 1: Position the Dishwasher
Slide the dishwasher into its designated space, ensuring it is level and aligned with the edge of the countertop. Carefully check that there are no kinks in the water supply or drain hoses as you move the dishwasher into place.
Use a level to verify that the dishwasher is properly aligned both horizontally and vertically. Adjust the leveling feet at the unit’s base to achieve a stable and even position. Proper alignment is crucial for optimal performance and to prevent unnecessary vibrations during operation.
Step 2: Attach the Mounting Brackets
Locate the mounting brackets at the dishwasher’s top—these are typically pre-installed on most models. Secure the brackets to the underside of the countertop using the screws provided with your dishwasher. Be sure to use the correct screw size and type specified in the manufacturer’s instructions to avoid damaging the countertop material.
Tighten the screws firmly but avoid overtightening, which could cause cracks or weaken the brackets. The brackets are essential for keeping the dishwasher securely in place, especially during use.
Step 3: Adjust for Proper Fit
Once the mounting brackets are secured, double-check the dishwasher’s position. Ensure the front of the dishwasher is flush with the countertop for a seamless appearance. Test the door to confirm it opens and closes smoothly without any obstructions. If adjustments are needed, make small changes to the leveling feet or reposition the dishwasher slightly. A proper fit ensures both functionality and aesthetics while enhancing the appliance’s stability.
Securing the Dishwasher to the Floor or Cabinet

Step 1: Secure the Dishwasher to the Floor
Depending on the model, the dishwasher may need to be anchored to the floor to ensure it remains stable during operation. Refer to the manufacturer’s instructions to determine if this step is required. If floor anchoring is necessary, begin by identifying the appropriate locations for the screws or brackets.
Drill pilot holes into the floor if recommended, taking care to avoid damaging any underlying wiring or plumbing. Once the pilot holes are ready, use the provided screws or brackets to secure the dishwasher to the floor firmly. This prevents unwanted movement or vibration during use, safeguarding both the appliance and surrounding fixtures.
Step 2: Optional Securing to Adjacent Cabinets
If the dishwasher is positioned next to cabinets, securing it to the cabinet walls may be beneficial for added stability. While not always mandatory, this step can be beneficial if the floor anchoring option is unavailable or insufficient. Locate the pre-marked mounting points on the dishwasher and align them with the cabinet walls. Use the included screws and brackets to attach the dishwasher securely to the cabinets.
This additional reinforcement ensures the appliance remains level and stable, enhancing its performance and durability. Always verify that all connections are tight but not over-tightened to prevent door misalignment or damage to surrounding materials.
Connecting the Electrical Power
Step 1: Verify Power Supply
Ensure the electrical outlet is located close to the dishwasher and is properly grounded. A properly grounded outlet is essential for safe operation and to prevent electrical hazards. If the dishwasher comes with a plug, simply insert it into the outlet, ensuring it fits securely and without any excessive force. Consult a licensed electrician to handle the installation of dishwashers requiring a hardwired connection.
Hardwiring should meet local electrical codes and use appropriate tools and materials to guarantee safety and compliance. Double-check that the power supply matches the voltage and frequency specifications noted in the dishwasher’s manual.
Step 2: Test the Electrical Connection
Once the power supply is connected, turn on the dishwasher and run a short test cycle to assess its functionality. This will help identify any electrical issues, such as tripped circuit breakers, faulty wiring, or loose connections. During the test, observe the dishwasher closely to ensure it powers on smoothly and operates as expected.
If any problems arise, disconnect the appliance immediately and inspect the power supply and connections. Addressing minor issues early can prevent long-term damage or safety concerns. Make sure all connections are secure before proceeding with regular use.
Final Adjustments and Testing
Step 1: Check for Leaks
Before using the dishwasher regularly, scrutinize all water connections. Focus on the inlet hose, drain hose, and the seals around the dishwasher door to ensure there are no leaks. Leaks can lead to water damage or reduced efficiency, so address any issues immediately by tightening loose connections or replacing damaged components as needed.
Step 2: Test the Dishwasher Function
Run the dishwasher through a complete cycle to verify that it operates correctly. Please pay attention to its performance during this test, including water filling, washing, draining, and drying functions. Ensure that the door opens and closes smoothly and that the unit remains firmly in place without moving or vibrating excessively during operation.
This final test will confirm that the installation was successful and the dishwasher is ready for regular use, providing peace of mind and optimal performance.

Conclusion
Mounting a freestanding dishwasher involves several key steps to ensure proper installation and performance. Start by choosing the right location that provides adequate space and access to water and power connections. Connect the water supply carefully and securely, and ensure the dishwasher is firmly mounted to the countertop to prevent movement during operation.
Finally, test the dishwasher for proper function by running a complete cycle. Ensure that all connections are secure and the unit is level to avoid operational issues. Always refer to the manual for your specific dishwasher model for more detailed guidance. By following these steps, you’ll master “how to mount a freestanding dishwasher” with confidence.
Professional Focus
Angela Ervin, a former interior designer turned blogger, specializes in kitchen design and renovations. Through her website, she blends her passion for cooking with design expertise, sharing practical and creative ideas. Known for balancing functionality and beauty, Angela’s insightful content has made her a trusted voice in home design and lifestyle.
About the Author
Angela Ervin, an experienced interior designer and blogger, combines her passion for kitchen renovations with storytelling. Living in Petersburg with her family, she enjoys cooking and testing her projects firsthand. Known for her humor and relatable style, Angela shares creative, functional design insights through her content, making her a trusted voice in home design.
Education History
University: Virginia Commonwealth University
Degree: Bachelor of Fine Arts (BFA) in Interior Design
- Angela’s education at VCU focused on mastering core interior design principles, including spatial planning, color theory, materials selection, and sustainable design practices.
- She gained hands-on experience through studio projects and collaborative design exercises, which honed her ability to create functional and aesthetically pleasing environments.
- Her coursework also emphasized problem-solving and practical applications of design, preparing her for real-world projects like her self-directed kitchen renovations.
- The program’s strong foundation in both technical skills and creative expression shaped Angela’s ability to seamlessly integrate form and function in her work.