
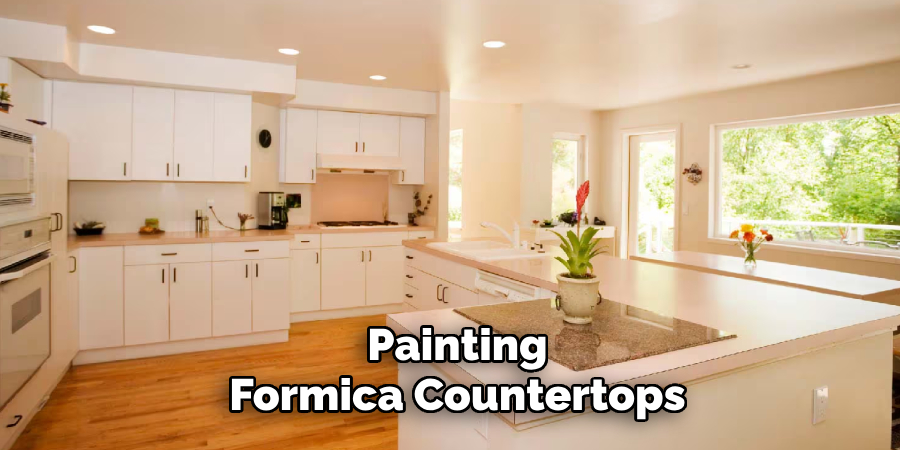
Are you tired of your old and outdated Formica countertops? Do you want to give them a fresh and modern look without spending much money on new countertops?
How to paint Formica countertops is a cost-effective and creative way to give your kitchen or bathroom a fresh, updated look without the expense of replacing them entirely. With the right preparation, tools, and techniques, you can transform your old countertops into visually stunning surfaces that complement your style. This process requires attention to detail and patience, but the results can be highly rewarding.
Whether aiming for a sleek, modern finish or a textured, rustic vibe, learning how to paint correctly on Formica will help you achieve a durable and professional-looking result. Let’s dive into the step-by-step process of painting Formica countertops.
What Are the Benefits of Painting Formica Countertops?
Before we get into the process, let’s discuss why you should consider painting your Formica countertops instead of replacing them.
First and foremost, it’s a cost-effective solution. Replacing countertops can be expensive, especially if you have a large surface area. By painting your existing countertops, you can achieve a similar look for a fraction of the cost.
Secondly, painting allows for creativity and customization. With various paint colors and techniques, you can choose the perfect shade and finish to complement your kitchen or bathroom decor.
Additionally, paint provides a durable, long-lasting finish that is easy to clean and maintain. You won’t have to worry about stains or scratches as you would with traditional Formica countertops.
What Will You Need?
To successfully paint Formica countertops, you will need the following materials:
- Sandpaper or sanding block
- Primer
- Paint (specifically designed for use on laminate and Formica surfaces)
- Paintbrushes or rollers
- Painter’s tape
- Tarp or drop cloth to protect surrounding areas
Before starting, make sure you have all of these materials readily available. It’s also helpful to have some additional rags or paper towels on hand for any spills or clean-up.
8 Easy Steps on How to Paint Formica Countertops:
Step 1: Prepare Your Countertops
The first step in painting Formica countertops is thorough preparation, which ensures a smooth and long-lasting finish. Start by clearing the countertops of any items, such as appliances, utensils, or decorations. Once the surface is clutter-free, clean the countertops thoroughly using a degreaser or all-purpose cleaner to remove dirt, grease, and residue. Having a clean and dry surface is crucial, as any remaining contaminants can hinder the adhesion of the primer and paint.
Next, inspect the countertops for any chips, cracks, or imperfections. These should be repaired using a laminate repair filler or an epoxy putty to create a smooth surface. Allow the filler to dry completely and sand the repaired areas until they align with the rest of the countertop.
Once the countertops are clean and repaired, use sandpaper or a sanding block to scuff the entire surface gently. This step is essential as it removes the glossy finish of the Formica, allowing the primer and paint to adhere better. Focus on creating a slightly rough texture rather than removing the entire layer of laminate. After sanding, use a damp or tack cloth to wipe away all the dust and debris, ensuring the surface is pristine and ready for the next step.
Step 2. Apply the Primer
Using a high-quality bonding primer, apply a thin, even coat over the entire surface of the countertops. A foam roller works well for flat areas, while a brush can be used for edges and corners. Be sure to cover all areas for consistent adhesion.
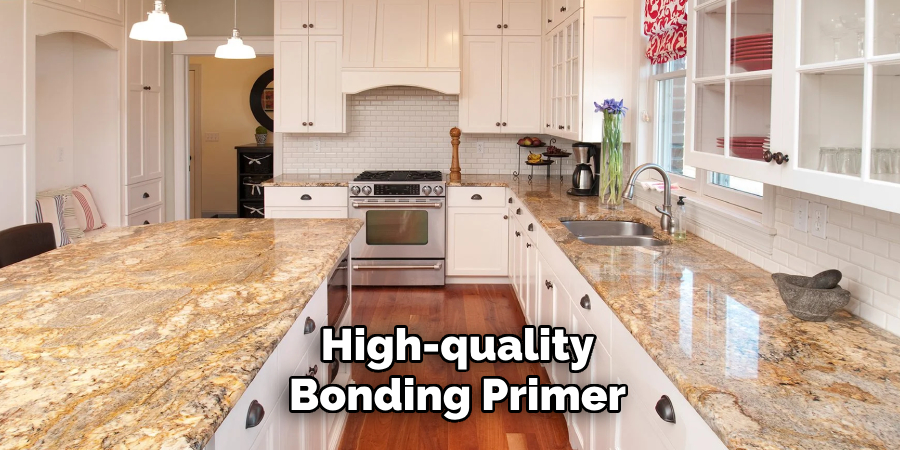
Allow the primer to dry according to the manufacturer’s instructions, which typically takes several hours. Once dry, inspect the surface for any missed spots and touch up if necessary before proceeding to the painting step.
Step 3. Paint the Countertops
Once the primer has dried completely, it’s time to apply the paint. Choose a durable, high-quality paint designed for use on surfaces such as Formica or laminate for the best results. Use a foam roller to apply a thin, even coat of paint across the surface, working in long, smooth strokes to avoid visible brush marks or streaks. A small brush can be used for edges and tight corners. Allow the first coat to dry as the paint manufacturer directs, then apply a second coat for full, even coverage. Repeat if necessary until you achieve the desired finish, ensuring each coat is thoroughly dry before applying the next.
Step 4. Seal the Countertops
After the paint has fully dried and you are satisfied with the finish, it’s essential to seal the countertops to protect the surface and ensure durability. Choose a clear, water-based polyurethane designed explicitly for countertops or high-use surfaces. Using a clean foam roller, apply a thin, even coat of the sealer across the entire surface. Work systematically to avoid overlapping marks and bubbles. Allow the first coat to dry completely as per the product instructions. For enhanced durability, consider applying two to three coats, lightly sanding with fine-grit sandpaper between each coat to ensure a smooth, professional finish.
Step 5. Allow the Sealer to Cure
Once the final coat of sealer has been applied, allowing the countertops to cure appropriately before use is critical. Refer to the manufacturer’s instructions for the recommended curing time, which typically ranges from 3 to 7 days. Avoid placing heavy objects or exposing the surface to water and excessive heat during this period.
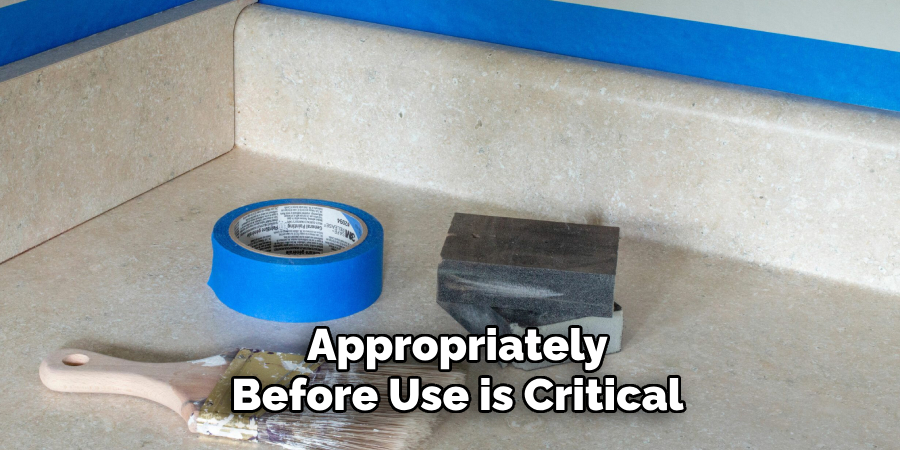
This curing process ensures the sealer fully hardens, providing a durable, long-lasting finish that protects your countertops from daily wear and tear. Proper curing will ensure the success of your project and maintain the quality of your work.
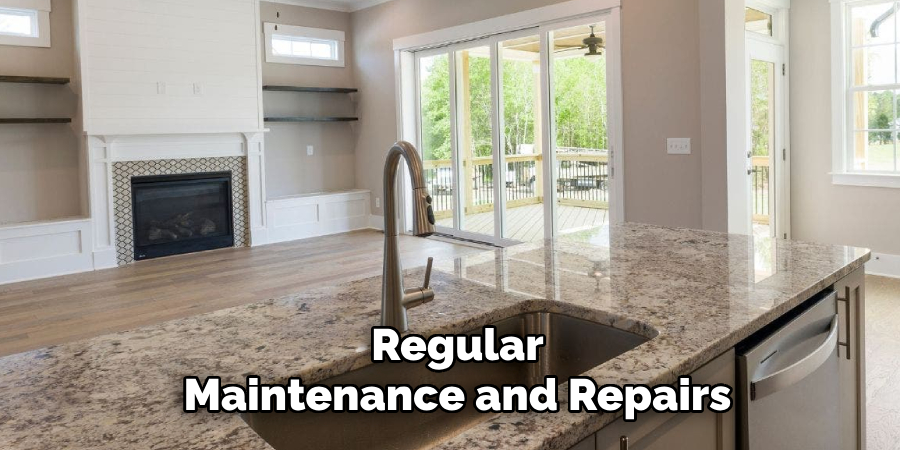
Step 6. Regular Maintenance for Long-Term Protection
After your countertops are sealed and cured, maintaining their condition is essential to ensure longevity and performance. Clean the surface regularly using a pH-neutral cleaner and a soft cloth to prevent buildup of dirt and grime. Avoid using abrasive cleaners or scrubbers, as they may damage the sealer. To maintain the protective finish, consider reapplying the sealer every 1 to 2 years, depending on the level of use and wear. Regular maintenance will keep your countertops looking pristine and enhance their durability over time.
Step 7. Addressing Stains and Repairs
Despite your best efforts to maintain your countertops, occasional stains or minor damage may occur. For stains, act promptly by blotting the affected area with a soft, damp cloth and using a pH-neutral cleaner. Avoid harsh chemicals, as they might weaken the protective sealer. A poultice specific to the countertop material may be necessary for more stubborn stains. Consider using a repair kit designed for your countertop material if minor chips or cracks appear. For extensive damage, consult a professional to restore the surface effectively. Being proactive with stain removal and repairs will preserve the appearance and integrity of your countertops.
Step 8. Keep the Countertops Protected
In addition to regular maintenance and repairs, there are some simple steps you can take to protect your countertops from damage. Avoid placing hot objects directly on the surface, which can cause heat damage or discoloration. Use cutting boards for food preparation and trivets under hot cookware to prevent scratches and burns. Be mindful of spills and wipe them up promptly to avoid potential staining. By following these preventative measures, you can extend the life of your newly refinished countertops.
By following these steps, you can successfully refinish your Formica or laminate countertops and give your kitchen a fresh, updated look without breaking the bank.
5 Things You Should Avoid
- Skipping Surface Preparation: Proper preparation is crucial when painting Formica countertops. Skipping steps like cleaning, sanding, or priming the surface will result in poor paint adhesion, leading to peeling or chipping over time.
- Using the Wrong Type of Paint: Not all paints suit Formica surfaces. Avoid using standard wall paint or non-durable options. Instead, opt for durable, oil-based, or water-based acrylic paints designed for countertops or similar surfaces.
- Ignoring Ventilation: Painting can release strong fumes, especially using primers or oil-based paints. Avoid painting in a poorly ventilated area, as this poses health risks. Ensure proper airflow by opening windows or using fans.
- Applying Thick Paint Layers: Applying paint in thick layers might seem to speed up the process, but it often leads to uneven finishes, bubbles, or extended drying times. Always use thin, even coats and allow each layer to dry completely.
- Rushing the Curing Process: Once the painting is complete, it’s essential to allow adequate curing time. Avoid using the countertops too soon, as the paint might not have fully set, increasing the chances of damage or wear.
Conclusion
How to paint formica countertops can be a cost-effective way to refresh your space, but success depends on careful preparation and attention to detail.
You can achieve a durable and professional finish by cleaning the surface thoroughly, ensuring proper sanding, using the right primer and paint, and applying thin, even coats. Patience is key—allowing each layer to dry and the paint to cure fully will help ensure lasting results.
With the right approach, you can transform your countertops and give your kitchen or bathroom a stylish, updated look without the expense of replacement.
Professional Focus
Angela Ervin, a former interior designer turned blogger, specializes in kitchen design and renovations. Through her website, she blends her passion for cooking with design expertise, sharing practical and creative ideas. Known for balancing functionality and beauty, Angela’s insightful content has made her a trusted voice in home design and lifestyle.
About the Author
Angela Ervin, an experienced interior designer and blogger, combines her passion for kitchen renovations with storytelling. Living in Petersburg with her family, she enjoys cooking and testing her projects firsthand. Known for her humor and relatable style, Angela shares creative, functional design insights through her content, making her a trusted voice in home design.
Education History
University: Virginia Commonwealth University
Degree: Bachelor of Fine Arts (BFA) in Interior Design
- Angela’s education at VCU focused on mastering core interior design principles, including spatial planning, color theory, materials selection, and sustainable design practices.
- She gained hands-on experience through studio projects and collaborative design exercises, which honed her ability to create functional and aesthetically pleasing environments.
- Her coursework also emphasized problem-solving and practical applications of design, preparing her for real-world projects like her self-directed kitchen renovations.
- The program’s strong foundation in both technical skills and creative expression shaped Angela’s ability to seamlessly integrate form and function in her work.