
Painting countertops is an excellent, budget-friendly way to breathe new life into old or outdated kitchen or bathroom surfaces without the expense or hassle of a full replacement. This method allows homeowners to explore their creativity by customizing colors and patterns to match their unique style. Additionally, painted countertops can extend the lifespan of existing surfaces, making it a practical choice for those looking to enhance their spaces without breaking the bank.

The benefits of this approach include significant cost savings, the ability to achieve a personalized design, and an environmentally conscious alternative by reusing what you already have.
This article will serve as a detailed guide on how to paint my countertops, covering essential steps like surface preparation, painting techniques, and sealing to ensure a durable, long-lasting finish. With the right tools, patience, and this guide, you can achieve a stunning transformation for your countertops.
Choosing the Right Paint for Countertops
Selecting the appropriate paint is crucial for achieving a durable and visually appealing countertop transformation. Different paints offer varying finishes, levels of durability, and application techniques, making it vital to choose based on your specific needs and countertop material.
Types of Paint for Countertops
- Acrylic Paint with Epoxy Sealant
This combination provides excellent durability and a glossy, professional-grade finish. The epoxy sealant protects the surface from scratches, moisture, and stains, making it ideal for high-traffic areas.
- Chalk Paint with Sealant
Chalk paint is an excellent option for those seeking a matte, vintage look. A sealant is necessary to protect the painted surface from wear and tear.
- Countertop Paint Kits
These pre-mixed solutions are specifically designed for materials like laminate, wood, and tile. They are easy to apply and often include all the supplies needed for the project.
- Oil-Based or Enamel Paints
These provide high resistance to moisture and stains, making them particularly suitable for kitchen or bathroom countertops. However, they require longer drying times and proper ventilation during application.
Considerations for Different Countertop Materials
- Laminate
Works well with most countertop paints, requiring minimal surface preparation.
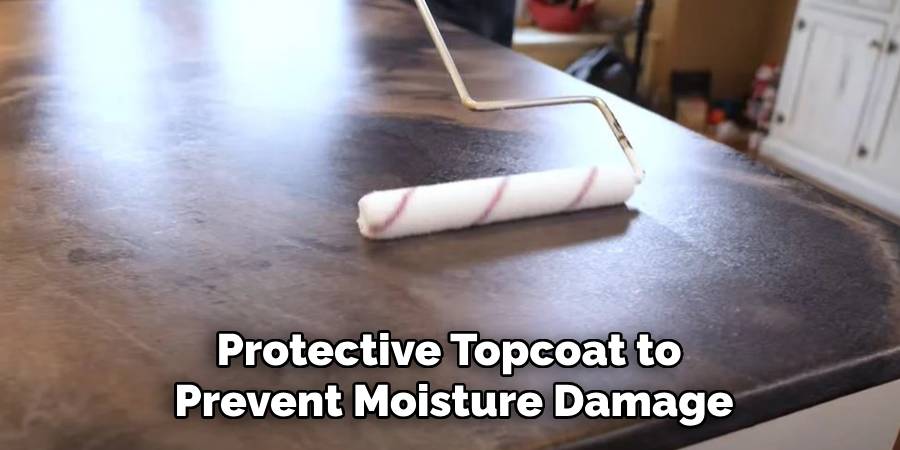
- Wood
Requires priming and a durable protective topcoat to prevent moisture damage.
- Tile
Needs an adhesion primer to ensure the paint adheres properly to the surface.
- Concrete
Being porous, it will require a sealing coat after painting to protect against moisture and stains.
By carefully considering your countertop’s paint type and material, you can ensure a successful and lasting transformation.
Gathering Materials and Tools
Before transforming your countertop, gathering the right materials and tools is essential for a smooth and long-lasting finish. This preparation ensures that every step of the process is efficient and effective.
Essential Materials
- Sandpaper (220-grit and 400-grit): Necessary for proper surface preparation to help paint adhere.
- Painter’s Tape: Ideal for masking off edges and preventing paint from bleeding into unwanted areas.
- Degreaser Or Mild Detergent: Used to clean the surface, removing any grease or dirt thoroughly.
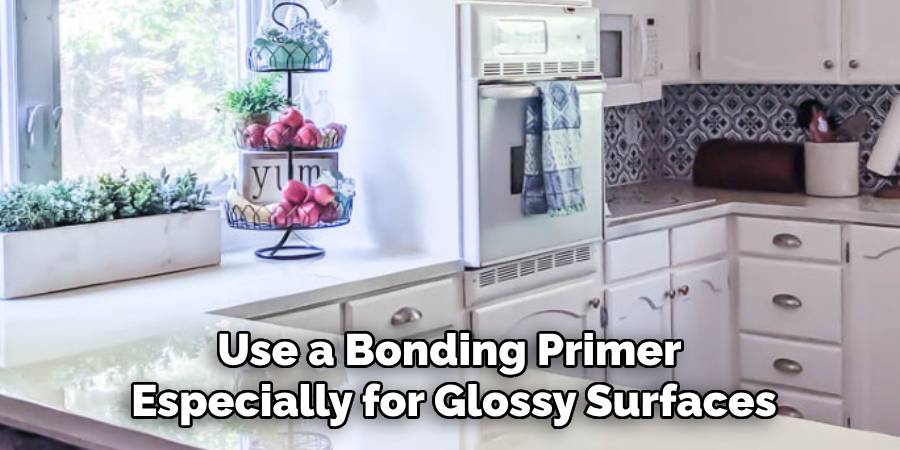
- Primer: Use a bonding primer, especially for glossy surfaces, to ensure a secure adhesion.
- Chosen Paint: Options include acrylic, enamel, or specialty countertop paint to achieve the desired finish and durability.
- Polyurethane Or Epoxy Sealant: Provides a durable protective layer for long-term use.
Tools You’ll Need
- Foam Rollers And High-Quality Brushes: Provide a smooth, even application without streaks.
- Drop Cloths: Protect floors and cabinets from accidental spills.
- Gloves And A Mask: Essential for protecting yourself from fumes and chemicals during the process.
- Paint Tray: Makes loading rollers with paint more convenient and mess-free.
- Stir Sticks: Help mix the paint thoroughly to achieve a consistent texture and color.
By ensuring you have all materials and tools ready, the preparation phase will set the stage for a professional and polished countertop makeover.
Preparing the Countertop Surface
Proper preparation of the countertop surface is crucial for ensuring a long-lasting and professional finish. Follow the steps below to prepare your countertop thoroughly:
Step 1: Cleaning the Countertop
Begin by removing all items from the countertop. Clean the surface with a degreaser to eliminate grease, dirt, and any food residue that could interfere with paint adhesion. Make sure to wipe the surface dry, leaving no moisture behind. A clean surface is the foundation for excellent results.
Step 2: Sanding the Surface
Using 220-grit sandpaper, lightly sand the entire countertop surface. This step roughens the material, creating a texture that allows the paint to adhere more effectively. After sanding, use a damp cloth to wipe away all dust and sanding residue to ensure a smooth and clean working area.
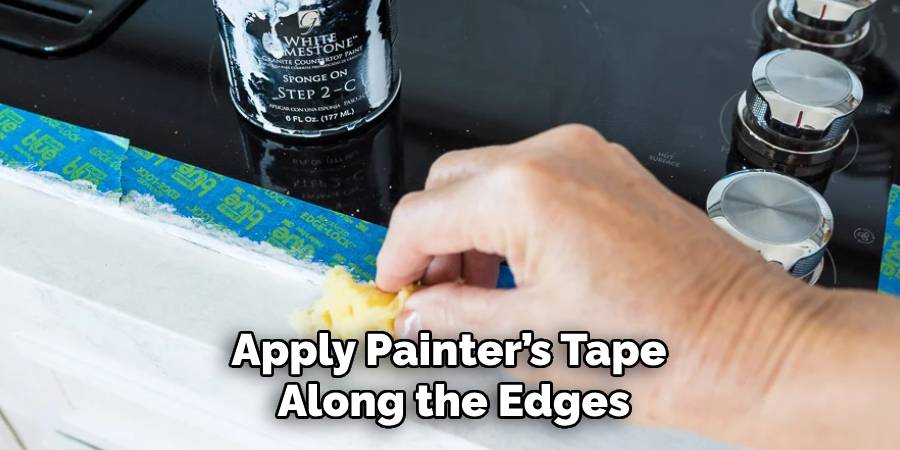
Step 3: Applying Painter’s Tape
Carefully apply painter’s tape along the edges where the countertop meets the backsplash, walls, or appliances. This step helps achieve clean, sharp lines and prevents accidental paint smudges on surrounding surfaces. Be meticulous during this process to ensure even, precise application.
Step 4: Priming the Surface
Finally, apply a thin, even coat of a bonding primer specifically designed for countertops. Make sure to follow the manufacturer’s instructions for application and drying times. The primer enhances paint adhesion and ensures a smoother and more durable finish. Allow the primer to dry completely before proceeding to the next step.
By completing these steps, you’ll have a perfectly prepared countertop surface, ready for transformation!
How to Paint My Countertops: Painting the Countertops
Step 1: Applying the First Coat of Paint
Begin by using a foam roller to apply the first coat of paint evenly across the surface. Foam rollers help minimize streaks and bubbles, ensuring a smooth finish. Work in thin, even layers, allowing the paint to adhere better and reducing the risk of uneven textures. Be patient and allow the first coat to dry completely before moving on to the next step. Follow the manufacturer’s recommended drying time to achieve the best results.
Step 2: Adding a Second or Third Coat (If Needed)
After the first coat has dried, inspect the surface to determine whether additional layers are required for full coverage. If necessary, lightly sand the dried paint with 400-grit sandpaper to create a smooth texture between coats. Remove any dust or debris from sanding before applying the next layer. Add thin coats of paint, one at a time, allowing each layer to dry completely. Repeat this process until the countertop is fully covered and the desired appearance is achieved.
Step 3: Creating a Faux Stone or Marble Effect (Optional)
For those who wish to create a decorative finish, now is the time to add a faux stone or marble effect. Use a sponge or feathering brush to gently dab or stroke contrasting paint colors onto the surface, mimicking the natural variations found in stone or marble. While the paint is still wet, blend the edges of the colors to achieve a seamless and realistic look. Experiment with different techniques until you are satisfied with the result. This step adds a layer of sophistication to your countertops and gives them a personalized touch.
Sealing and Protecting the Painted Countertops
After achieving the desired faux finish, sealing and protecting your painted countertops is essential to ensure their longevity and durability. Follow these steps for the best results:
Step 1: Choosing the Right Sealer
Selecting the appropriate sealer is crucial for a strong and lasting finish. Consider the following options based on your needs:
- Polyurethane: Opt for a water-based polyurethane to prevent a yellowing finish while providing a durable protective layer.
- Epoxy Resin: For an ultra-durable, glass-like surface, epoxy resin is an excellent choice, particularly in high-use areas like kitchens.
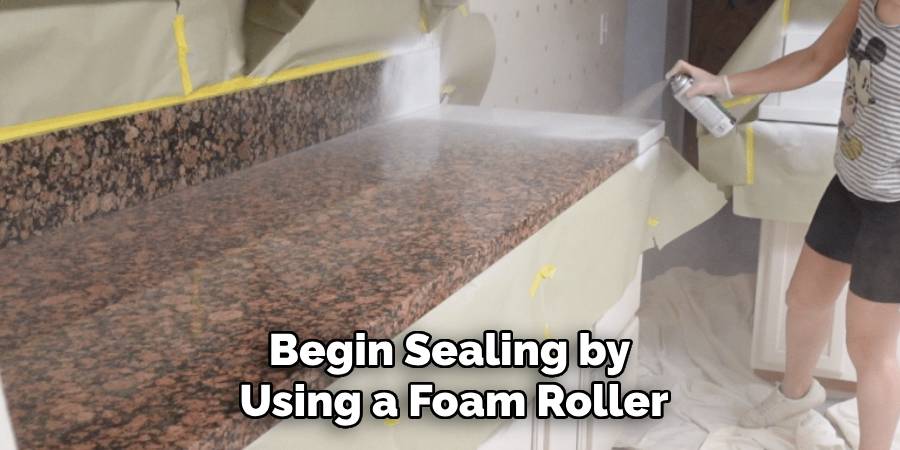
Step 2: Applying the Sealer
Begin sealing by using a foam roller to apply thin, even layers of the chosen sealer. Avoid overloading as this can lead to drips and unevenness. Be sure to follow the drying time guidelines recommended by the manufacturer to achieve the best results. Typically, you’ll need a minimum of two to three coats to create a durable, resilient surface. Lightly sand between coats with fine-grit sandpaper if a smoother finish is desired.
Step 3: Curing Time and Final Steps
Once the final coat of sealer is applied, allow sufficient curing time to harden and set the surface properly. Generally, this takes 48-72 hours before the countertops are ready for light use. Avoid placing heavy objects or cutting directly on the surface to maintain the finish. Incorporating cutting boards and heat trivets will further protect your handiwork, ensuring your countertops look polished and stunning for years to come.
Maintenance Tips for Painted Countertops
Daily Cleaning Practices
Practice regular cleaning with mild soap and a soft sponge to keep your painted countertops fresh. Steer clear of harsh abrasives or strong chemicals, as these can damage the painted surface and degrade the protective sealer. Wipe up spills promptly to prevent staining, especially with acidic or brightly colored substances.
Preventing Scratches and Damage
Preserving the integrity of your countertops requires extra care in daily use. Always use cutting boards rather than directly on the surface to avoid scratches or gouges. Also, avoid placing hot pans or dishes directly on the painted surface. Instead, use heat-resistant trivets or pads to shield the finish from potential heat damage.
Touch-Up Tips
Over time, small areas of your countertop may show signs of wear. To address this, keep a small amount of leftover paint for touch-ups. For worn spots, lightly sand the affected area to smooth it, and reapply paint and sealer to restore both appearance and durability. By addressing minor issues early, you can keep your painted countertops in excellent condition for years to come.
Conclusion
Painting your countertops is an affordable and customizable way to refresh your space without the cost of replacement. You can achieve professional-looking results by following the key steps—preparing, painting, sealing, and maintaining. Proper preparation, including cleaning and sanding, ensures the paint adheres well, while applying a quality sealer protects the finish over time. Regular maintenance helps to preserve the appearance and durability of your work. Taking your time with preparation and sealing is crucial for long-lasting results. If you’re wondering “how to paint my countertops,” this guide provides everything you need to transform your surfaces with confidence and creativity.
Professional Focus
Angela Ervin, a former interior designer turned blogger, specializes in kitchen design and renovations. Through her website, she blends her passion for cooking with design expertise, sharing practical and creative ideas. Known for balancing functionality and beauty, Angela’s insightful content has made her a trusted voice in home design and lifestyle.
About the Author
Angela Ervin, an experienced interior designer and blogger, combines her passion for kitchen renovations with storytelling. Living in Petersburg with her family, she enjoys cooking and testing her projects firsthand. Known for her humor and relatable style, Angela shares creative, functional design insights through her content, making her a trusted voice in home design.
Education History
University: Virginia Commonwealth University
Degree: Bachelor of Fine Arts (BFA) in Interior Design
- Angela’s education at VCU focused on mastering core interior design principles, including spatial planning, color theory, materials selection, and sustainable design practices.
- She gained hands-on experience through studio projects and collaborative design exercises, which honed her ability to create functional and aesthetically pleasing environments.
- Her coursework also emphasized problem-solving and practical applications of design, preparing her for real-world projects like her self-directed kitchen renovations.
- The program’s strong foundation in both technical skills and creative expression shaped Angela’s ability to seamlessly integrate form and function in her work.