
Burn marks on kitchen countertops can be unsightly and frustrating, often leaving homeowners looking for effective ways to restore their surfaces. Whether caused by a hot pan, curling iron, or other heat sources, these marks don’t have to be permanent. With the right tools and techniques, you can often remove or minimize burn marks and return your countertop to its former glory.
This guide on how to remove burn marks from kitchen countertops will walk you through the process step by step for a variety of countertop materials.
Why Do Burn Marks Occur on Kitchen Countertops?
Burn marks on kitchen countertops occur when a hot object comes into direct contact with the surface, causing damage and discoloration. This can happen with any type of countertop material, including laminate, granite, quartz, or wood.
Laminate countertops are particularly susceptible to burn marks because they are made of thin layers of paper that can easily scorch or melt when exposed to heat.
Granite and quartz countertops are also prone to burn marks as the high heat can cause discoloration or even crack the surface. Even wooden countertops can experience burn marks from hot pans or appliances left on their surface for too long.
Needed Materials
Clean Cloth or Sponge
Before attempting to remove burn marks from your kitchen countertop, you’ll want to start with a clean surface. Use a soft cloth or sponge and warm, soapy water to gently wipe away any debris or dirt.
Baking Soda
Baking soda is a gentle abrasive that can effectively remove burn marks without damaging the surface of your countertop. It’s also non-toxic and readily available in most households.
White Vinegar
White vinegar is another natural cleaning agent that can help break down tough stains and restore the shine to your countertops. Its acidic properties make it effective for removing burnt-on residue.
Lemon Juice
Lemon juice contains citric acid, which can help break down tough stains and discoloration on your countertops. It also has a refreshing scent that can leave your kitchen smelling clean and fresh.
Hydrogen Peroxide
Hydrogen peroxide is another powerful cleaning agent that can help lift stubborn burn marks from your countertops. Just be sure to wear gloves and test it on an inconspicuous area first as it can sometimes cause discoloration.
Plastic or Silicone Scraper
For tougher burn marks, you may need to use a scraper tool to gently remove the residue without damaging the surface of your countertop. Be sure to choose a plastic or silicone scraper to avoid scratching the material.
8 Step-by-step Guides on How to Remove Burn Marks From Kitchen Countertops
Step 1: Prepare the Surface
Begin by cleaning the affected area thoroughly to remove any dirt, grease, or loose debris. Use a clean cloth or sponge with warm, soapy water and gently wipe the surface around the burn mark. This ensures that you are working with a clean area, reducing the risk of scratching or spreading grime while treating the burn mark.
Once the surface is clean, dry it completely with a soft, dry cloth to prepare it for the next steps. If there is still residue or discoloration, move on to the next step.

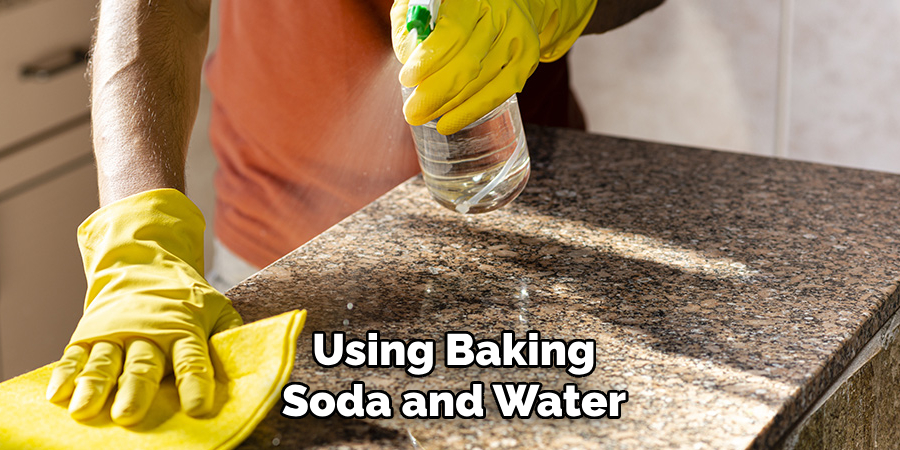
Step 2: Create a Baking Soda Paste
To address the burn mark, create a paste using baking soda and water. Start by mixing two tablespoons of baking soda with one tablespoon of water in a small bowl. Adjust the mixture as needed until you achieve a thick, spreadable paste.
Baking soda is a mild abrasive, which helps to gently lift burn marks without causing damage to the countertop surface. Once the paste is ready, apply it directly onto the burn mark, covering the area completely. Allow it to sit for 5-10 minutes to loosen the residue and discolored material.
Step 3: Scrub the Burn Mark
Using a soft-bristled brush or non-abrasive sponge, gently scrub the burn mark in a circular motion. Avoid using hard-bristled brushes or harsh sponges as they can cause scratches on the countertop surface.
Continue to scrub until you see the burn mark fading. If it’s not completely removed, repeat this step until there is no more visible residue.
Step 4: Rinse and Dry
Once you have finished scrubbing, use a clean, damp cloth to wipe away the baking soda paste and any loosened residue from the countertop surface. Ensure that all traces of the paste are removed to prevent streaking or a gritty texture.
After rinsing, thoroughly dry the area with a soft, dry cloth to prevent water spots and ensure the countertop regains its natural appearance. If the burn mark persists, you can consider repeating the process or moving on to additional techniques tailored for your countertop material.
Step 5: Use Vinegar
For tougher burn marks or lingering discoloration, you can try using white vinegar. Create a solution of equal parts water and white vinegar in a spray bottle. Spray the affected area generously and let it sit for 10-15 minutes to allow the acidic properties of the vinegar to break down the stain.
Afterward, wipe away the solution with a clean cloth or sponge and rinse the area thoroughly with warm water. Dry with a soft cloth and assess if the burn mark has been removed. If not, move on to the next step.
Step 6: Try Lemon Juice
Lemon juice is another natural cleaning agent that can help remove stubborn burn marks from your kitchen countertop. Simply cut a lemon in half and rub the affected area with the freshly squeezed juice.
Alternatively, you can create a paste using baking soda and lemon juice to achieve a more powerful cleaning solution. Apply it onto the burn mark and scrub gently with a soft-bristled brush or sponge until the residue is removed.
Step 7: Use Hydrogen Peroxide
If all else fails, you can try using hydrogen peroxide to lift the burn mark from your countertop surface. However, be cautious as it can cause discoloration on certain types of countertops such as granite or quartz.
Mix equal parts hydrogen peroxide and water in a spray bottle and apply it to the burn mark. Let it sit for a few minutes before wiping it away with a damp cloth or sponge. Rinse the area thoroughly and dry with a soft cloth.
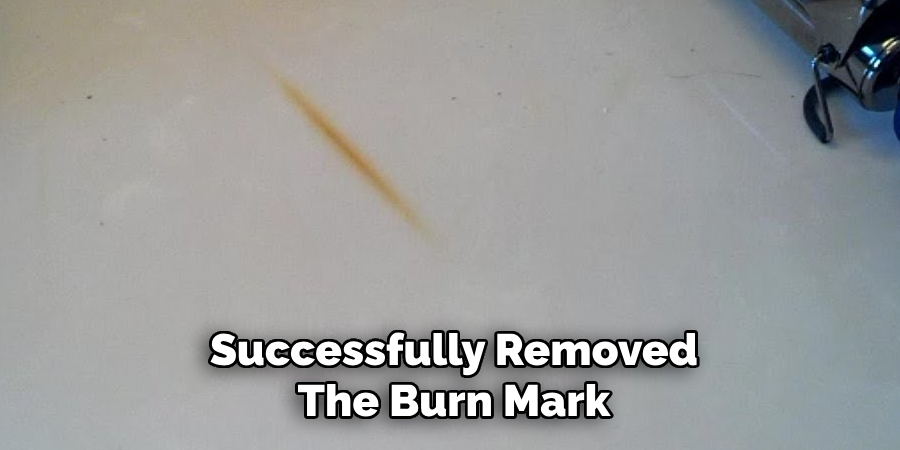
Step 8: Polish and Protect
After you have successfully removed the burn mark, you may want to polish your countertop surface to restore its shine. For natural stone countertops, use a specialized stone polish according to the manufacturer’s instructions. For other materials, you can create a mixture of equal parts water and white vinegar in a spray bottle and use it as a gentle polish.
To protect against future burn marks, make sure to always use trivets or hot pads when placing hot pans or appliances on your countertops. Regularly cleaning and maintaining your countertops can also help prevent burn marks from occurring.
Following these simple steps on how to remove burn marks from kitchen countertops can help you effectively remove burn marks from your kitchen countertops and keep them looking clean and well-maintained.
Just remember to always test any cleaning solution on an inconspicuous area first and be gentle when scrubbing to avoid damaging the surface. So next time you accidentally leave a hot pan on your countertop, don’t worry – with these tips, you can easily remove the burn mark and have your countertop looking as good as new in no time! Happy cleaning!
Frequently Asked Questions
Q1: Will Using These Cleaning Methods Damage My Countertop Surface?
A1: As long as you follow the instructions carefully and use gentle tools, these methods should not cause any damage to your countertop surface. However, it is always recommended to test any cleaning solution on an inconspicuous area first before using it on the affected area.
Q2: Can These Methods Be Used For All Types Of Countertop Materials?
A2: Some methods may not be suitable for certain types of countertop materials, such as granite or quartz. It is best to consult with the manufacturer or do some research beforehand to ensure that the cleaning method is safe for your specific type of countertop material.
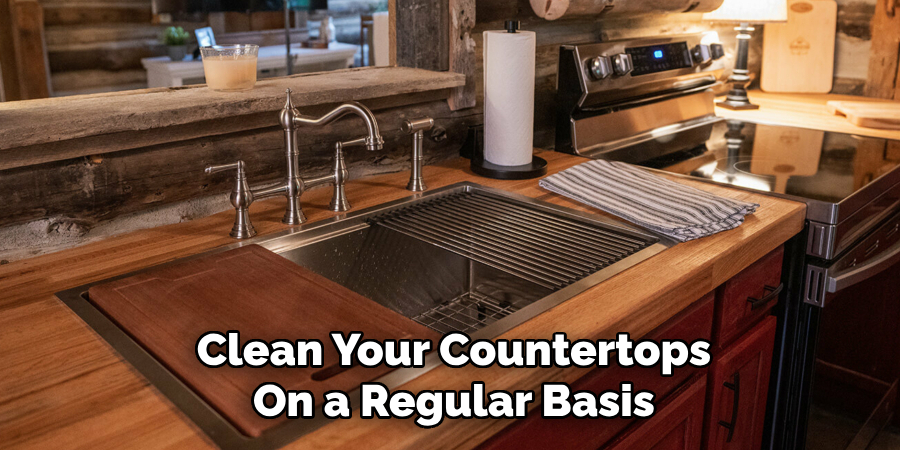
Q3: How Often Should I Clean My Countertops To Prevent Burn Marks?
A3: It is recommended to clean your countertops on a regular basis, at least once a week, to prevent any buildup or discoloration. Additionally, always use trivets or hot pads when placing hot pans or appliances on your countertops to avoid creating burn marks. Keeping up with regular maintenance and cleaning can help prolong the life of your countertops and keep them looking pristine.
Conclusion
Burn marks on kitchen countertops can be frustrating, but they don’t have to be permanent. By following the steps on how to remove burn marks from kitchen countertops outlined above and using household items such as baking soda, vinegar, lemon juice, or hydrogen peroxide, you can effectively remove or minimize the appearance of burn marks.
Remember to always test cleaning solutions on a small, inconspicuous area first and be gentle during the process to avoid causing further damage.
Regular cleaning, maintenance, and the use of protective measures like trivets can prevent future issues and keep your countertops looking flawless. With a little care and effort, your kitchen workspace can remain a beautiful and functional area for years to come.
Professional Focus
Angela Ervin, a former interior designer turned blogger, specializes in kitchen design and renovations. Through her website, she blends her passion for cooking with design expertise, sharing practical and creative ideas. Known for balancing functionality and beauty, Angela’s insightful content has made her a trusted voice in home design and lifestyle.
About the Author
Angela Ervin, an experienced interior designer and blogger, combines her passion for kitchen renovations with storytelling. Living in Petersburg with her family, she enjoys cooking and testing her projects firsthand. Known for her humor and relatable style, Angela shares creative, functional design insights through her content, making her a trusted voice in home design.
Education History
University: Virginia Commonwealth University
Degree: Bachelor of Fine Arts (BFA) in Interior Design
- Angela’s education at VCU focused on mastering core interior design principles, including spatial planning, color theory, materials selection, and sustainable design practices.
- She gained hands-on experience through studio projects and collaborative design exercises, which honed her ability to create functional and aesthetically pleasing environments.
- Her coursework also emphasized problem-solving and practical applications of design, preparing her for real-world projects like her self-directed kitchen renovations.
- The program’s strong foundation in both technical skills and creative expression shaped Angela’s ability to seamlessly integrate form and function in her work.