
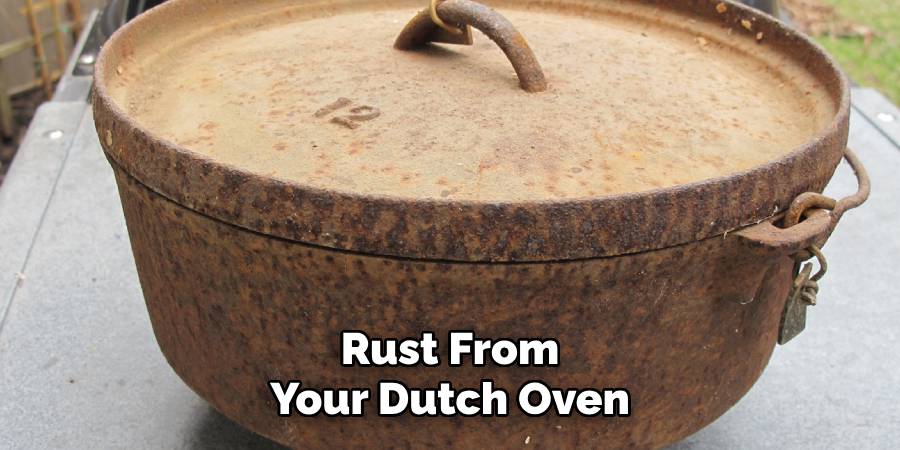
Cast iron Dutch ovens are renowned for their durability and ability to retain heat, making them a staple in many kitchens. However, even these resilient cookware pieces can develop rust when exposed to moisture. Rust not only diminishes the cooking performance of the Dutch oven but can also weaken the metal over time and even transfer an unpleasant metallic taste to food.
Therefore, learning how to remove rust from cast iron Dutch ovens is essential for maintaining their functionality and extending their lifespan. This article provides a step-by-step guide to effectively removing rust and restoring your Dutch oven to its original state. Whether you’re dealing with light surface rust or a deeply affected piece, the techniques outlined here will help you care for your cast iron cookware and ensure it remains a reliable kitchen companion for years to come.
Understanding Why Cast Iron Rusts
Rust on cast iron occurs due to its natural susceptibility to oxidation when exposed to water and air. Understanding the common causes of rust can help prevent its buildup and prolong the life of your Dutch oven.
Exposure to Moisture
One of the primary reasons cast iron rusts is leaving it wet after washing. Water left on the surface creates an environment for oxidation, leading to rust formation. Ensure your Dutch oven is thoroughly dried after cleaning to avoid this issue.
Improper Storage
Storing your Dutch oven in a humid environment can also lead to rust. Humidity introduces moisture into the air, condensing on the cast iron’s surface. Proper storage in a dry area is essential to maintaining its quality.
Lack of Seasoning
Seasoning is the process of applying and baking oil onto the surface of the cast iron, creating a natural non-stick coating that also acts as a protective barrier. The metal is exposed to air and moisture without seasoning, increasing the likelihood of rust.
Acidic Foods
Cooking with acidic ingredients like tomatoes or citrus can strip away the protective oil layer. Over time, this can cause the cast iron to become vulnerable to rust. Proper care and re-seasoning are necessary after using such ingredients to preserve the Dutch oven’s integrity.
Essential Tools and Supplies for Rust Removal
When it comes to removing rust from your Dutch oven, having the right tools and supplies is essential to restore and maintain its functionality.
Cleaning Tools
- Steel Wool or Scrub Brush: Ideal for tackling heavy rust buildup on the surface.
- Non-Metallic Scrub Pad: Perfect for addressing lighter rust without causing scratches on the cast iron.
- Old Toothbrush: Useful for getting into small crevices and cleaning intricate details.
Cleaning Agents
- White Vinegar and Water Solution: A natural and effective cleaner for breaking down rust. Use a 1:1 ratio for soaking the affected areas.
- Baking Soda Paste: Combine baking soda with water to create a mild abrasive paste for scrubbing off light rust spots.
- Coarse Salt and Oil Scrub: Mix salt and a small amount of oil to remove rust while preserving the surface gently.
- Commercial Rust Remover (if needed): Use cautiously and ensure it is food-safe.
Protection Tools
- Food-Safe Oil: Essential for re-seasoning the cast iron after rust removal to restore its protective layer.
- Paper Towels or Lint-Free Cloths: Useful for wiping off excess oil and ensuring a smooth seasoning process.
Equipping yourself with these tools allows you to clean and preserve your Dutch oven for continued use confidently.
Removing Light Surface Rust
Restoring your Dutch oven when light surface rust appears is a straightforward process. Follow these steps to ensure effective rust removal while maintaining the integrity of the cast iron.
Step 1: Rinse with Warm Water
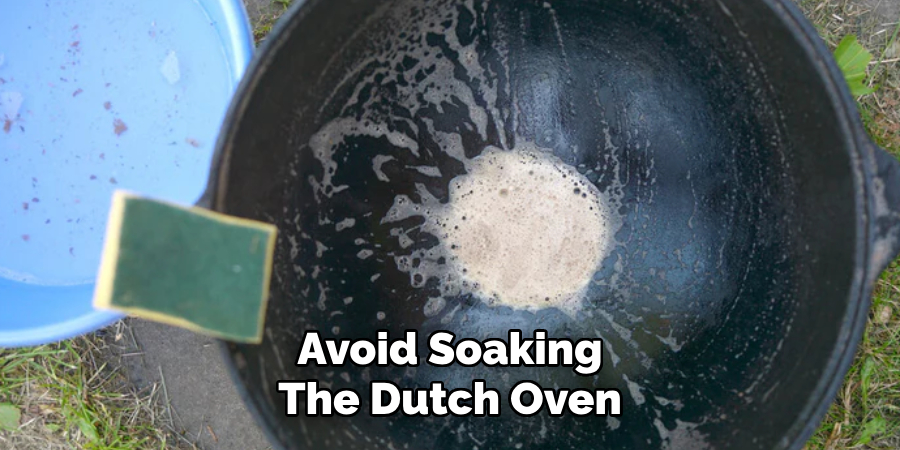
Begin by rinsing the Dutch oven with warm water to remove any loose rust particles or debris. Avoid soaking it for an extended period, as this can exacerbate rusting.
Step 2: Scrub with a Non-Metallic Pad and Mild Dish Soap
Using a non-metallic scrubbing pad, gently scrub the rusted areas with mild dish soap. This will help lift the surface rust without
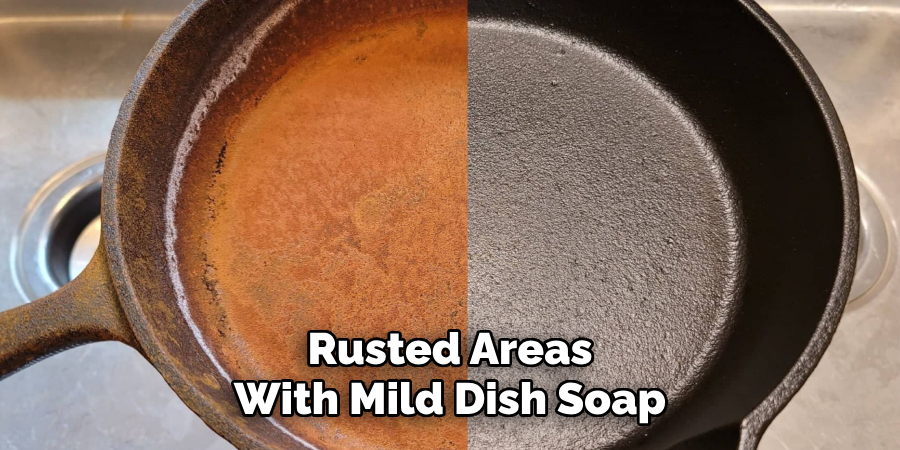
scratching the iron or damaging any remaining seasoning. Apply consistent pressure for an even clean and focus on affected spots.
Step 3: Dry Thoroughly with a Towel
Once all visible rust has been removed, immediately dry the Dutch oven with a clean towel. Make sure no moisture is left, as even small water droplets can lead to further rusting.
Step 4: Apply Oil and Heat to Re-Season
To restore the protective coating, apply a thin, even layer of food-safe oil to the entire surface of the Dutch oven. Heat the oven in an oven-safe setting or stovetop until the oil bonds with the iron, creating a smooth, new layer of seasoning. Allow it to cool before storing.
By following these steps, your Dutch oven will be rejuvenated and ready for use again!
How to Remove Rust from Cast Iron Dutch Oven: Removing Heavy Rust with Vinegar Soak
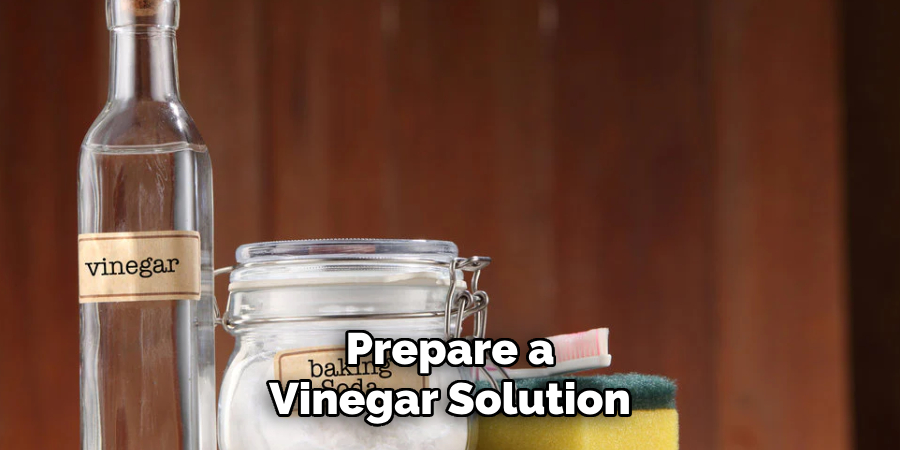
Step 1: Mix Equal Parts White Vinegar and Water in a Container
Prepare a vinegar solution by mixing equal parts white vinegar and water in a large container to submerge your Dutch oven fully. The acidic property of vinegar effectively breaks down and loosens heavy rust, making it easier to remove.
Step 2: Submerge the Dutch Oven for Up to 12 Hours
Place the Dutch oven into the vinegar solution, ensuring it is completely submerged. Allow it to soak for up to 12 hours, but check periodically. Extended soaking may cause damage to the cast iron, so monitor the progress carefully.
Step 3: Remove from Vinegar Solution and Scrub with Steel Wool
Once the heavy rust has loosened, scrub the Dutch oven out of the vinegar solution with steel wool. This step will remove the stubborn rust, exposing the bare iron surface beneath. Use firm, even strokes to achieve a uniform finish.
Step 4: Rinse Thoroughly and Dry Immediately
After scrubbing, rinse the Dutch oven thoroughly with warm water to remove any remaining vinegar solution or rust particles.
Promptly dry it with a clean towel to prevent further rusting. Ensure that all moisture is eliminated.
Step 5: Apply a Light Coating of Oil and Re-Season
Once dry, apply a thin, even layer of food-safe oil to the entire surface of the Dutch oven. Heat it on a stovetop or in an oven to re-season the cast iron, creating a protective layer that restores its functionality. Allow it to cool completely before storing.
Caution
Avoid soaking the Dutch oven in the vinegar solution for too long, as prolonged exposure can harm the cast iron. Adhering to the
recommended soaking time will ensure an effective yet safe rust-removal process.
Salt and Oil Scrub for Stubborn Rust
Step 1: Pour a Generous Amount of Coarse Salt
Start by sprinkling a generous amount of coarse salt into the Dutch oven. The salt’s abrasive texture will help break down and lift the stubborn rust from the surface of the cast iron without causing damage.
Step 2: Add a Few Tablespoons of Vegetable Oil
Next, add a few tablespoons of vegetable oil directly into the Dutch oven. The oil acts as a lubricant, making it easier to scrub away the rust while also conditioning the metal. Ensure the salt and oil are evenly distributed for effective cleaning.
Step 3: Scrub Using a Paper Towel or Cloth
Using a sturdy paper towel or a soft cloth, begin scrubbing the mixture of salt and oil over the rusty areas. Apply firm pressure in circular motions, focusing on areas with visible rust build-up. Continue scrubbing until the rust is removed, revealing the smooth surface underneath.
Step 4: Wipe Clean and Re-Season
Once the rust has been removed, carefully wipe away the excess salt and oil with a clean cloth or paper towel. Rinse if necessary and thoroughly dry the Dutch oven. Finally, heat a thin layer of food-safe oil to re-season the cast iron, protecting it from future rust.
Re-Seasoning the Dutch Oven to Prevent Future Rust
Step 1: Preheat the Oven to 400°F (200°C)
Start by preheating your oven to 400°F (200°C). This temperature is ideal for bonding the oil to the cast iron surface, creating a protective layer that prevents rust.
Step 2: Coat the Entire Surface with Oil
Using a clean cloth or paper towel, apply a thin, even layer of vegetable oil or flaxseed oil to the entire surface of the Dutch oven, including the lid and handles. Be sure not to use too much oil, as excess oil can result in a sticky or uneven seasoning layer.
Step 3: Place Upside Down in the Oven
Position the Dutch oven upside down on the oven rack in the middle of the oven. To catch any drippings, place a baking sheet lined
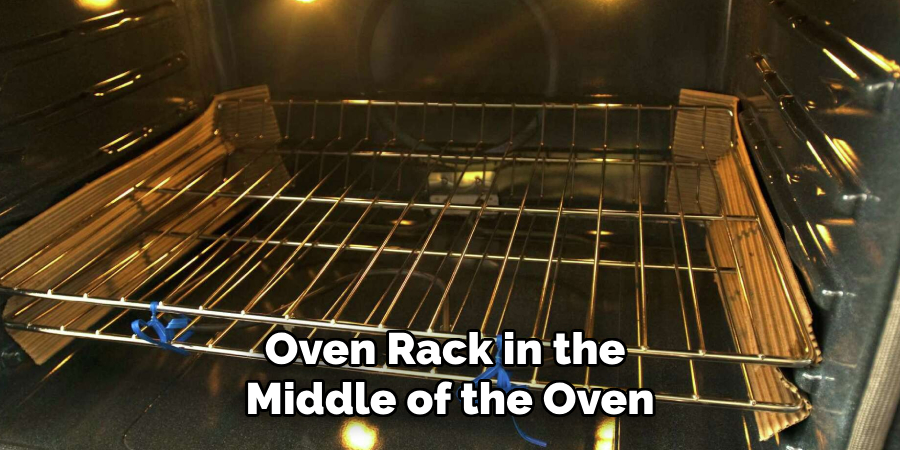
with aluminum foil on the rack below. This ensures your oven stays clean during the seasoning process.
Step 4: Bake for One Hour and Cool
Allow the Dutch oven to bake for one hour. After the hour is complete, turn off the oven and leave the Dutch oven inside to cool naturally. This gradual cooling process helps the seasoning adhere properly.
Step 5: Repeat if Needed
If you want a stronger seasoning layer, repeat the process one or two more times. Each layer enhances the nonstick surface and adds extra rust protection, ensuring the longevity of your Dutch oven.
Preventing Rust on a Cast Iron Dutch Oven
Proper care is essential to prevent rust and maintain the performance of your cast iron Dutch oven. Always ensure the Dutch oven is completely dry before storing it, as even small amounts of moisture can lead to rust. After each use, apply a thin layer of oil to the surface to maintain the seasoning layer and protect against oxidation. Store your Dutch oven in a dry area, and consider placing paper towels inside it to absorb any residual moisture. Additionally, avoid cooking acidic foods, like tomato-based dishes, for extended periods, as they can erode the seasoning layer over time. By following these simple steps, you can keep your Dutch oven in excellent condition, ready for years of reliable use.
Conclusion
Learning how to remove rust from cast iron Dutch oven cookware is straightforward with methods like using vinegar, baking soda, or a salt scrub. These simple solutions effectively restore your Dutch oven to its original condition. Regular maintenance, such as applying a thin layer of oil after cooking and keeping the oven dry, ensures its longevity. Proper storage in a dry space also helps prevent rust. With a little care and attention, your cast iron Dutch oven can remain a reliable kitchen companion for a lifetime, ready to deliver delicious meals whenever you need it.
Professional Focus
Angela Ervin, a former interior designer turned blogger, specializes in kitchen design and renovations. Through her website, she blends her passion for cooking with design expertise, sharing practical and creative ideas. Known for balancing functionality and beauty, Angela’s insightful content has made her a trusted voice in home design and lifestyle.
About the Author
Angela Ervin, an experienced interior designer and blogger, combines her passion for kitchen renovations with storytelling. Living in Petersburg with her family, she enjoys cooking and testing her projects firsthand. Known for her humor and relatable style, Angela shares creative, functional design insights through her content, making her a trusted voice in home design.
Education History
University: Virginia Commonwealth University
Degree: Bachelor of Fine Arts (BFA) in Interior Design
- Angela’s education at VCU focused on mastering core interior design principles, including spatial planning, color theory, materials selection, and sustainable design practices.
- She gained hands-on experience through studio projects and collaborative design exercises, which honed her ability to create functional and aesthetically pleasing environments.
- Her coursework also emphasized problem-solving and practical applications of design, preparing her for real-world projects like her self-directed kitchen renovations.
- The program’s strong foundation in both technical skills and creative expression shaped Angela’s ability to seamlessly integrate form and function in her work.