
Are you tired of looking at those unsightly scratches on your beautiful Corian countertops? No matter how careful you are, scratches can happen. But don’t worry; there are several methods you can use to remove those scratches and restore the smooth surface of your Corian countertops.
Corian countertops are popular for many homeowners due to their sleek design and durable surface. However, scratches and scuffs can develop over time, detracting from their original beauty. The good news is that most scratches can be effectively removed with the right tools and techniques, restoring your countertops to their former glory.
In this guide on how to remove scratches Corian countertops, we will discuss the different methods you can use to get rid of scratches on your Corian countertops.
What Are the Causes of Scratches on Corian Countertops?
Before we dive into the methods of removing scratches, it is essential to understand what causes them in the first place. Knowing the cause can help prevent future scratches and keep your countertops pristine for longer.
There are several common causes of scratches on Corian countertops, including:
- Abrasive Materials: Using harsh or abrasive cleaning products or tools on your Corian countertops can leave scratches.
- Sharp Objects: Accidentally sliding a sharp knife or other utensil across your countertop can create deep scratches.
- Heavy Objects: Dropping heavy pots and pans onto your countertop can cause cracks and chips, leading to scratches over time.
Now that you know the potential causes of scratches on your Corian countertops, let’s move onto the methods for removing them.
What Will You Need?
Before you start, make sure you have the following materials on hand:
- Soft Cloths: You will need a few soft cloths to clean and polish your countertops.
- Mild Soap or Countertop Cleaner: A gentle soap or specialized countertop cleaner is essential to avoid causing more damage.
- Fine-grit Sandpaper: You may need fine-grit sandpaper to smooth out the surface for deeper scratches.
- Rubbing Alcohol: Clean and disinfect the area before and after removing scratches.
Once you have all the necessary materials, you can follow one of the methods below.
10 Easy Steps on How to Remove Scratches Corian Countertops
Step 1: Clean the Countertop
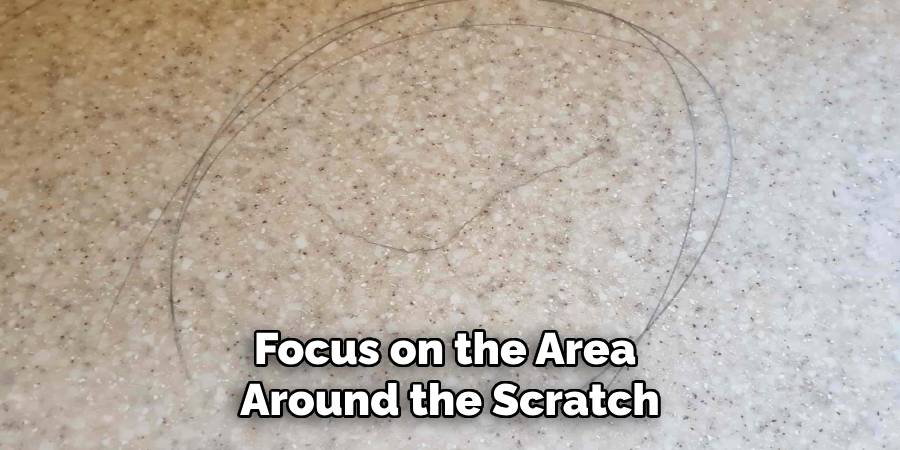
Start by thoroughly cleaning the countertop to remove any dirt, dust, or debris that could interfere with the repair process. Use a soft cloth, mild soap, or a countertop cleaner to gently wipe down the surface. Focus on the area around the scratch, ensuring it is free from grime that could worsen the issue as you proceed. After cleaning, rinse the countertop with water and dry it completely using a clean, soft cloth. This step is crucial as it prepares the surface for the upcoming sanding or polishing steps, ensuring optimal removal of the scratch.
Step 2: Assess the Scratch
Carefully examine the scratch to determine its depth and severity. Light, shallow scratches may only require minimal sanding and polishing, while deeper scratches may necessitate more extensive work. Run your finger over the scratch to feel its depth or use a flashlight to inspect it closely. Knowing the scratch’s intensity will help you decide the level of sanding or polishing required as you proceed with the repair process.
Step 3: Sand the Scratch
Using fine-grit sandpaper, such as 400 to 600 grit, gently sand the area where the scratch is located. Sand in a circular motion to ensure an even finish while avoiding creating additional marks. If the scratch is more profound, start with a lower grit and gradually move to a higher grit. Be careful not to apply excessive pressure, which could damage the surrounding countertop surface. Wipe away any dust with a damp cloth after sanding, preparing the area for polishing.
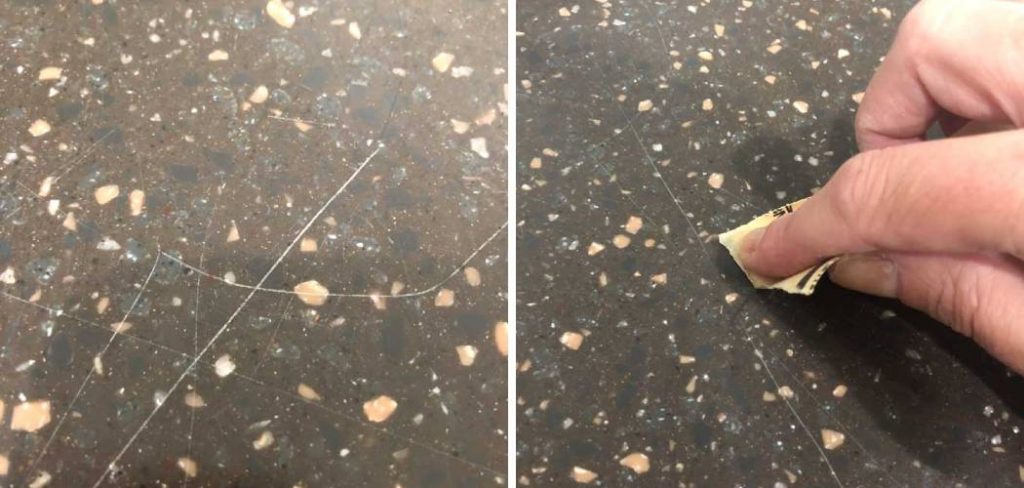
Step 4: Polish the Surface
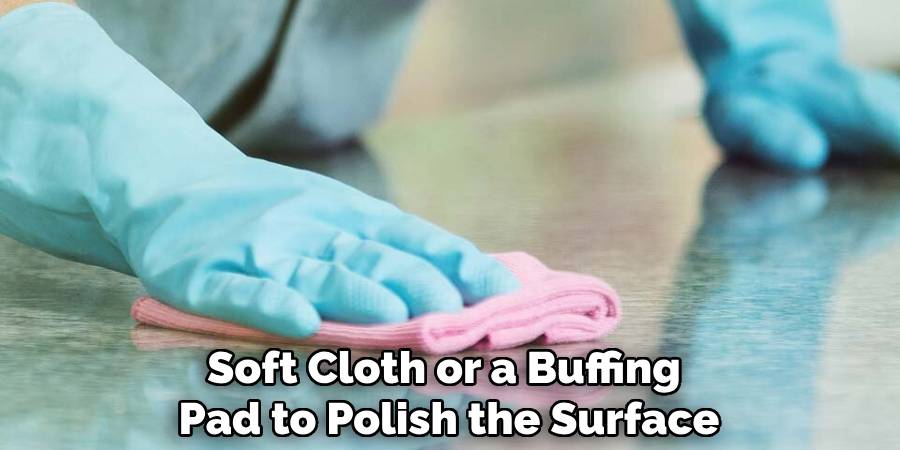
After sanding, apply a small amount of countertop polish or a specialized polishing compound to the scratched area. Use a clean, soft cloth or a buffing pad to polish the surface in a circular motion gently. This helps to restore the countertop’s shine and blends the repaired area with the surrounding surface. Continue polishing until the scratch becomes less noticeable or completely disappears. Finally, wipe the area clean with a damp cloth to remove any residue and admire your smooth, restored countertop.
Step 5: Seal the Countertop
Consider sealing the countertop to protect the repaired area and prevent future damage. Use a countertop sealer appropriate for the material of your counter, such as granite, marble, or quartz. Apply the sealer evenly across the entire surface following the manufacturer’s instructions, using a clean applicator or cloth. Allow the sealer to cure for the recommended time, ensuring a durable and protective finish. Sealing enhances the countertop’s resistance to stains and scratches, helping to maintain its appearance over time.
Step 6: Maintain the Countertop
After completing the repair and sealing process, regular maintenance is essential to keep your countertop looking its best. Clean the surface daily using a gentle cleaner suitable for the countertop material, avoiding harsh chemicals that could damage the finish. Wipe up spills promptly to prevent staining, especially with acidic substances like vinegar or lemon juice. Use cutting boards and trivets to minimize direct contact with sharp tools or hot objects, reducing the risk of scratches or heat damage. With proper care, your countertop will remain durable and visually appealing for years.
Step 7: Inspect and Address Any Issues
Periodically inspect your countertop for any new signs of damage, such as cracks, chips, or discoloration. Promptly address these issues to prevent further deterioration. For minor damage, consider using a repair kit designed for your countertop material. If the damage is extensive, consult a professional to ensure proper restoration. Regular inspections will help you maintain the integrity and appearance of your countertop over time.
Step 8: Reseal if Necessary
Depending on the material of your countertop, resealing may be required periodically to maintain its protective layer and prevent staining or moisture penetration. For example, natural stone countertops like granite or marble benefit from resealing every 1-2 years. Follow the manufacturer’s instructions for the sealant application process, ensuring the surface is clean and dry before applying the sealant. This step will extend the lifespan of your countertop and keep it looking pristine.
Step 9: Practice Daily Maintenance

To keep your countertop in top condition, adopt simple daily maintenance habits. Wipe spills immediately to prevent stains and use a gentle, non-abrasive cleaner to clean the surface regularly. Avoid placing hot pots or pans directly on the countertop, as extreme heat can cause damage or discoloration. Similarly, use cutting boards to prevent scratches when chopping or preparing food.
Step 10: Consider Professional Repair Services
If DIY methods do not yield satisfactory results or if the damage is extensive, consider hiring a professional to repair your countertop. These experts have specialized tools and materials to address various types of scratches and effectively restore your countertop’s appearance. If you are unsure how to repair the damage yourself, it is best to leave it in the hands of a professional.
By following these steps and incorporating daily maintenance habits, you can effectively repair and maintain your countertop, keeping it looking beautiful and functional for many years.
5 Things You Should Avoid
- Using Abrasive Cleaners: Avoid harsh or abrasive cleaning products like scouring powders or steel wool. These can create more scratches and damage the surface further.
- Using Excessive Force: Applying too much pressure when buffing out scratches can harm the surface and worsen the scratches.
- Ignoring Manufacturer Guidelines: Failing to follow the care instructions provided by the manufacturer can lead to improper cleaning methods that may damage the countertop.
- Using Harsh Chemicals: Never use strong chemicals such as bleach, ammonia, or oven cleaners on Corian countertops. These substances can discolor or weaken the material.
- Skipping Regular Maintenance: Neglecting to clean and maintain your countertop regularly can lead to the buildup of dirt and scratches, making it harder to repair the surface in the future.
What are the Negatives of Using Corian Countertops?
While Corian countertops have many benefits, there are also some downsides to consider before choosing this material for your kitchen or bathroom. These negatives include:
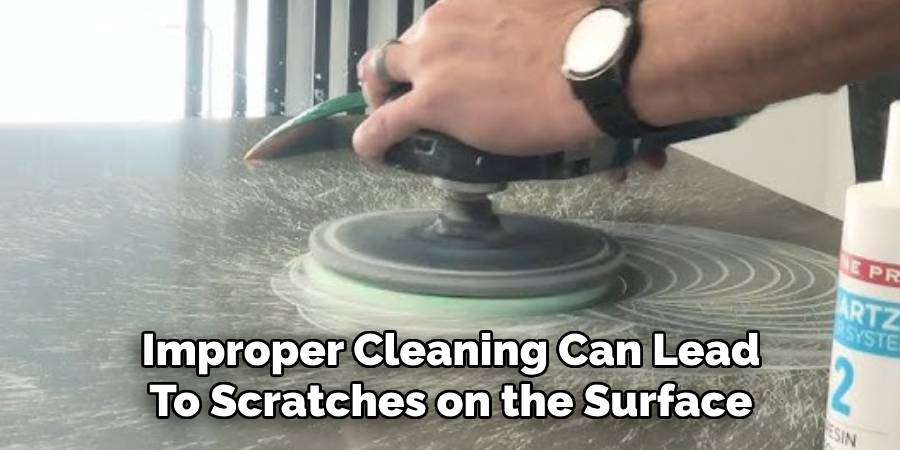
- Prone to Scratches: Although Corian is durable, it is not completely scratch-proof. Heavy use and improper cleaning can lead to scratches on the surface, which can be challenging to repair.
- Limited Color Options: While Corian offers many colors and patterns, it may not have as many options as other countertop materials like granite or quartz. This could limit your design choices when planning your kitchen or bathroom renovation.
- Not Heat Resistant: Unlike materials such as granite or quartz, Corian is not heat resistant and can be damaged by hot pans or dishes placed directly on the surface. Using trivets or hot pads to protect the countertop from heat is essential.
- Can Be More Expensive: While Corian may be more affordable than natural stone countertops, it can still be more expensive than other man-made materials like laminate or tile. This could make it less budget-friendly for some homeowners.
- Requires Professional Installation: Corian countertops require professional installation unlike DIY-friendly materials like laminate or tile. This adds to the project’s overall cost and means you cannot easily replace them in the future.
Conclusion
To remove scratches from Corian countertops, clean the surface thoroughly with soap and water to remove any debris or residue.
For light scratches, you can use a non-abrasive cleaner and a soft cloth to buff the area in a circular motion gently. For deeper scratches, a fine-grit sandpaper or an abrasive pad can be used to sand the affected area, again working in small, circular motions. Follow up by polishing the surface with a non-abrasive polish to restore the countertop’s shine.
Hopefully, the article on how to remove scratches Corian countertops has provided you with the necessary knowledge and tips to keep your countertops looking like new. With proper care, Corian countertops can last for many years and be a beautiful addition to any home. So, make sure to take good care of them!
Professional Focus
Angela Ervin, a former interior designer turned blogger, specializes in kitchen design and renovations. Through her website, she blends her passion for cooking with design expertise, sharing practical and creative ideas. Known for balancing functionality and beauty, Angela’s insightful content has made her a trusted voice in home design and lifestyle.
About the Author
Angela Ervin, an experienced interior designer and blogger, combines her passion for kitchen renovations with storytelling. Living in Petersburg with her family, she enjoys cooking and testing her projects firsthand. Known for her humor and relatable style, Angela shares creative, functional design insights through her content, making her a trusted voice in home design.
Education History
University: Virginia Commonwealth University
Degree: Bachelor of Fine Arts (BFA) in Interior Design
- Angela’s education at VCU focused on mastering core interior design principles, including spatial planning, color theory, materials selection, and sustainable design practices.
- She gained hands-on experience through studio projects and collaborative design exercises, which honed her ability to create functional and aesthetically pleasing environments.
- Her coursework also emphasized problem-solving and practical applications of design, preparing her for real-world projects like her self-directed kitchen renovations.
- The program’s strong foundation in both technical skills and creative expression shaped Angela’s ability to seamlessly integrate form and function in her work.