
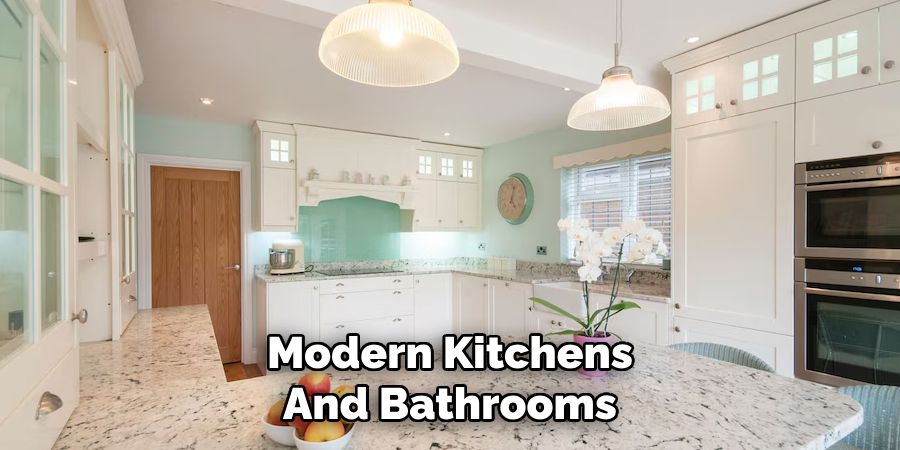
Quartz countertops are popular for modern kitchens and bathrooms due to their exceptional durability, low-maintenance nature, and resistance to stains and scratches.
Engineered from natural quartz combined with resins and pigments, these surfaces offer an elegant appearance that complements various interior styles. However, like all materials, quartz countertops can encounter issues over time.

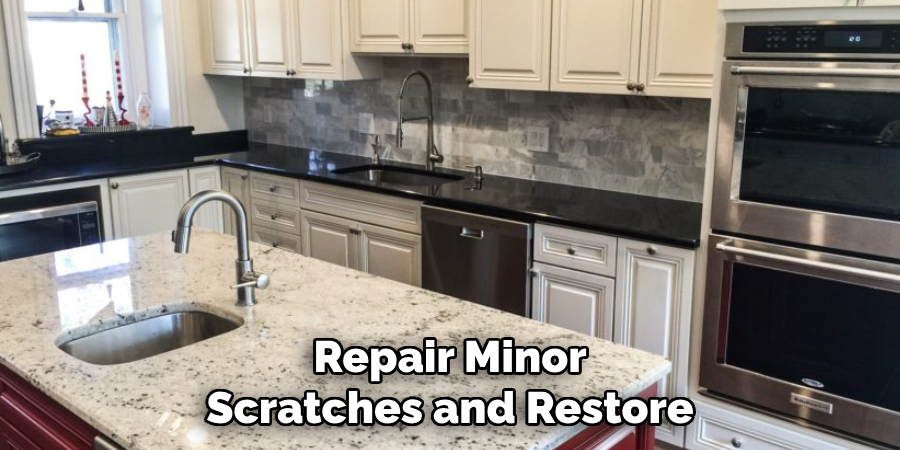
Common problems include chips and cracks caused by impacts, burns from hot cookware, discoloration from prolonged exposure to certain chemicals, and surface dullness due to improper cleaning methods.
The purpose of this article is to provide a comprehensive step-by-step guide on how to repair a quartz countertop. Whether you’re dealing with minor scratches, noticeable chips, stubborn stains, or restoring the original shine, this guide will equip you with the knowledge and techniques necessary to address these concerns effectively and maintain the beauty and functionality of your quartz countertop.
Assessing the Damage
Types of Quartz Countertop Damage
- Minor scratches – These are light surface marks typically caused by knives, utensils, or other sharp objects coming into contact with the countertop’s surface.
- Chips – Often found along the edges or corners, chips occur when small pieces of the quartz material break off due to heavy impacts.
- Cracks – These are more serious structural damages that may extend more profoundly than the surface and often require filling or professional repair to restore the countertop’s integrity.
- Burns or discoloration – Caused by exposure to high heat from hot cookware or prolonged contact with harsh chemicals, these issues can alter the countertop’s appearance and sometimes compromise its durability.
Determining the Severity of the Damage
Before attempting a repair, assessing the damage’s severity is crucial. Minor scratches and small chips are often manageable with simple DIY repair kits and techniques, ensuring cost-effective restoration. However, deep cracks, significant structural damage, or extensive discoloration may exceed the scope of home repair efforts and necessitate the expertise of a professional.
Correctly identifying the type and severity of damage will guide you toward the most appropriate solution, ensuring your quartz countertop remains both visually appealing and functional.
Tools and Materials Needed
To successfully repair your quartz countertop, you’ll need specific tools and materials tailored to the type of damage you’re addressing. Below is a breakdown based on common repair scenarios:
For Minor Scratches
- Fine-grit sandpaper (220 to 400 grit) – Ideal for smoothing out superficial scratches without damaging the quartz surface.
- Quartz polish or buffing compound – Restores the countertop’s original sheen after sanding.
For Chips and Small Cracks
- Epoxy resin or quartz repair kit – Fills in the void, creating a seamless and durable repair.
- Putty knife or plastic applicator – Helps apply and spread the epoxy evenly.
- Razor blade – Used for leveling the repair area after the material sets.
For Burns or Stains
- Hydrogen peroxide or baking soda – Treats light stains caused by minor heat exposure or spills.
- Acetone – An effective solution for removing tougher discoloration or marks.
- Soft cloth or sponge – Essential for gentle cleaning without causing further damage.
Additional Items
- Safety gloves and mask – Protect yourself while handling chemicals and abrasive materials.
- Microfiber cloth – Perfect for polishing the repaired area and achieving a flawless finish.
These tools and materials will help ensure the repair process is efficient and effective.
How to Repair a Quartz Countertop: Repairing Minor Scratches
Step 1: Cleaning the Surface
Begin by cleaning the affected area thoroughly. Use a damp cloth and mild soap to remove any dirt, grease, or debris from the surface. Ensuring the area is clean will allow for a smoother repair process and prevent further damage during sanding. Once the cleaning is complete, dry the surface with a soft cloth.
Step 2: Sanding the Scratches
Select fine-grit sandpaper (around 800 to 1200 grit) and gently sand the scratched area. Use circular motions with light pressure to avoid removing too much material or causing additional harm to the countertop. Periodically wipe away dust to check your progress. Continue sanding until the scratch becomes less visible or completely blends with the surrounding area.
Step 3: Buffing and Polishing
Once the sanding process is complete, apply a quartz polish to the repaired area using a microfiber cloth. Buff the surface in small, even circles to restore its natural shine and ensure a smooth finish. Be patient and thorough, as proper buffing can significantly affect the final result.
Step 4: Sealing the Surface (If Needed)
Some quartz polishes come with added sealants that provide an extra layer of protection to the surface. If you’re using a polish with a sealant, follow the product’s instructions for application. This step is optional but highly recommended for enhancing durability and maintaining the look of your countertop.
By following these steps, you can effectively repair minor scratches and restore the pristine appearance of your quartz countertop.
Fixing Chips and Small Cracks
Step 1: Preparing the Damaged Area
Begin by thoroughly cleaning the chipped or cracked section of your quartz countertop. Use a soft cloth and a mild cleaner to gently wipe away dirt, debris, and oils from the damaged area. Ensure the spot is completely dry before proceeding to ensure the repair materials adhere properly.
Step 2: Applying Epoxy Filler
Next, prepare the epoxy resin following the manufacturer’s instructions. Carefully mix the components to achieve the desired consistency. Once ready, apply the epoxy filler to the damaged area with a putty knife or similar tool. Press it firmly into the crack or chip, ensuring that it fills the entire void and slightly overflows the surface. This ensures full coverage and a strong bond.
Step 3: Leveling and Curing
After applying the epoxy, use a razor blade to remove any excess material from the countertop’s surface, carefully. Smoothly scrape along the repair area while being cautious not to disrupt the filled portion. Once the surface is level, allow the epoxy to cure as specified in the product’s instructions. Most epoxy fillers require at least 24 hours to harden fully, so avoid using that section of the countertop during this time.
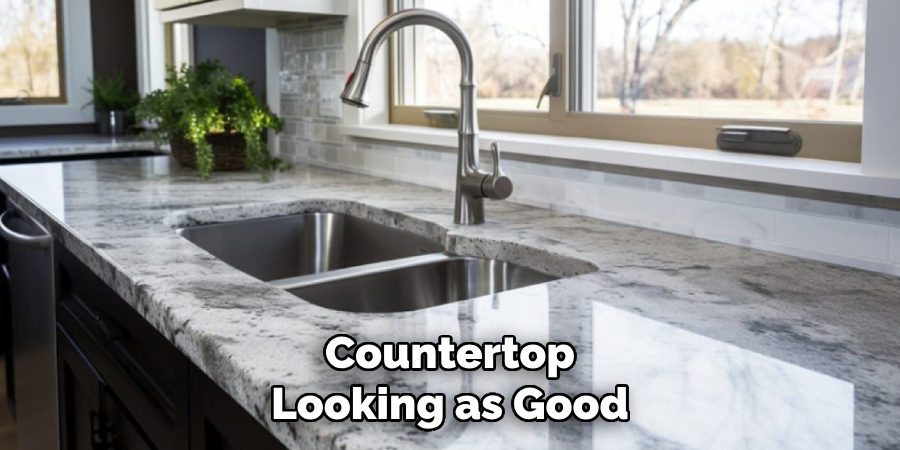
Step 4: Finishing Touches
Once the epoxy is fully cured, lightly sand the repaired area using fine-grit sandpaper to ensure it is flush with the surrounding surface. Finish by applying a quartz polish and buffing the surface to blend the repair seamlessly with the rest of the countertop. This final step restores the glossy appearance and keeps your countertop looking as good as new.
Removing Stains and Burn Marks
Quartz countertops are designed to be durable, but occasional stains or burn marks may still occur. Fortunately, there are simple methods to address these issues and restore your countertop’s pristine look.
For Light Stains
Mix baking soda with water to form a paste. Apply it to the stained area and gently scrub using a soft cloth or sponge. This method is effective for removing minor blemishes without damaging the quartz surface.
For Tougher Discoloration
If light scrubbing doesn’t work, try dabbing a small amount of hydrogen peroxide or acetone onto a clean cloth. Gently rub the stained area until the discoloration fades. Be careful not to use excessive pressure or harsh chemicals, as these could dull the surface if overused.
For Burn Marks
If a hot pan or appliance left a burn mark on your countertop, apply a non-abrasive cleaner and buff the area with a soft cloth. For more severe marks, you may need to sand the area using fine-grit sandpaper lightly. Always proceed cautiously and test on a small, inconspicuous spot first to avoid further damage.
These techniques can help maintain your quartz countertop’s appearance and extend its lifespan.
Preventing Future Damage
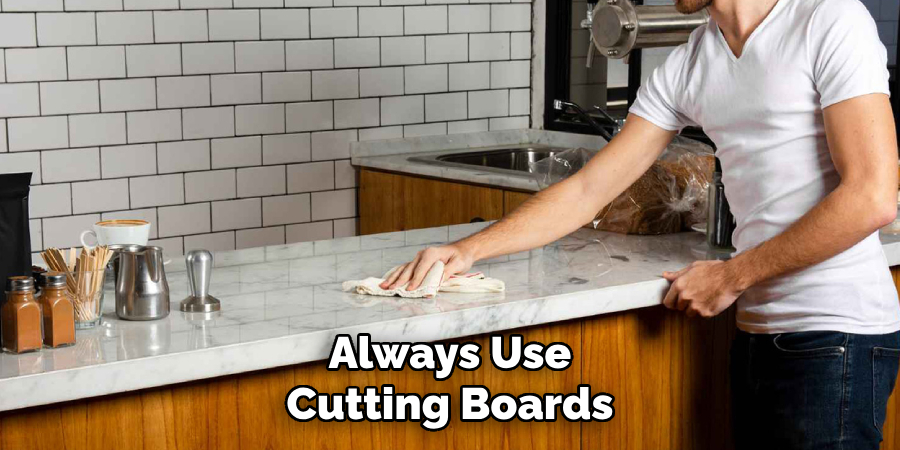
Preventing Scratches and Chips
To keep your quartz countertop looking pristine, take measures to avoid scratches and chips. Always use cutting boards when preparing food instead of cutting directly on the surface. Quartz is durable but not entirely scratch-proof, and sharp knives can cause damage over time.
Additionally, avoid placing heavy objects near the edges of the countertop, as this increases the risk of chipping or cracking. These simple preventative steps can help preserve the surface’s integrity for years.
Avoiding Heat Damage
Quartz surfaces are engineered to withstand heat to some extent, but they’re not completely heat-resistant. Exposing quartz countertops to extreme temperatures can cause discoloration or even cracking. Always use trivets or hot pads under hot pots, pans, or other heat-emitting appliances to prevent heat damage. This precaution protects the resin in the quartz, ensuring the material retains its aesthetic and structural quality.
Proper Cleaning Routine
Maintaining a consistent cleaning routine is key to preventing long-term damage. Immediately wipe up spills to minimize the chance of staining, especially from substances like wine, coffee, or oils. When cleaning, opt for non-abrasive cleaners to preserve the smooth, polished finish of the quartz. A gentle daily cleaning routine keeps the surface hygienic and helps maintain its vibrant appearance.
When to Call a Professional
There are instances where professional assistance may be necessary to restore your quartz surfaces effectively. If a crack is deep and compromises the structural integrity of the countertop, attempting a DIY repair can worsen the issue.
Similarly, if previous DIY repair attempts fail to blend well with the original surface, leaving visible mismatched areas, a professional can help achieve a seamless finish. Additionally, persistent discoloration that doesn’t respond to regular cleaning methods often requires specialized treatment.
Professionals are equipped with the right tools and high-quality resins to repair and restore quartz, ensuring its durability and polished appearance. Don’t hesitate to seek expert help to protect your investment and maintain the beauty of your quartz surfaces.
Conclusion
Repairing quartz countertops can often be managed with DIY techniques, including addressing scratches, chips, cracks, and stains. Knowing how to repair a quartz countertop ensures minor issues are resolved promptly, preserving its aesthetic and functional qualities.
Proper maintenance, such as regular cleaning and avoiding harsh chemicals, is essential to prevent future damage and prolong the surface’s lifespan. However, consulting a professional is always the best solution for more significant damage or if you’re unsure about a repair.
This approach ensures the countertop is restored effectively without the risk of exacerbating the problem, protecting your investment in the long run.
Professional Focus
Angela Ervin, a former interior designer turned blogger, specializes in kitchen design and renovations. Through her website, she blends her passion for cooking with design expertise, sharing practical and creative ideas. Known for balancing functionality and beauty, Angela’s insightful content has made her a trusted voice in home design and lifestyle.
About the Author
Angela Ervin, an experienced interior designer and blogger, combines her passion for kitchen renovations with storytelling. Living in Petersburg with her family, she enjoys cooking and testing her projects firsthand. Known for her humor and relatable style, Angela shares creative, functional design insights through her content, making her a trusted voice in home design.
Education History
University: Virginia Commonwealth University
Degree: Bachelor of Fine Arts (BFA) in Interior Design
- Angela’s education at VCU focused on mastering core interior design principles, including spatial planning, color theory, materials selection, and sustainable design practices.
- She gained hands-on experience through studio projects and collaborative design exercises, which honed her ability to create functional and aesthetically pleasing environments.
- Her coursework also emphasized problem-solving and practical applications of design, preparing her for real-world projects like her self-directed kitchen renovations.
- The program’s strong foundation in both technical skills and creative expression shaped Angela’s ability to seamlessly integrate form and function in her work.