
Kitchen countertops are one of the most frequently used surfaces in any home, and over time, they can become damaged due to constant wear and tear. Chips, cracks, scratches, and stains are common issues that may diminish the countertop’s functionality and aesthetic appeal. Fortunately, repairing a kitchen countertop is often a manageable task that can save you the expense of a full replacement. This guide will walk you through the essential steps of how to repair kitchen countertop and keep it looking as good as new.

The importance of a well-maintained kitchen countertop
A well-maintained kitchen countertop is crucial for both practical and aesthetic reasons. Functionally, a clean and smooth surface ensures you have a safe and efficient workspace for meal preparation. Countertops that are free from cracks or chips can prevent bacteria and mold from accumulating, promoting a healthier kitchen environment. Additionally, the kitchen is often a central gathering place in the home, and a well-kept countertop enhances the overall appearance of the space, adding value and appeal. Investing time in maintaining and repairing your countertop not only extends its lifespan but also preserves the beauty and utility of your kitchen.
Identifying the Damage and Material
Before you can begin repairing your kitchen countertop, it is essential to assess the type and extent of the damage as well as the material of your countertop. Common countertop materials include granite, marble, laminate, quartz, and solid surface, each of which requires specific repair techniques and tools. Start by examining your countertop for visible signs like chips, cracks, deep scratches, or stains. For chips and cracks, check if they are surface-level or if they run deeper, potentially compromising the structural integrity.
Scratches can often be classified as minor scuffs or more pronounced gouges, while stains may require determining whether they are superficial or have penetrated the material. Understanding both the damage and the countertop material will guide you toward selecting the appropriate repair methods and products, ensuring a successful restoration.
10 Methods How to Repair Kitchen Countertop
1. Repairing Scratches with a Polishing Compound
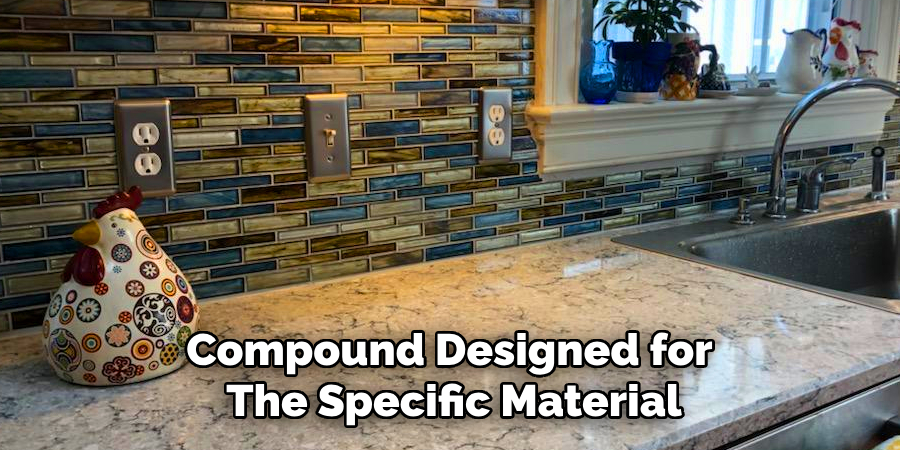
Scratches are common on countertops, especially on laminate, marble, and granite surfaces. For minor scratches, apply a polishing compound designed for the specific material. Use a soft cloth to buff the area in circular motions until the scratch diminishes. For deeper scratches, use fine-grit sandpaper before applying the polishing compound.
2. Filling in Cracks with Epoxy Resin
Cracks in countertops can be unsightly and may lead to further damage if left untreated. Epoxy resin is an effective solution for filling cracks in stone, quartz, and laminate countertops. Clean the crack thoroughly before applying the epoxy with a putty knife. Allow it to dry completely, then sand the area smoothly before sealing it with a matching finish.
3. Reattaching Loose Laminate Edges
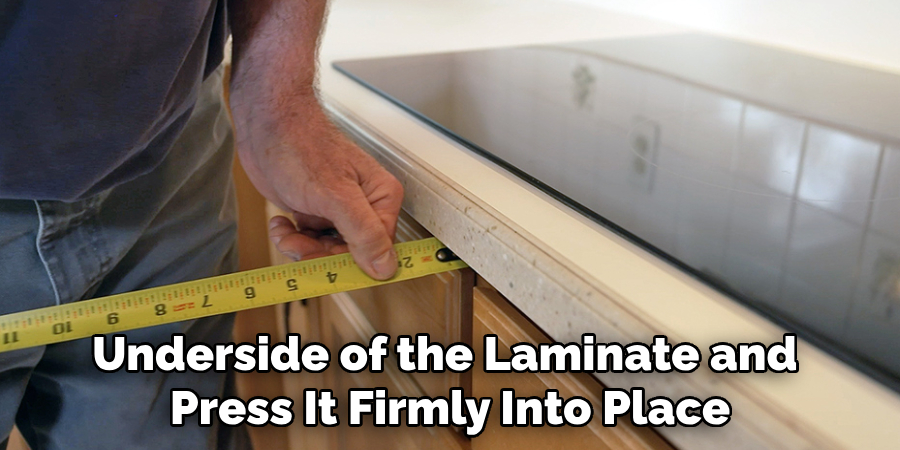
Laminate countertops may develop peeling edges over time due to heat and moisture exposure. To fix this, apply a strong contact adhesive to the underside of the laminate and press it firmly into place. Use a heavy object or clamps to hold it in place while the adhesive sets. Once dry, sand any excess glue and polish the surface.
4. Removing Stains with Baking Soda Paste
Stubborn stains from coffee, wine, or food spills can discolor kitchen countertops. For natural stone and laminate surfaces, mix baking soda with water to create a thick paste. Apply it to the stained area and let it sit for several hours or overnight. Wipe it off with a damp cloth, then buff the surface to restore its shine.
5. Sealing Granite and Marble to Prevent Damage
Natural stone countertops, such as granite and marble, require regular sealing to prevent damage from moisture and stains. Use a high-quality stone sealer and apply it evenly across the surface with a soft cloth. Allow it to penetrate for the recommended time, then wipe away any excess before polishing the surface to a smooth finish.
6. Fixing Burn Marks with Sanding and Repainting
Burn marks from hot pans can leave unsightly discoloration on laminate or wooden countertops. To repair, sand the affected area lightly with fine-grit sandpaper until the mark fades. If needed, apply a matching paint or finish to blend the repaired area with the rest of the countertop.
7. Replacing Chipped Areas with a Repair Kit
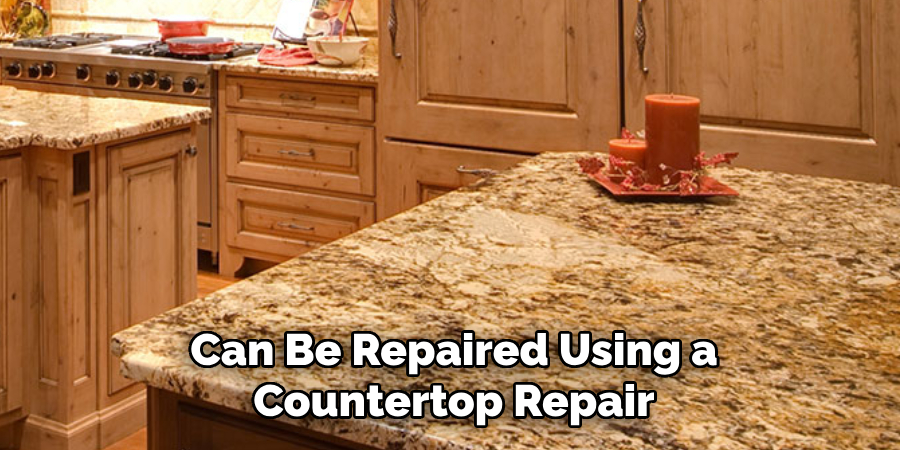
Chips in quartz, granite, and laminate countertops can be repaired using a countertop repair kit. These kits include color-matched fillers and adhesives that restore the damaged area. Apply the filler to the chipped spot and smooth it out with a putty knife. Once dry, sand and polish the area to blend seamlessly with the rest of the countertop.
8. Reinforcing Weak Seams with Epoxy Adhesive
Seams between countertop sections can become weak or separate over time. To reinforce them, apply a high-strength epoxy adhesive along the seam and press the sections firmly together. Wipe away any excess adhesive before it dries, and use a seam filler to blend the repair into the surrounding surface.
9. Repairing Water Damage on Wooden Countertops
Wood countertops can swell and warp due to water damage. To fix this, dry the affected area completely before sanding it down to remove any rough or swollen spots. Apply a wood filler to any gaps, then seal the surface with a waterproof wood finish to prevent future damage.
10. Restoring Gloss and Shine with Mineral Oil or Wax
Over time, countertops can lose their luster and appear dull. To restore their shine, apply a small amount of mineral oil or countertop wax and buff it with a microfiber cloth. This method works particularly well on wood, stone, and laminate surfaces, providing a polished and refreshed appearance.
Maintenance and Upkeep
Regular maintenance is essential to keeping your kitchen countertop in pristine condition and extending its lifespan. Start by cleaning your countertop daily using a mild detergent and warm water to remove dirt, grease, and food residue. Avoid using abrasive cleaners or harsh chemicals, as these can damage the surface or strip protective coatings. For natural stone countertops, reseal them every 1-2 years to protect against moisture and stains, following the manufacturer’s recommendations. Wooden countertops benefit from periodic applications of mineral oil or a food-safe sealant to prevent drying and cracking.
To prevent damage, always use cutting boards and trivets to protect the surface from scratches, knife marks, and heat damage. Wipe up spills promptly, especially acidic substances like citrus juices, vinegar, or wine, which can etch and stain certain materials. Additionally, monitor for early signs of wear and address minor issues, such as small scratches or loose edges, immediately to avoid larger, more costly repairs. Developing a routine of mindful care will ensure your kitchen countertop remains functional and visually appealing for years to come.
Troubleshooting Common Issues
When repairing kitchen countertops, it is not uncommon to encounter challenges or setbacks. Addressing these issues effectively can ensure a smoother repair process and better results. Below are solutions to some of the most frequent problems encountered during countertop repairs:
The Repair Does Not Match the Countertop Color
If the repaired area stands out due to a color mismatch, try using a color-matching repair kit specifically designed for your countertop material. Alternatively, mix pigment or dye into the filler or adhesive to achieve a closer match before application. Test on a small, inconspicuous area to perfect the color.
The Stain Does Not Fully Disappear
Persistent stains may require a second application of a cleaning agent or paste, such as baking soda or a specialized stain remover. For natural stone, poultices specifically formulated for deep stains can help extract discoloration. If the stain remains, consider consulting a professional to avoid further damage.
The Epoxy Fills Unevenly in Cracks or Seams
Uneven application of epoxy can be smoothed out by sanding the repaired area with fine-grit sandpaper once it has dried. After sanding, clean thoroughly and apply a sealant to ensure a uniform finish. For large cracks, apply the epoxy in layers to prevent air pockets and uneven drying.
The Laminate Edges Do Not Stay Attached
If laminate edges continue to peel after using adhesive, check that the surface is clean and free from grease or old adhesive residue. Sand lightly to improve adhesion before reapplying the glue. Use stronger clamps or heavier objects to press the edges firmly while the adhesive sets.
The Finish Appears Dull After Repair
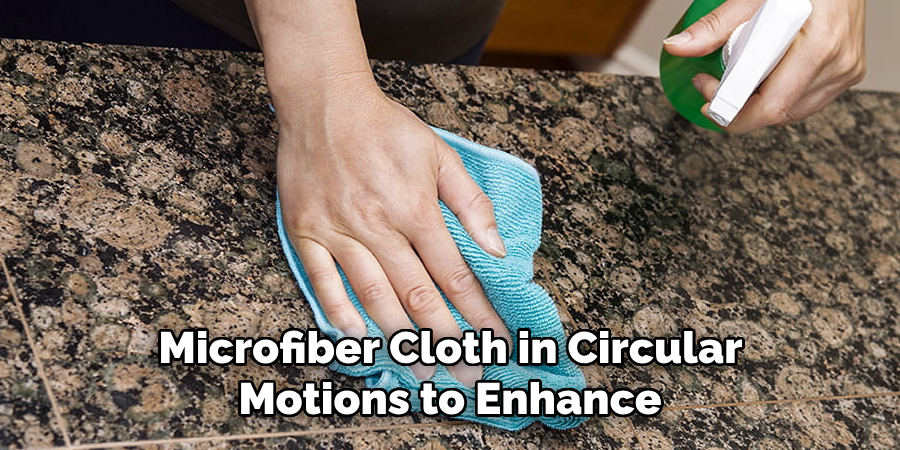
If the repaired surface lacks shine, use mineral oil, polish, or a rejuvenating product specifically made for countertops. Buff the surface gently with a microfiber cloth in circular motions to enhance the gloss and blend it with the rest of the countertop.
Structural Issues Persist After Repair
For countertops with extensive damage, such as deep cracks or warping, repairs may not be sufficient to restore structural integrity. Consider reinforcing the area with additional materials, such as brackets for support, or replacing severely damaged sections entirely.
Conclusion
Repairing and maintaining kitchen countertops is an essential part of preserving both the functionality and aesthetic appeal of your kitchen. By addressing minor issues promptly and performing regular upkeep, you can extend the lifespan of your countertops and keep them looking their best. Equipped with the right tools, materials, and techniques outlined in this guide, even extensive repairs can be undertaken with confidence. Now that you know how to repair kitchen countertop, try it yourself today and feel good about completing such a big DIY job!
Professional Focus
Angela Ervin, a former interior designer turned blogger, specializes in kitchen design and renovations. Through her website, she blends her passion for cooking with design expertise, sharing practical and creative ideas. Known for balancing functionality and beauty, Angela’s insightful content has made her a trusted voice in home design and lifestyle.
About the Author
Angela Ervin, an experienced interior designer and blogger, combines her passion for kitchen renovations with storytelling. Living in Petersburg with her family, she enjoys cooking and testing her projects firsthand. Known for her humor and relatable style, Angela shares creative, functional design insights through her content, making her a trusted voice in home design.
Education History
University: Virginia Commonwealth University
Degree: Bachelor of Fine Arts (BFA) in Interior Design
- Angela’s education at VCU focused on mastering core interior design principles, including spatial planning, color theory, materials selection, and sustainable design practices.
- She gained hands-on experience through studio projects and collaborative design exercises, which honed her ability to create functional and aesthetically pleasing environments.
- Her coursework also emphasized problem-solving and practical applications of design, preparing her for real-world projects like her self-directed kitchen renovations.
- The program’s strong foundation in both technical skills and creative expression shaped Angela’s ability to seamlessly integrate form and function in her work.