
Replacing a burner on a glass-top oven is a manageable task that can restore your oven’s full functionality and ensure consistent cooking results. Over time, burners can wear out or become damaged, leading to problems such as uneven heating, lack of heat, or even complete failure. Common reasons for needing to replace a burner include cracked or visibly damaged
burners, inconsistent temperature control, and burners that fail to heat properly. Addressing these issues promptly is essential to maintain the efficiency and safety of your kitchen appliances.
This article is designed to provide a straightforward, step-by-step guide on how to replace burner on glass top oven. With the right tools and adequate preparation, you too can tackle the job confidently.
By following this guide, you will learn exactly how to replace a burner on a glass top oven, saving you time and potentially costly professional repairs.
Safety Precautions Before Starting the Replacement
Before replacing a burner on your glass-top oven, taking appropriate safety measures to protect yourself and your appliance is crucial. Here are the key precautions to follow:
Turn Off the Oven and Power Supply
First and foremost, ensure the oven is completely powered down. Unplug the oven from the wall outlet or, if necessary, disconnect the power supply from your home’s breaker box. This step is vital to eliminate the risk of electrical shock while working with the appliance.
Ensure the Stove Is Completely Cool
Wait for the stove to cool down fully to prevent burns or other injuries. Even if the damaged burner appears to be off, residual heat may remain, so it is best to give the appliance ample time to cool before proceeding.
Gather the Necessary Tools and Materials
Having the right tools and replacement parts ready will streamline the replacement process. Ensure you have the following items on hand:
- New burner element – compatible with your oven model.
- Screwdriver set – for removing screws and securing components.
- Pliers or adjustable wrench – for loosening or tightening connections if required.
- Safety gloves and goggles – to protect your hands and eyes during the repair.
By following these precautions, you can safely and effectively prepare yourself for the burner replacement process.
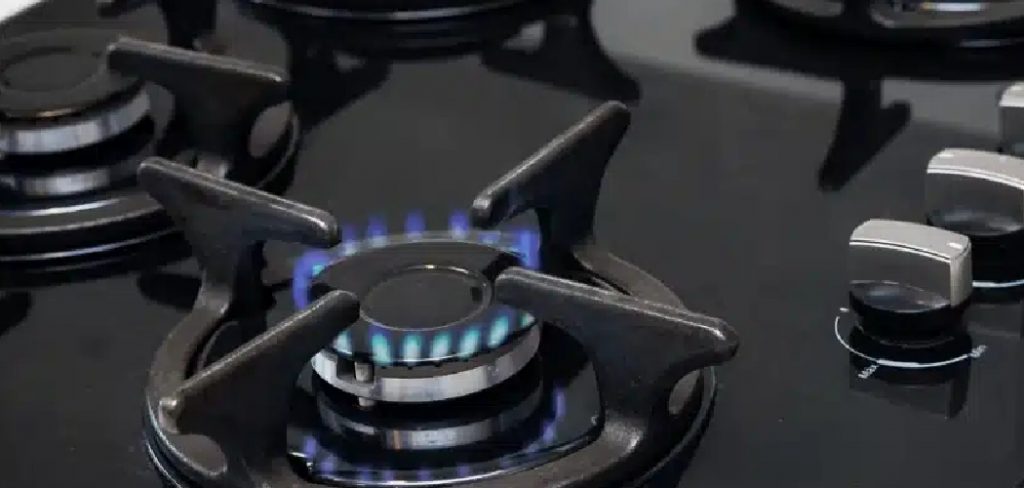
Removing the Old Burner
Locate the Burner and Disconnect Wires
Begin by locating the damaged burner on your stove. Depending on the model of your appliance, you may need to lift the glass cooktop or remove the burner’s surrounding frame to access the components securely.
Once the burner is exposed, identify the wire connectors supplying power to the burner. Carefully unplug these connectors, ensuring not to damage the wires or the connectors themselves. If the connectors are difficult to remove by hand, use pliers to gently ease them out, maintaining the integrity of the electrical components.
Unscrew and Remove the Burner
With the wires disconnected, locate the screws or fasteners securing the burner element in its position. Use an appropriate screwdriver to loosen and remove these screws.
Be methodical as you place the screws aside, as you will need them to secure the replacement burner later. Once the screws are removed, gently lift the burner out of its mounting area. Take care to avoid scraping or damaging the surrounding surface or components during this process.
Inspect for Additional Damage
Before proceeding, take a moment to inspect the area where the burner was mounted closely. Look for any additional signs of wear and tear, such as cracked connections, damaged wiring, or discoloration on adjacent parts from overheating.
Addressing these issues now can prevent further complications in the future. Replace any damaged secondary components as necessary, ensuring your stove is in optimal condition before installing the new burner.
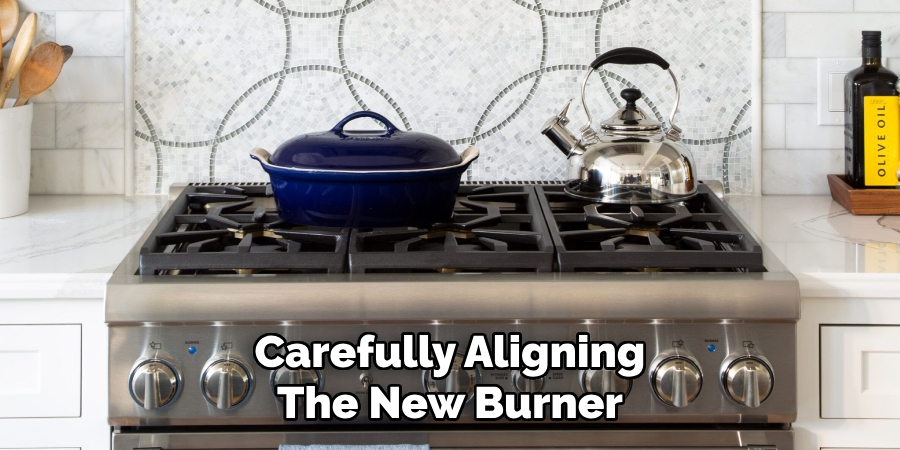
How to Replace Burner on Glass Top Oven: Installing the New Burner
Positioning the New Burner
Begin by carefully aligning the new burner in the proper spot where the old one was removed. Ensure that the burner fits snugly within the mounting area and that it is oriented correctly, matching the original configuration.
Take note of any guides or alignment markers on the burner or mounting area to help position it accurately. Once aligned, check that the burner’s mounting brackets or screw holes are in place and ready to secure.
Connecting the Wires
With the burner positioned, proceed to connect its wires to the wiring socket. Carefully plug the new burner’s connectors into the corresponding wires, following the same configuration as the old one. Ensure each connector is fully inserted and secured tightly to avoid any loose or weak connections.
If your burner uses specific color-coded wires, verify that the connections match the appropriate color codes. Proper electrical connections are critical for safe and effective operation, so take extra care during this step.
Securing the Burner
Once the wires are securely connected, use the original screws or fasteners to affix the burner firmly in place. Position the screws into their respective holes and tighten them with the appropriate screwdriver, ensuring the burner does not move or shift during use.
Avoid overtightening, which could damage the screws or mounting area. After securing the burner, double-check all connections and ensure the burner is level and securely attached. This attention to detail will help maintain the functionality and longevity of your newly installed burner.
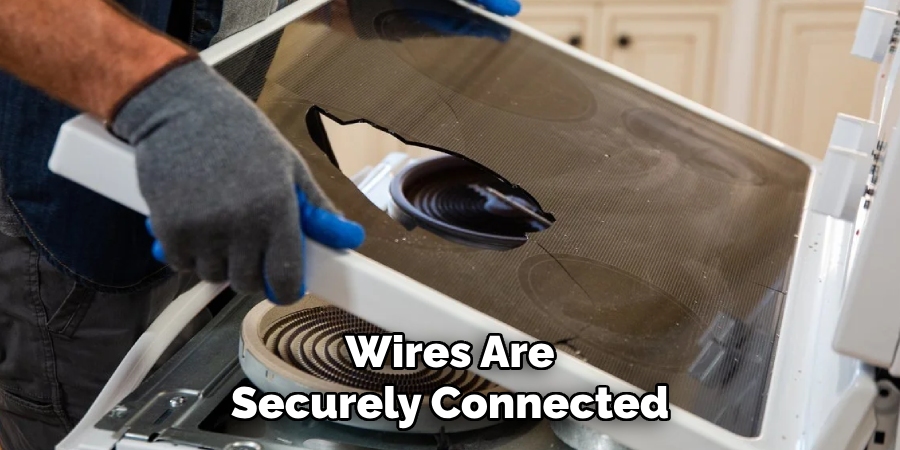
Reassembling the Glass Top Oven
Placing the Glass Top Back in Position
Carefully position the glass top back over the burner assembly, ensuring it is appropriately aligned with the oven frame. Take your time during this step to avoid scratching or damaging the glass. Ensure there are no gaps around the edges and all components sit evenly. Double-check that the placement allows for a snug and precise fit.
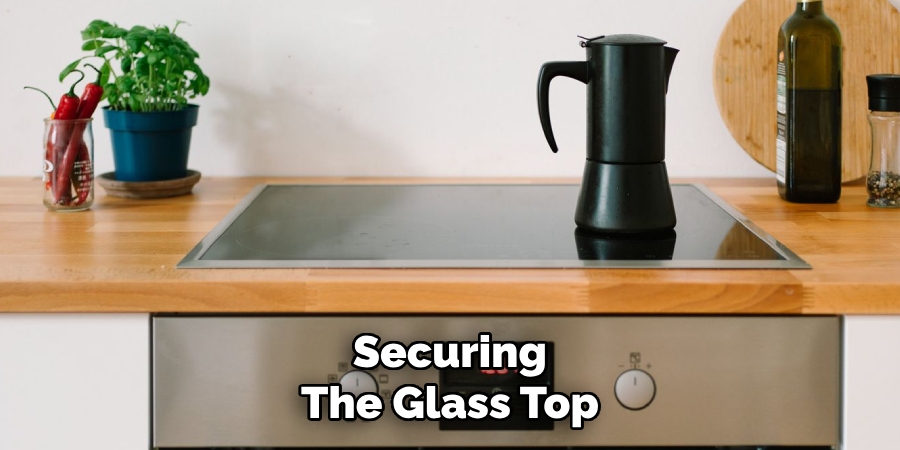
Tightening the Glass Top
Once the glass top is aligned correctly, secure it in place using the appropriate screws or clips that were removed earlier. Insert each screw into its designated hole and tighten it gradually using a screwdriver, ensuring an even and secure fit without applying excessive force. If your oven uses clips, press them into position firmly until they click, locking the glass top into place.
Check for Stability and Safety
After securing the glass top, inspect the assembly to confirm it is level and completely stable. Gently press on different areas of the glass to ensure there is no movement or wobbling. Confirm that all screws or clips are tightened properly and that the burner assembly is securely situated beneath the glass. This comprehensive check guarantees safety and effective operation, ensuring your oven is ready for reliable future use.
Testing the New Burner
Turning the Oven Back On
To begin the testing process, reconnect your oven to its power source. Plug the unit back into the electrical outlet, or switch the circuit breaker back on if it is hardwired. Ensure the oven powers up correctly and that there are no visible error codes or signs of malfunction before continuing.
Testing the Burner
Next, turn on the newly installed burner to verify its functionality. Start by selecting a low heat setting, then gradually adjust to higher settings while observing the burner’s performance.
Check if the burner heats up evenly across its surface and responds appropriately to your adjustments. A functioning burner should exhibit a smooth, consistent increase in temperature without delays or irregularities.
Checking for Proper Functioning
Pay close attention to ensure the burner operates smoothly without flickering or fluctuations in the heat it generates. The element should maintain steady and reliable heat at the selected level.
If any issues are detected, such as uneven heating or unresponsive controls, turn off the burner immediately and inspect the installation for potential errors. Confirming proper performance ensures the oven is safe and ready for consistent use in your cooking activities.
Troubleshooting Common Issues
When encountering problems with your burner, it is essential to identify and resolve the issue promptly. Below are common issues and their potential solutions:
Burner Not Heating Up
If the burner fails to heat, confirm it is securely connected to the power supply. Loose connections can interrupt electrical flow. Additionally, inspect the wiring for any damage or disconnection. It’s also important to check your home’s circuit breaker panel for tripped breakers or blown fuses that may be cutting power to the appliance. Reset the breaker or replace the fuse if necessary.
Uneven Heating
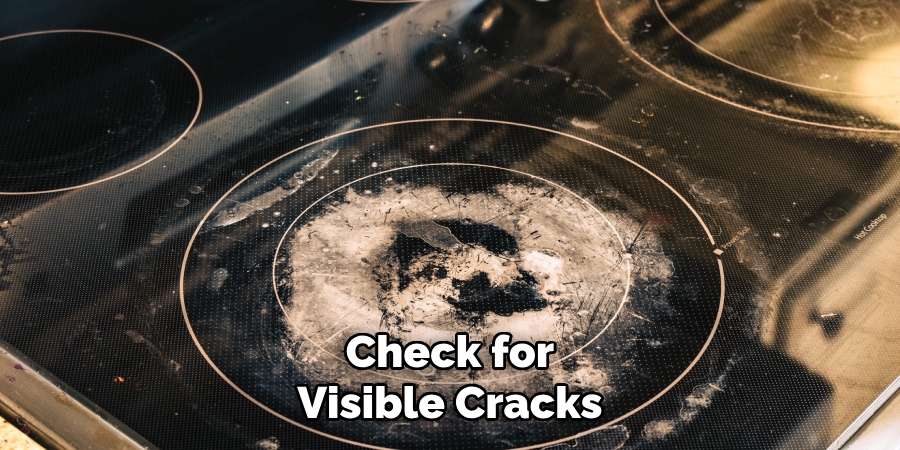
Uneven heating can result from improper alignment or damage to the burner. Ensure the burner is correctly positioned to prevent gaps or uneven contact. Check for visible cracks, warping, or other irregularities on the burner’s surface, as these could affect heat distribution. Replacing the burner may be the most effective solution if damage is detected.
Burner Not Responding to Temperature Adjustments
When the burner is unresponsive to temperature changes, the thermostat or electrical connections could be the culprit. Inspect the thermostat to verify it functions accurately and delivers the correct signals to the burner. Similarly, examine the wiring and connections for signs of wear, corrosion, or improper attachment. Addressing these issues should restore proper control.
When to Call a Professional
Persistent Issues
If the burner still doesn’t work even after attempting replacements or repairs, it could point to a deeper electrical issue within the appliance. These problems often require specialized tools and expertise to diagnose correctly and resolve safely.
Complicated Wiring Problems
For issues involving complex wiring or power supply concerns, it’s advisable to engage a licensed technician. Electrical repairs can be hazardous and incorrectly handled connections may pose safety risks or lead to further damage.
Damaged Glass Top
A cracked or heavily damaged glass top is another situation that warrants professional assistance. Replacing the glass top requires precision and expertise to ensure it is securely installed and functions properly. Attempting this on your own could lead to additional breakage or safety hazards.
By consulting a professional in such scenarios, you ensure the repair is done safely and effectively, extending the lifespan of your appliance.

Conclusion
Replacing a burner on a glass-top oven is a straightforward process when following the right steps, from safely removing the old burner to installing and testing the new one. Always ensure the oven is off and completely cool before starting any work to avoid potential hazards.
By understanding “how to replace burner on glass top oven” effectively, you can save time and money while restoring your appliance’s functionality. With the right tools, careful attention to detail, and proper safety precautions, this task is manageable for most individuals, helping to extend the life of your oven and keep it in excellent working condition.
Professional Focus
Angela Ervin, a former interior designer turned blogger, specializes in kitchen design and renovations. Through her website, she blends her passion for cooking with design expertise, sharing practical and creative ideas. Known for balancing functionality and beauty, Angela’s insightful content has made her a trusted voice in home design and lifestyle.
About the Author
Angela Ervin, an experienced interior designer and blogger, combines her passion for kitchen renovations with storytelling. Living in Petersburg with her family, she enjoys cooking and testing her projects firsthand. Known for her humor and relatable style, Angela shares creative, functional design insights through her content, making her a trusted voice in home design.
Education History
University: Virginia Commonwealth University
Degree: Bachelor of Fine Arts (BFA) in Interior Design
- Angela’s education at VCU focused on mastering core interior design principles, including spatial planning, color theory, materials selection, and sustainable design practices.
- She gained hands-on experience through studio projects and collaborative design exercises, which honed her ability to create functional and aesthetically pleasing environments.
- Her coursework also emphasized problem-solving and practical applications of design, preparing her for real-world projects like her self-directed kitchen renovations.
- The program’s strong foundation in both technical skills and creative expression shaped Angela’s ability to seamlessly integrate form and function in her work.