
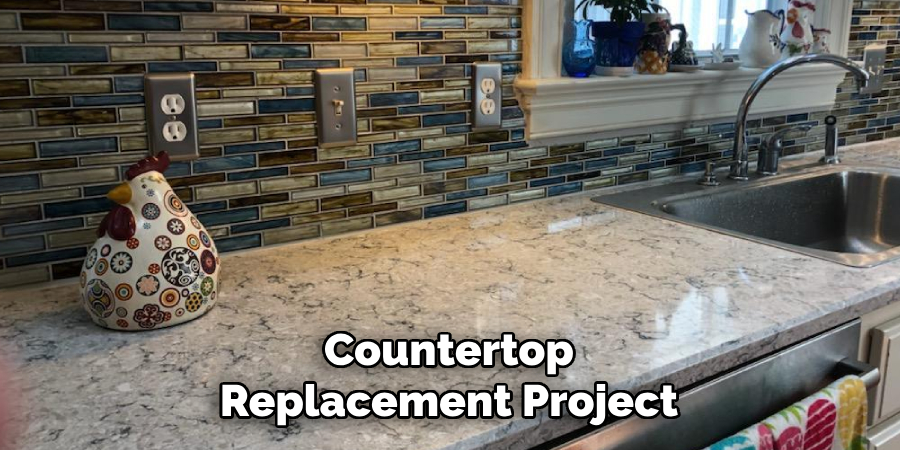
Over time, Formica countertops can exhibit signs of wear and tear, such as scratches, stains, or faded colors, making them look outdated and less functional. Homeowners may also seek to replace them to modernize their kitchen or bathroom design.
Upgrading to new materials, such as refreshed laminate, warm wood, or elegant stone surfaces, elevates the overall aesthetic and adds durability and value to the home. The good news is that learning how to replace Formica countertops is a manageable DIY project for those equipped with the proper tools, precise measurements, and patience.
This guide walks you through each process stage, from removing the old countertop to installing the new one and providing finishing touches. By the end, you’ll be confident to tackle this satisfying home improvement project or know when to enlist professional help for more complex installations.
Tools and Materials Needed
Before starting your countertop replacement project, gathering the necessary tools and materials is essential. Having everything prepared will ensure a smooth and efficient process.
Essential Tools
- Screwdrivers (both flathead and Phillips) for removing mounting screws.
- A pry bar and putty knife to help detach the old countertop from the cabinetry.
- Utility knife for precise cutting and removal of caulk or adhesive.
- Jigsaw or circular saw for trimming the new countertop material to the correct size and shape.
- Drill and clamps to firmly secure the new countertops during installation.
Materials Required
- New countertop material (such as Formica, wood, or stone) in the desired design and dimensions.
- Adhesive or construction glue to bond the countertop to the cabinets.
- Caulk or silicone sealant for sealing edges, particularly around wet areas like sinks.
- Screws to secure the countertop, ensuring a secure and stable fit.
- Silicone sealant specifically designed for sink areas to create a watertight and durable seal.
By having these tools and materials ready, you’ll be fully equipped to replace your Formica countertops efficiently and confidently tackle every step of the process.
Preparing for Countertop Removal
Shutting Off Water and Disconnecting Plumbing
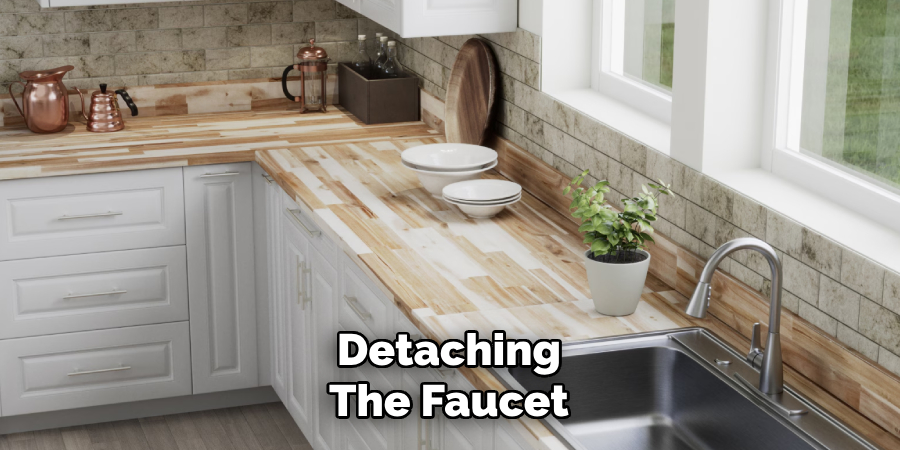
Before starting the countertop removal, ensure the water supply is completely shut off to avoid flooding or leaks. Locate and turn off the main water valve or the valves under the sink. Afterward, disconnect the plumbing by detaching the faucet, sink, and any connected pipes.

Be sure to have a bucket or towels nearby to catch any residual water in the lines. Removing these components ensures an obstacle-free workspace for the countertop removal process.
Removing Backsplash and Trim
To remove the backsplash and trim, start by using a putty knife to carefully loosen any caulk or adhesive securing these elements to the wall or countertop. Gently work the putty knife along the edges, being cautious not to damage the surrounding surfaces.
Once the backsplash and trim are detached, set them aside in a safe location. Next, locate and remove the screws that secure the countertop to the cabinetry. These screws are usually found along the edges or underneath the countertop.
Lifting and Removing the Old Countertop
With all attachments removed, it’s time to loosen the adhesive holding the countertop in place. Use a pry bar to separate the countertop from the cabinets carefully. Apply steady pressure to avoid cracking or damaging adjacent surfaces.
If the countertop is particularly large or heavy, enlist the help of another person for safe lifting and removal. Take care to move the old countertop to an appropriate disposal area, completing this crucial step in preparation for installing the new material.
Measuring and Cutting the New Countertop
Taking Accurate Measurements
Before cutting the new countertop, ensure precise cabinetry and wall dimensions measurements. Use a tape measure to determine the length and depth of the cabinet surface, accounting for any irregularities in the wall or corners.
Include a slight overhang—typically about 1 to 1.5 inches—along the front edge to ensure proper coverage and a clean look. Additionally, double-check dimensions for any backsplash or edge details to avoid misalignment during installation. Measuring accurately at this stage will minimize errors and the need for corrections later.
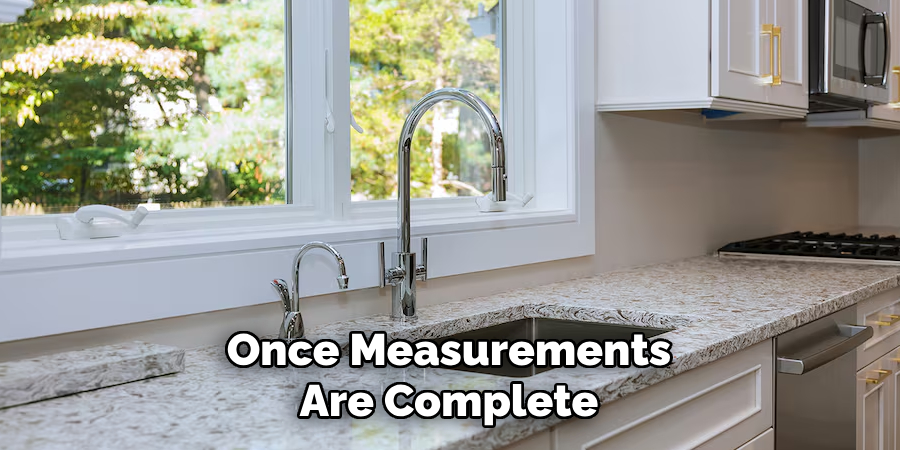
Cutting the New Countertop to Fit
Once measurements are complete, prepare to trim the countertop to the specified dimensions. Use a circular saw equipped with a fine-tooth blade, as this will ensure smooth and precise cuts. To reduce the risk of chipping, cut the countertop face down if it has a laminate surface or is prone to splintering.
Secure the countertop on a stable workbench or sawhorse, and carefully follow your marked cut lines. Use a jigsaw to achieve the desired shape for curved or irregular sections, such as corners. Verify that each cut fits perfectly by dry-fitting the countertop onto the cabinets before proceeding further.
Cutting Openings for the Sink and Fixtures
You must cut openings accordingly if your new countertop includes a sink or other fixtures. Begin by placing the sink upside down on the countertop and tracing its outline. Follow manufacturer guidelines for creating a slightly smaller cutout to allow the sink lip to rest securely.
Drill a starter hole inside the outline, and then use a jigsaw to cut along the marked line. Take your time to ensure precision, and smooth the edges with sandpaper or a file to remove any rough spots. Confirm that the sink and other fixtures fit snugly before moving to the next stage of installation.
How to Replace Formica Countertops: Installing the New Countertop
Positioning and Securing the Countertop
Begin by carefully positioning the countertop on top of the base cabinets. Ensure that it is aligned correctly and sits flush against the walls, checking for an even overhang along all edges. Once satisfied with the position, use clamps to hold the countertop securely. For added stability, attach the countertop to the cabinets using screws from below. Use pre-drilled holes in the cabinet frames and drive screws upward into the underside of the countertop, taking care not to damage the surface.
Applying Adhesive and Sealant
To achieve a strong and lasting bond, apply a bead of construction adhesive along the top edges of the cabinet where they meet the countertop. Press the countertop firmly into place to distribute the adhesive evenly. After securing the countertop, apply a line of silicone caulk along all seams and edges, particularly where the countertop meets the wall.
This step helps prevent water damage and creates a clean, finished look. For a neat seal, smooth the caulk with a damp finger or a caulking tool. Allow the adhesive and sealant to cure as per the manufacturer’s instructions before proceeding with additional installation steps.
Reinstalling Plumbing and Appliances
Once the countertop is securely installed and the adhesive and sealant fully cure, it’s time to reinstall the sink and faucet. Carefully position the sink into the designated cutout on the countertop, ensuring it aligns properly. Apply a bead of silicone caulk along the edges of the sink where it meets the countertop to create a watertight seal. Press firmly to secure the sink, wiping away excess caulk with a damp cloth for a clean finish.
Next, reconnect the water supply lines to the faucet, ensuring all connections are tightened to prevent leaks. Attach the drain assembly, making sure all connections are secure. Once everything is reattached, turn on the water supply and run water through the faucet to test for any leaks. Inspect the connections under the sink carefully and address any leaks immediately by tightening or adjusting the fittings.
Finally, clean up any excess adhesive or caulk around the sink and countertop for a polished appearance. Ensure all plumbing and appliances are functioning correctly before moving on to additional tasks. With this step complete, your countertop installation is nearly finished, leaving you with a functional and attractive kitchen or workspace.
Maintenance Tips for New Countertops
Proper care ensures your new countertops maintain their beauty and functionality for years to come. Regularly clean the surface with non-abrasive cleaners to avoid scratches or damage. Prevent excessive moisture by wiping up spills promptly to reduce the risk of warping, especially for wood or laminate countertops.
Always use cutting boards to protect against knife marks, trivets, or heat-resistant pads to shield the surface from hot pots and pans. By adopting these habits, you can preserve the integrity and appearance of your countertops while minimizing wear and tear over time.
Frequently Asked Questions (FAQs) About Countertop Installation
1. Can I Install a Countertop Myself, or Should I Hire a Professional?
Yes, installing a countertop yourself is possible if you have the necessary tools and are comfortable with measuring, cutting, and handling the material. However, hiring a professional is often recommended to ensure accurate installation and prevent costly mistakes for complex countertops, such as those made of stone or requiring precise cuts for sinks and fixtures.
2. How Long Does It Take to Install a New Countertop?
The time required for countertop installation depends on the material and the project’s complexity. A straightforward installation can take a few hours, while more intricate setups, such as those involving multiple cuts or custom features, may take a full day or more. Allow additional time for adhesive and sealant curing before using the countertop.
3. What Tools Are Essential for Countertop Installation?
Key tools for countertop installation include a tape measure, a circular saw with a fine-tooth blade, a jigsaw for curved cuts, a drill, clamps, sandpaper or a file for smoothing edges, and a caulking tool. Additionally, you may need construction adhesive, silicone caulk, and safety gear, such as gloves and goggles, for a safe and effective installation.
Conclusion
Replacing Formica countertops can be rewarding and rejuvenates your kitchen or workspace. You can ensure a smooth installation process by following key steps such as taking precise measurements, carefully removing the old countertop, and properly sealing the new one.
Understanding how to replace Formica countertops equips homeowners to tackle this task confidently, but consulting a professional is always a wise choice for more complex installations or custom designs. With attention to detail and the right tools, this project can transform your space while offering long-lasting beauty and functionality.
Professional Focus
Angela Ervin, a former interior designer turned blogger, specializes in kitchen design and renovations. Through her website, she blends her passion for cooking with design expertise, sharing practical and creative ideas. Known for balancing functionality and beauty, Angela’s insightful content has made her a trusted voice in home design and lifestyle.
About the Author
Angela Ervin, an experienced interior designer and blogger, combines her passion for kitchen renovations with storytelling. Living in Petersburg with her family, she enjoys cooking and testing her projects firsthand. Known for her humor and relatable style, Angela shares creative, functional design insights through her content, making her a trusted voice in home design.
Education History
University: Virginia Commonwealth University
Degree: Bachelor of Fine Arts (BFA) in Interior Design
- Angela’s education at VCU focused on mastering core interior design principles, including spatial planning, color theory, materials selection, and sustainable design practices.
- She gained hands-on experience through studio projects and collaborative design exercises, which honed her ability to create functional and aesthetically pleasing environments.
- Her coursework also emphasized problem-solving and practical applications of design, preparing her for real-world projects like her self-directed kitchen renovations.
- The program’s strong foundation in both technical skills and creative expression shaped Angela’s ability to seamlessly integrate form and function in her work.