
Replacing a gas oven is an essential task that often arises when upgrading to a newer model with better features or when the existing unit becomes faulty and inefficient. Ensuring a proper and safe replacement is critical, as it prevents potential hazards such as gas leaks, fire risks, or improper connections that could compromise the functionality of your kitchen appliance. Conducting this task with care not only enhances the safety of your home but also ensures the longevity and efficiency of your new oven.
This article serves as a comprehensive step-by-step guide on how to replace gas oven units effectively. From disconnecting the old appliance to safely installing and testing the new one, these instructions are designed to make the process straightforward and manageable for homeowners while emphasizing essential precautions. Whether you’re handling the replacement yourself or considering professional assistance, this guide will equip you with the knowledge needed for a safe and successful installation.
Safety Precautions Before Replacing a Gas Oven
Replacing a gas oven involves handling gas and electrical components, so ensuring safety is paramount. Before starting any work, follow these critical precautions to avoid potential hazards:
Turning Off the Gas Supply
Locate the gas shut-off valve, typically found behind the oven. Turn the valve clockwise until it is fully closed to stop the gas flow. This step is vital to prevent accidental gas leaks during disconnection.
Disconnecting the Power Source
For ovens with electric ignition, unplug the appliance from its electrical outlet. If the unit is hardwired, identify the correct circuit at your home’s electrical panel and turn off the power at the circuit breaker. This reduces the risk of electric shock while working on the appliance.
Checking for Gas Leaks
Before removing the oven, use a gas leak detector or apply a soap-and-water solution to the gas connections. Look for bubbles forming, which indicate the presence of a leak. If a leak is detected, address it immediately before proceeding.
Ventilating the Area
Ensure your workspace is well-ventilated. Open windows and doors to allow fresh air to flow through, dispersing any residual gas

that may remain in the area. Proper ventilation reduces the risk of inhaling harmful fumes and enhances safety.
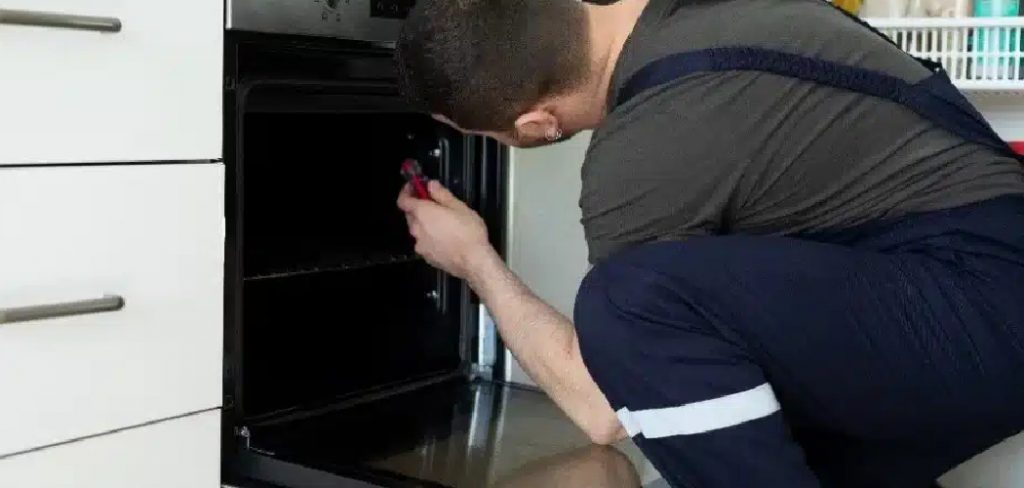
Removing the Old Gas Oven
Disconnecting the Gas Line
Begin by using an adjustable wrench to loosen the connection between the gas line and the oven. Once disconnected, securely cap the gas pipe to prevent any leaks while completing the removal process. This precaution ensures a safe working environment as you proceed to the next steps.
Detaching the Oven from the Wall
If your oven is held in place with screws or brackets, carefully remove them using the appropriate tools. Set the screws or brackets aside in case they are needed later. Once the oven is unfastened, gently pull it forward to access the back and ensure all connections, such as the gas and power lines, have been properly detached.
Lifting and Moving the Old Oven
Removing a gas oven can be physically demanding, so use proper lifting techniques to avoid injury. Always lift from the knees, not the back, or enlist an extra set of hands to help if the appliance is too heavy. For easier transport, place the oven on a dolly or a protective surface, such as a moving blanket, to prevent damage to your flooring or the appliance itself.
Disposing of the Old Oven
Once the oven has been removed, plan for its proper disposal. Check with your local waste management service to determine if the
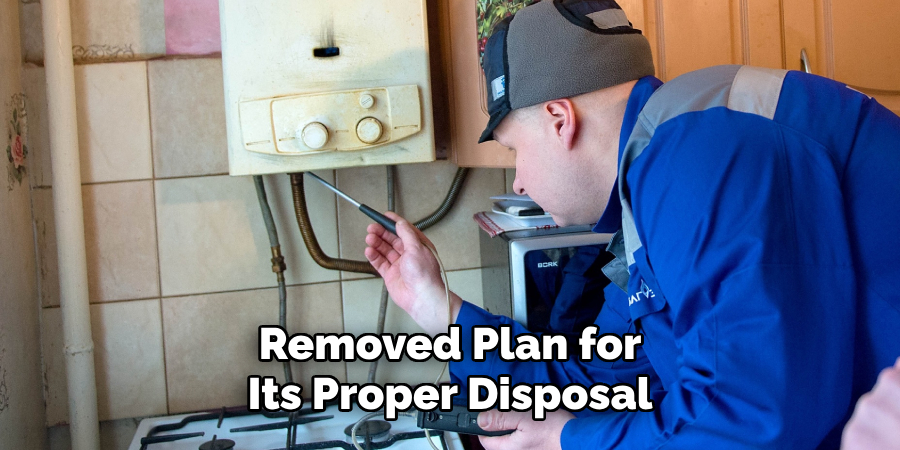
appliance can be collected curbside or if it needs to be taken to a designated recycling center. Recycling ensures the materials are disposed of in an environmentally responsible way.
Preparing for the New Gas Oven Installation
Inspecting the Gas Line
Before proceeding with the installation, carefully examine the gas line to ensure it is intact and free from any cracks, corrosion, or wear. A damaged gas line can lead to leaks and safety hazards, so it is crucial to address any issues before connecting the new appliance. Replace the gas connector if it shows signs of wear or is incompatible with the new oven. Always use a connector designed specifically for gas ovens, and follow the manufacturer’s recommendations.
Measuring the Space
Proper measurements ensure the new oven fits seamlessly into the designated space. Measure the height, width, and depth of the area, and compare these dimensions to the specifications of the new appliance. Remember to allow for any additional clearance required for proper ventilation and connection of gas and power lines. Double-check these measurements to avoid unnecessary adjustments or complications during the installation process.
Cleaning the Installation Area
Prepare the space by thoroughly cleaning it before installing the new oven. Remove any dust, grease, debris, or remnants from the old appliance to ensure a smooth and secure installation. A clean surface will also provide better contact for any fasteners or brackets needed to secure the oven in place.
Checking the Ventilation
Adequate ventilation is critical for a gas oven’s safe and efficient operation. Ensure that there is enough airflow around the oven to prevent overheating and to facilitate proper combustion. Verify that the ventilation system, such as a range hood or exhaust fan,
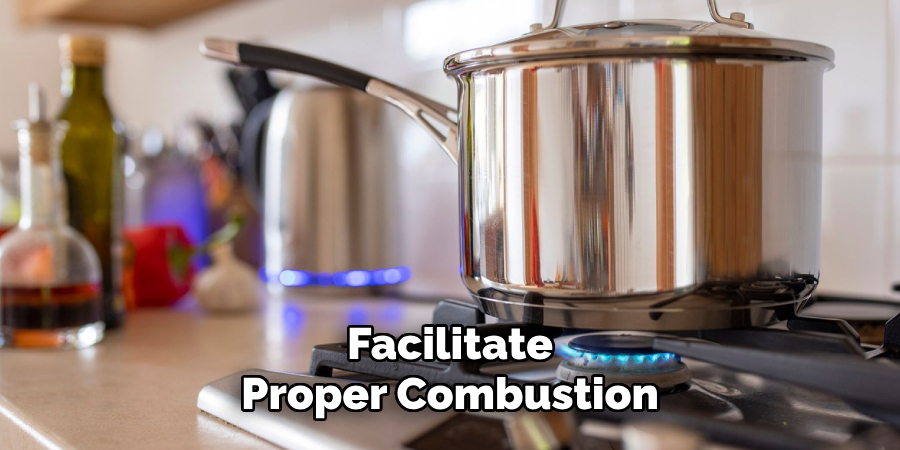
functions correctly to remove heat and fumes generated during cooking. Address any issues with airflow before installing the oven.
How to Replace Gas Oven: Installing the New Gas Oven
Aligning the Oven with the Gas Line
Carefully position the new gas oven to align with the existing gas connection. Make small adjustments as needed to ensure the oven sits properly in front of the gas line connection point. As the manufacturer specifies, pay attention to maintaining the proper clearance around the oven.
Connecting the Gas Supply
Attach the flexible gas connector to the gas line using a wrench. Before tightening completely, apply pipe sealant or thread tape to the connector threads to ensure a secure and leak-free connection. Once the connector is fully tightened, double-check your work to confirm that everything is firmly attached.
Checking for Leaks
After the gas supply has been connected, turn the gas back on and test for leaks immediately. Use a soap-and-water solution to coat the connections. If you notice any bubbles forming, this indicates a gas leak. Tighten the connections further and repeat the test until no bubbles appear. Prioritize safety and do not proceed until the connections are leak-free.
Plugging in the Electrical Cord
If your gas oven features an electric ignition, plug the cord into a nearby grounded outlet. For ovens that require hardwiring, follow
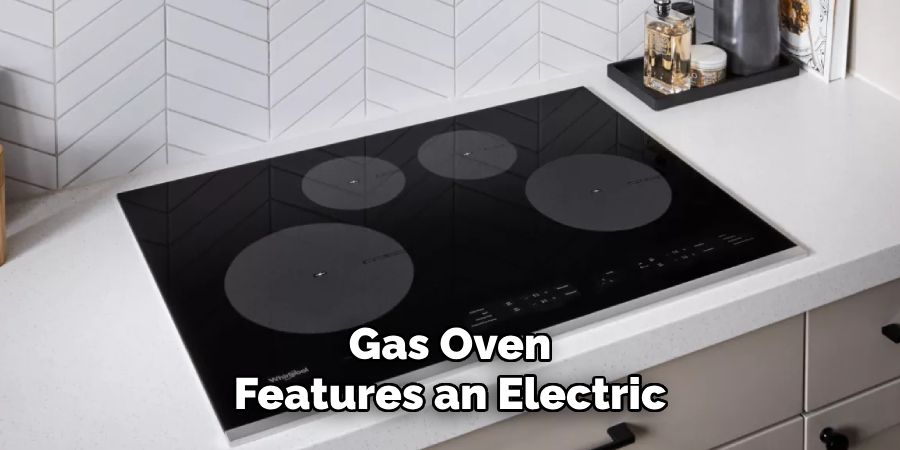
the manufacturer’s instructions to reconnect the electrical wiring carefully. Ensure all electrical work complies with local codes and safety standards.
Sliding the Oven into Place
Finally, carefully push the oven back into its designated spot. Ensure the flexible gas connector and electrical cord are not pinched or twisted. Confirm that the appliance sits evenly and that it maintains proper ventilation clearance. This step completes the physical installation of the gas oven.
Testing the New Gas Oven
Checking the Ignition System
Turn on the oven and test if the burners ignite correctly. This step ensures that the gas flow and electric ignition are functioning as expected. Double-check the gas supply and electrical connections if the burners fail to ignite. Refer to the manufacturer’s guide if adjustments are necessary, and do not force any mechanisms to avoid damage.
Running a Heat Test
Set the oven to a moderate temperature, such as 350°F (175°C), and monitor its heating performance. Allow the oven to preheat fully and verify that the temperature inside matches the setting on the control panel using an oven thermometer, if available. This ensures consistent heating for optimal cooking results.
Ensuring Proper Ventilation
Observe the surrounding area while the oven is running for any unusual odors or smoke. Proper ventilation is critical to prevent the buildup of harmful gases. Open windows or use a kitchen exhaust fan if necessary, and ensure the oven’s ventilation system is functioning as designed.
Listening for Unusual Noises
Pay attention to any unexpected noises, such as a hissing sound, which may indicate a gas leak. If such sounds persist, shut off the
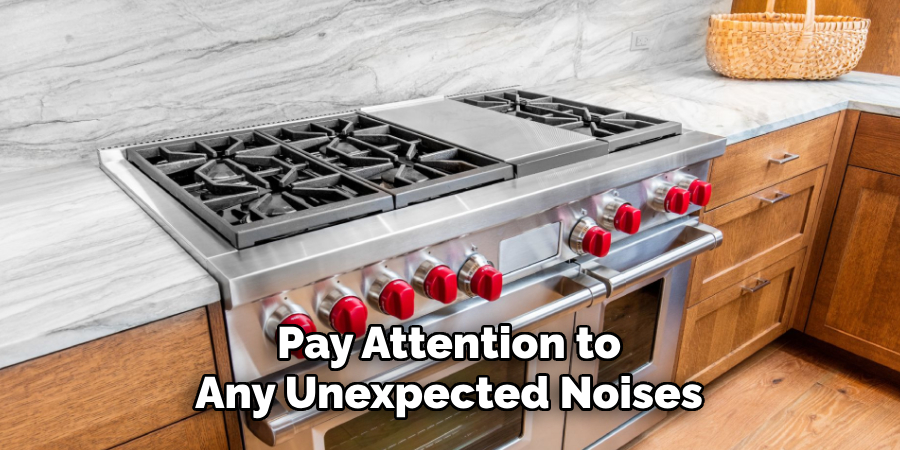
gas supply immediately and contact a licensed professional for inspection and repair. Prioritize safety and avoid using the oven until the issue is resolved.
Troubleshooting Common Issues After Installation
Oven Won’t Turn On
Ensure the gas valve is fully open if your oven won’t turn on after installation. A closed or partially open valve can prevent the oven from receiving the necessary gas supply. Additionally, verify that the electrical connection is secure. For ovens with electronic ignition, the power source must be properly connected for the ignition system to function.
Uneven Heating or Weak Flame
When encountering uneven heating or a weak flame, check that the gas supply pressure is adequate. Insufficient pressure can hinder proper burner operation. Additionally, inspect the burner ports to ensure they are clean and unobstructed. Debris or residue can disrupt the gas flow and result in poor performance. Clean the ports gently to restore consistent heating.
Gas Smell After Installation
If you detect a gas smell after installation, prioritize safety by immediately turning off the gas supply. Carefully inspect all gas connections for any signs of leakage or improper sealing. Use a soapy water solution to identify potential leaks by looking for bubbles. If the odor persists even after inspection, contact a licensed professional immediately for assistance. Avoid using the oven until the issue is resolved to ensure safe operation.
When to Call a Professional
It is essential to call a licensed professional if you are unsure about gas connections or detect a gas smell after installation. Gas leaks pose serious safety risks and require immediate attention. Additionally, if the oven isn’t igniting properly despite following troubleshooting steps, it may indicate a more complex issue that needs expert handling. If electrical wiring modifications are required for the oven to function correctly, always seek professional assistance to ensure compliance with safety standards. Addressing these issues with a qualified expert helps safeguard your home and ensures the appliance operates reliably and safely.
Conclusion
Safely replacing a gas oven involves several critical steps, including turning off the gas supply, carefully removing the old unit, installing the new oven, and conducting thorough safety tests. Always prioritize safety by checking for leaks and ensuring proper installation to prevent potential hazards. Don’t hesitate to seek professional assistance if you are unsure about any aspect of the process or encounter issues. Hiring an expert ensures a safe and efficient installation, providing peace of mind. By following these guidelines on “how to replace gas oven,” you can ensure your kitchen remains a safe and functional space.
Professional Focus
Angela Ervin, a former interior designer turned blogger, specializes in kitchen design and renovations. Through her website, she blends her passion for cooking with design expertise, sharing practical and creative ideas. Known for balancing functionality and beauty, Angela’s insightful content has made her a trusted voice in home design and lifestyle.
About the Author
Angela Ervin, an experienced interior designer and blogger, combines her passion for kitchen renovations with storytelling. Living in Petersburg with her family, she enjoys cooking and testing her projects firsthand. Known for her humor and relatable style, Angela shares creative, functional design insights through her content, making her a trusted voice in home design.
Education History
University: Virginia Commonwealth University
Degree: Bachelor of Fine Arts (BFA) in Interior Design
- Angela’s education at VCU focused on mastering core interior design principles, including spatial planning, color theory, materials selection, and sustainable design practices.
- She gained hands-on experience through studio projects and collaborative design exercises, which honed her ability to create functional and aesthetically pleasing environments.
- Her coursework also emphasized problem-solving and practical applications of design, preparing her for real-world projects like her self-directed kitchen renovations.
- The program’s strong foundation in both technical skills and creative expression shaped Angela’s ability to seamlessly integrate form and function in her work.