
The igniter plays an essential role in operating a gas oven by heating up and igniting the gas, allowing the oven to function effectively for cooking and baking. When the igniter becomes faulty, it can lead to several issues, such as the oven failing to heat, experiencing delayed ignition, or not igniting at all.
Additionally, a weak or non-existent glow from the igniter is a clear sign that it may need replacement. Dealing with such problems can be frustrating, but understanding the signs of a failing igniter can help you take timely action. This article provides a comprehensive, step-by-step guide on how to replace igniter on gas oven safely and efficiently. By following this guide, you’ll gain the necessary tools and knowledge to address the issue, ensuring your gas oven is back in working order while prioritizing safety throughout the process.
Safety Precautions Before Replacing the Igniter
Before starting the replacement process, it is crucial to follow strict safety measures to prevent accidents or damage. Handling a gas oven involves working with both electricity and gas, which can pose significant risks if proper precautions are not taken. Below are the essential steps to ensure a safe and efficient process.
Turning Off Power and Gas Supply
Begin by unplugging the oven from its power source to eliminate any risk of electrical shock. Locate the gas valve behind the oven and shut it off completely to prevent any gas leaks during the replacement process.
Ventilation and Precautions
Maintaining proper ventilation is important when working with gas appliances. Open nearby windows to ensure fresh air circulation and reduce the buildup of any fumes. To protect yourself, wear protective gloves to safeguard your hands from sharp edges or hot parts, and safety goggles to prevent debris from entering your eyes.
Gathering Tools and Materials
The right tools and materials are essential for completing the task efficiently. Gather the following items:
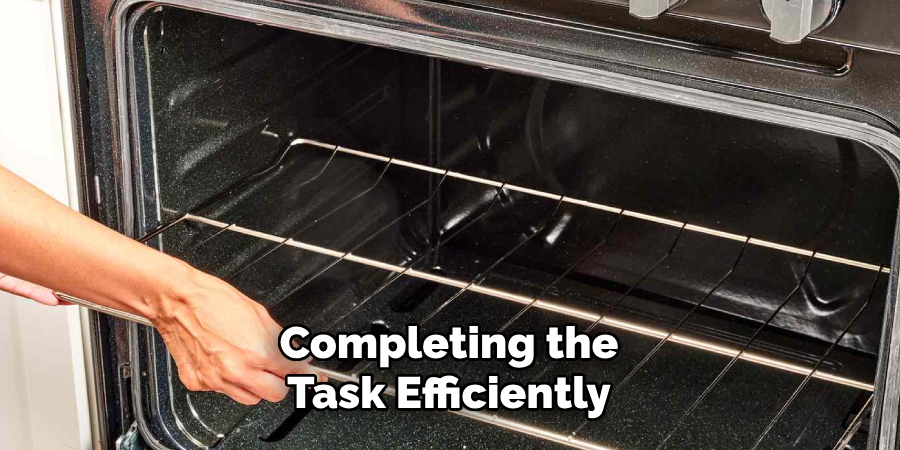
- A complete screwdriver set to remove screws.
- An adjustable wrench for loosening or tightening bolts.
- A new replacement igniter that is compatible with your oven model.
- Safety goggles to protect your eyes during the replacement process.
By following these precautions, you can perform the igniter replacement safely while minimizing potential hazards.
Removing the Old Igniter
Accessing the Igniter
To begin, remove all oven racks to create a clear workspace inside the oven. This will provide easy access to the components that need to be removed. Next, unscrew and carefully remove the bottom oven panel, which is typically held in place by a few screws. Once the panel is removed, the igniter will become visible near the burner assembly.
Disconnecting the Igniter
With the igniter now exposed, locate the wires that connect it to the oven. These are usually secured with a clip or screws. Carefully unplug or disconnect the wires leading to the igniter, ensuring you do not damage any other components. If the wires are clipped in place, gently release them to prevent pulling or breaking. Taking notes or photographing the connections for reference during reassembly is a good idea.
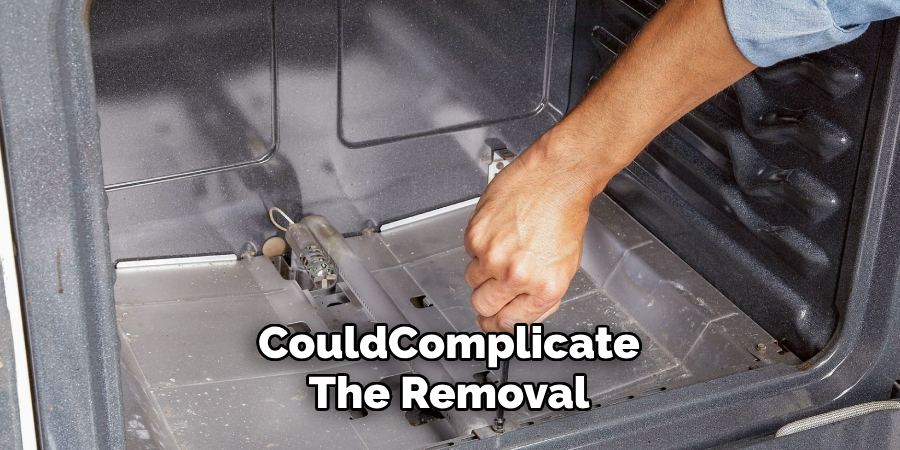
Unscrewing and Removing the Igniter
Using the appropriate screwdriver or wrench, unscrew the mounting screws holding the faulty igniter in place. Be cautious not to strip the screws, as this could complicate the removal.
Once the screws are removed, carefully detach the igniter from its position. Take your time handling the part to avoid damaging surrounding components or the burner assembly. Disposing of the old igniter should follow proper safety guidelines as it may contain sensitive materials. With the old igniter removed, you are now ready to install the replacement piece.
How to Replace Igniter on Gas Oven: Installing the New Igniter
Positioning the New Igniter
Begin by aligning the new igniter in the same position as the old one. Ensure the component is oriented correctly, with the igniter’s element and connections positioned securely near the burner. Avoid touching the igniter’s element with your hands, as oils or debris from your skin could damage it. Gently guide the igniter into place, ensuring it sits flush against the designated mounting area.
Connecting the Wires
Carefully match the new igniter’s wires with the corresponding wires from the oven. If your replacement igniter’s connections differ slightly from the original, check the manufacturer’s instructions for guidance. Using wire nuts, firmly twist the connections together to ensure a secure and solid electrical link.
Double-check each connection to confirm there is no looseness or exposed wire, as this could lead to improper function or a safety hazard. Once done, lightly tug on the wires to ensure they are tightly connected, but avoid applying too much force that might damage the wiring.
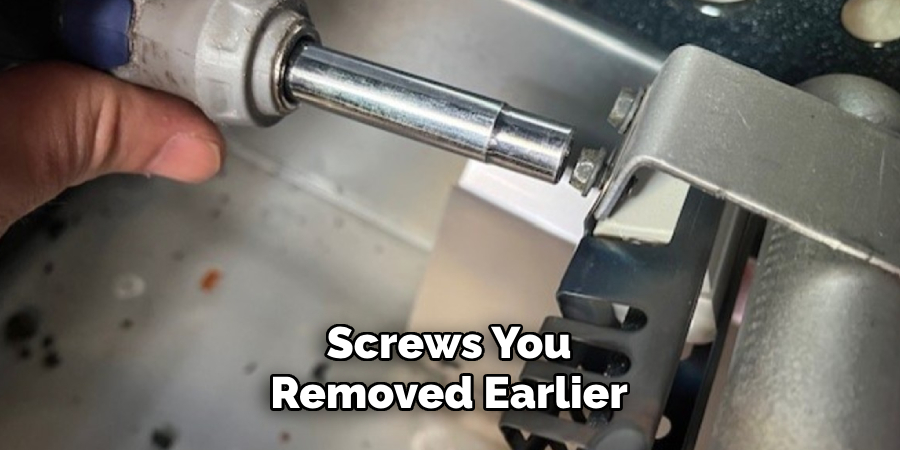
Securing the Igniter
Once the igniter is positioned correctly and connected, use the screws you removed earlier to secure it in place. Reinsert the screws carefully, ensuring they are tightened securely but not over-torqued, which could strip the threads or damage the mounting area.
Confirm the igniter is stable and doesn’t shift when lightly nudged. Finally, verify that the igniter element is adequately positioned near the burner for proper ignition. With the new igniter installed, you can reassemble and test the oven.
Reassembling and Testing the Oven
Reinstalling the Oven Components
Begin by replacing the bottom panel securely inside the oven cavity. Make sure it is appropriately aligned and fits snugly into place. Once the bottom panel is reinstalled, reinsert the oven racks by sliding them back into their designated tracks. Confirm that the racks are sitting evenly and are stable to ensure they can hold cookware safely during use.
Turning the Power and Gas Back On
With the oven components reassembled, restore power and gas to the appliance. Plug the oven back into the electrical outlet, ensuring the cord is securely connected. Next, locate the gas valve and open it fully to allow gas flow to the oven. Double-check all connections for safety before proceeding to test the igniter.
Testing the New Igniter
To test the new igniter, turn on the oven and set it to a baking temperature. Observe the igniter as it glows; it should heat up quickly and consistently. Listen carefully for the sound of proper ignition, which indicates the gas has been ignited successfully. Finally, monitor the oven’s heating to maintain the desired temperature. If all works as expected, the igniter replacement is complete, and your oven is fully functional again.
Troubleshooting Common Issues After Replacement
Even after replacing the igniter, certain issues may arise. Below are some common problems and their potential fixes:
Igniter Not Glowing
If the igniter is not glowing, ensure it is properly wired and securely connected. Double-check all electrical connections to ensure they are not loose or damaged. Additionally, confirm that the oven receives power by testing the outlet or checking the circuit breaker. A lack of power might prevent the igniter from functioning properly.
Delayed Ignition
Should there be an ignition delay, verify that the igniter is positioned correctly and aligned with the burner. A misaligned igniter may
not ignite the gas efficiently. Furthermore, inspect the gas supply line for any blockages or restrictions that could impede gas flow. Addressing these issues should resolve delayed ignition.
Oven Still Not Heating
Check the thermostat and gas valve for potential faults if the oven still fails to heat, even with a new igniter. These components are crucial in regulating the oven’s temperature and gas flow. If troubleshooting these issues does not resolve the problem, it may be time to consult a professional technician to ensure a safe and accurate repair.
When to Call a Professional
If the oven still fails to ignite after replacing the igniter, it may indicate deeper issues that require professional intervention. Handling complex components such as gas valves, thermostats, or advanced wiring can be risky without the proper expertise and tools. Additionally, if there are problems with the gas line, such as leaks or blockages, contacting a certified technician is essential to ensure safety and compliance with regulations.
One of the most critical situations demanding immediate professional assistance is the presence of a gas odor, even after confirming proper installation. Gas leaks present a serious hazard that should never be addressed without expert handling. To avoid further complications or safety risks, entrusting repairs to a qualified professional is the best course of action in these scenarios.
Conclusion
Replacing a gas oven igniter is a straightforward process when done carefully. The steps include turning off the power and gas supply, removing the faulty igniter, installing the new one, and testing for proper ignition. Always prioritize safety by double-checking all connections and ensuring no gas leaks before using the oven. If you’re unsure at any point or the troubleshooting doesn’t fix the problem, consulting a professional is crucial to prevent risks. Following this guide on “how to replace igniter on gas oven,” you can restore your appliance safely and efficiently.
Professional Focus
Angela Ervin, a former interior designer turned blogger, specializes in kitchen design and renovations. Through her website, she blends her passion for cooking with design expertise, sharing practical and creative ideas. Known for balancing functionality and beauty, Angela’s insightful content has made her a trusted voice in home design and lifestyle.
About the Author
Angela Ervin, an experienced interior designer and blogger, combines her passion for kitchen renovations with storytelling. Living in Petersburg with her family, she enjoys cooking and testing her projects firsthand. Known for her humor and relatable style, Angela shares creative, functional design insights through her content, making her a trusted voice in home design.
Education History
University: Virginia Commonwealth University
Degree: Bachelor of Fine Arts (BFA) in Interior Design
- Angela’s education at VCU focused on mastering core interior design principles, including spatial planning, color theory, materials selection, and sustainable design practices.
- She gained hands-on experience through studio projects and collaborative design exercises, which honed her ability to create functional and aesthetically pleasing environments.
- Her coursework also emphasized problem-solving and practical applications of design, preparing her for real-world projects like her self-directed kitchen renovations.
- The program’s strong foundation in both technical skills and creative expression shaped Angela’s ability to seamlessly integrate form and function in her work.