
Are you thinking of replacing your old tile countertops? If so, you have come to the right place.
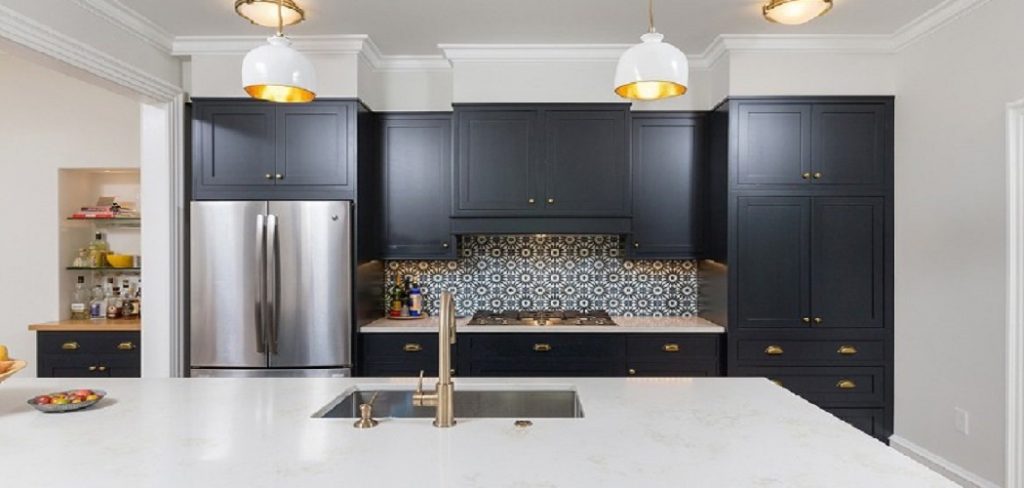
Replacing tile countertops can be a rewarding home improvement project that transforms the look and feel of your kitchen or bathroom. Over time, tile countertops may become outdated, damaged, or difficult to maintain, making replacement a practical and aesthetically pleasing solution.
While the process requires careful planning and a bit of elbow grease, it is entirely achievable for DIY enthusiasts or even beginners with the right tools and guidance.
This guide on how to replace tile countertops will walk you through the essential steps to successfully remove your old tile countertops and replace them with a fresh, modern surface that suits your style and needs. Let’s get started!
What Are the Benefits of Replacing Tile Countertops?
Replacing your old tile countertops comes with several benefits. Here are some reasons why you might want to consider this home improvement project:
- Improved Aesthetics: Over time, the tiles on your countertop may become discolored or chipped, giving your kitchen or bathroom an outdated look. Replacing them with new, modern materials can instantly refresh the entire space and give it a more attractive and updated appearance.
- Better Functionality: Older tile countertops may have grout lines that are difficult to clean, making it challenging to maintain a hygienic surface. By replacing them with a seamless material like granite or quartz, you can make cleaning much more manageable and improve the functionality of your countertops.
- Increased Home Value: A home with outdated or damaged countertops can be a turnoff for potential buyers. By replacing them, you can increase the value of your home and make it more appealing to future buyers if you decide to sell.
- Cost-effective: Depending on the material you choose for your new countertops, replacement can be a cost-effective way to upgrade your kitchen or bathroom without breaking the bank. Plus, doing it yourself can save even more money on labor costs.
What Will You Need?
Before you begin the process of replacing your tile countertops, it’s essential to gather all the necessary tools and materials. Here are some of the basics:
- Hammer
- Pry bar
- Flathead screwdriver
- Utility knife
- Chisel
- Putty knife
- Gloves and safety glasses (recommended)
- Measuring tape
- Level
- Pencil or marker
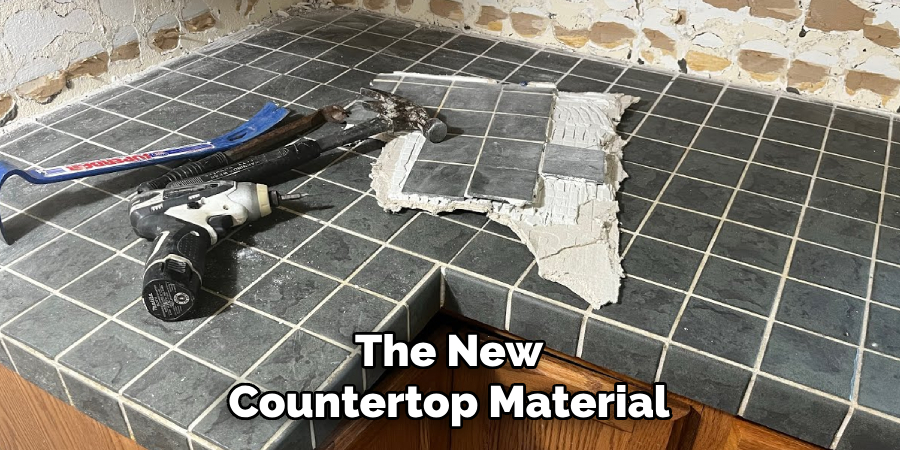
In addition to these tools, you will also need new countertop material, such as granite, quartz, or laminate, depending on your preference and budget. You may also need adhesive or caulk for installation.
8 Easy Steps on How to Replace Tile Countertops
Step 1: Remove the Old Tile Countertop
Begin by carefully removing the existing tiles. Use a hammer and chisel to break the tiles apart, starting at one edge or corner of the countertop. Be cautious to avoid damaging the underlying base or cabinets.
Wear gloves and safety glasses to protect yourself from sharp edges or flying debris during this process. Once all the tiles are removed, remove any remaining adhesive or grout with a putty knife or scraper to create a smooth surface for the new countertop material.
Step 2: Measure and Cut the New Countertop Material
Accurately measure the dimensions of your countertop area, including any cutouts for sinks or appliances. Transfer these measurements onto your chosen countertop material and mark them with a pencil or marker. Cut the material along the marked lines using a circular saw or jigsaw.
If using materials like granite or quartz, you may need specialized tools or professional assistance for precise cutting. Ensure all pieces fit correctly before proceeding to the next step.
Step 3: Install the New Countertop Material
Carefully place the cut pieces of the new countertop material onto the base cabinets, ensuring a snug and even fit. Use construction adhesive to secure the pieces in place, applying it along the edges and support areas of the cabinets. Press down firmly to ensure the adhesive bonds properly. For added stability, screw the countertop into the supporting cabinets from underneath, ensuring not to overtighten.
If your countertop has seams, apply a color-matched sealant to join the pieces together, wiping away any excess with a damp cloth. Allow the adhesive and sealant to cure as the manufacturer recommends before moving to the finishing touches.
Step 4: Apply the Finishing Touches
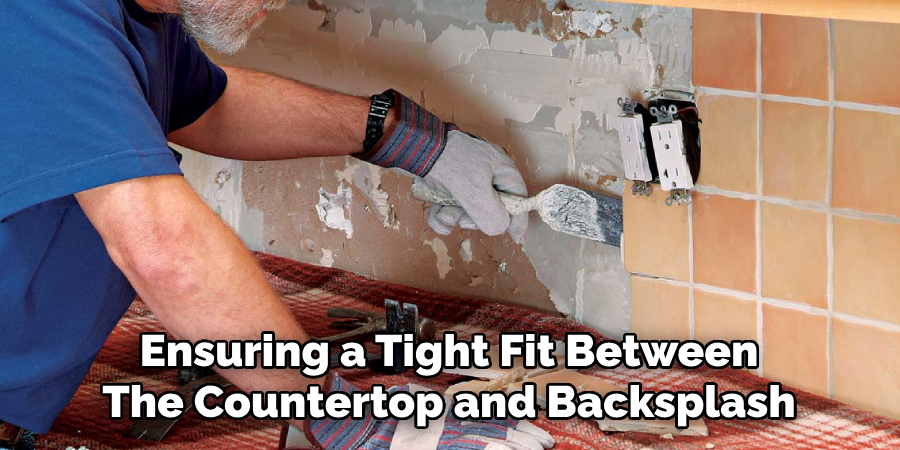
Once the countertop is securely installed and the adhesive has fully cured, it’s time to add the finishing details. Begin by inspecting the seams and edges for any uneven areas or gaps, addressing them as necessary with additional sealant or sanding (if permitted by the material). Carefully attach any backsplash pieces using construction adhesive, ensuring a tight fit between the countertop and backsplash.
Clean the entire surface with a gentle cleaner appropriate for the material, removing any dust, fingerprints, or residue. Finally, consider applying a protective sealant if required by the countertop material to ensure durability and resistance to stains or damage over time. With these steps completed, your new countertop installation will be admired and used.
Step 5: Add Personal Touches
Adding personal touches to your newly installed countertop can elevate the overall aesthetic of your space and truly make it your own. Start by selecting complementary accessories, such as a stylish soap dispenser, a decorative fruit bowl, or a vase with fresh flowers, to enhance the countertop’s appeal.
Consider incorporating elements that match the design theme of your kitchen or bathroom, such as rustic wood accents, sleek metallic finishes, or vibrant pops of color for a modern look. Furthermore, placing functional items like a cutting board or neatly arranged utensils can blend practicality with design. For even greater customization, add under-cabinet lighting to highlight the countertop’s beauty, creating a warm and inviting atmosphere. By infusing these thoughtful details, your countertop will serve as a functional workspace and a visual centerpiece of the room.
Step 6: Keep Up With Maintenance
To keep your new countertop looking its best, following proper maintenance guidelines is essential. Clean up spills and messes promptly, avoid harsh chemicals or abrasive cleaners, and use cutting boards or trivets to prevent scratches or damage from hot pots and pans. Regularly inspect for any signs of wear and tear or potential issues like loose seams, cracks, or stains. Address these concerns as soon as possible to prevent further damage.
Step 7: Consider Professional Installation
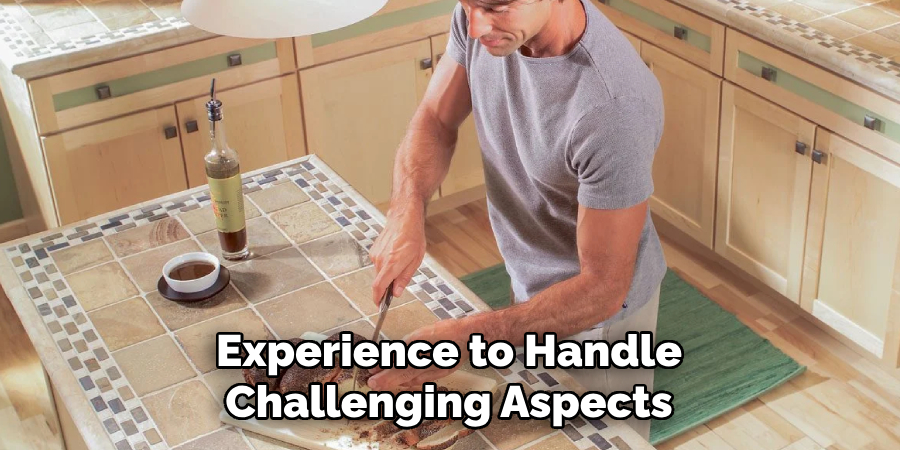
While DIY projects can be fulfilling, installing countertops often requires precision and expertise that professionals can provide. Hiring a skilled installer ensures accurate measurements, properly aligned seams, and the overall installation is secure. Professional installers are equipped with the right tools and experience to handle challenging aspects, such as cutting around sinks or appliances, ensuring a flawless fit.
They can also help source quality materials and guide you through the best options for your space. Additionally, many professional services offer warranties on their work, giving you peace of mind knowing that your investment is protected. While it may involve additional costs, skilled installation can save you time, stress, and potential mistakes that arise from attempting the project on your own.
Step 8: Perform Final Inspections
Once the countertop installation is complete, it’s essential to perform thorough final inspections. Check for any gaps, uneven surfaces, or improperly sealed areas, as these can compromise the durability and appearance of the countertop. Ensure that all edges are smooth and properly aligned, and confirm that any cutouts for sinks or appliances fit securely.
Testing the stability of the countertop by applying light pressure in various areas can also help identify any issues. Addressing these concerns early can prevent future problems and ensure your countertop looks and functions as intended for years.
By following these steps and proper maintenance techniques, you can successfully install a new countertop and enjoy a refreshed look in your home.
5 Things You Should Avoid
- Skipping Proper Measurements: One of the biggest mistakes is not accurately measuring your countertop space. Miscalculations can lead to buying the wrong amount or type of materials, wasting both time and money.
- Ignoring Safety Precautions: Replacing tile countertops involves sharp tools and heavy materials. Always wear protective gear like gloves and safety goggles, and be cautious during demolition and installation to avoid injuries.
- Using the Wrong Adhesive: The adhesive is crucial in securing the tiles. Avoid using an adhesive not designed for kitchen applications, as it might not withstand temperature changes or moisture over time.
- Rushing the Grouting Process: Grouting requires patience and precision. Skipping steps or rushing through it can result in an uneven finish or tiles that aren’t securely set, compromising the countertop’s durability.
- Neglecting Surface Preparation: Failing to properly prepare the countertop base before installing tiles can lead to uneven surfaces. Always remove old materials, thoroughly clean the base, and ensure it is level before starting the project.
By avoiding these common mistakes, you can ensure a successful and long-lasting tile countertop installation.

Conclusion
How to replace tile countertops can be a rewarding DIY project that enhances the look and functionality of your kitchen.
You can achieve professional-quality results by carefully planning each step, using the proper materials and tools, and avoiding common installation mistakes. Take the time to prepare your workspace, follow installation guidelines, and pay close attention to detail during each process phase.
Whether you’re refreshing your kitchen’s style or restoring a worn surface, replacing tile countertops can breathe new life into your space while increasing your home’s value.
Professional Focus
Angela Ervin, a former interior designer turned blogger, specializes in kitchen design and renovations. Through her website, she blends her passion for cooking with design expertise, sharing practical and creative ideas. Known for balancing functionality and beauty, Angela’s insightful content has made her a trusted voice in home design and lifestyle.
About the Author
Angela Ervin, an experienced interior designer and blogger, combines her passion for kitchen renovations with storytelling. Living in Petersburg with her family, she enjoys cooking and testing her projects firsthand. Known for her humor and relatable style, Angela shares creative, functional design insights through her content, making her a trusted voice in home design.
Education History
University: Virginia Commonwealth University
Degree: Bachelor of Fine Arts (BFA) in Interior Design
- Angela’s education at VCU focused on mastering core interior design principles, including spatial planning, color theory, materials selection, and sustainable design practices.
- She gained hands-on experience through studio projects and collaborative design exercises, which honed her ability to create functional and aesthetically pleasing environments.
- Her coursework also emphasized problem-solving and practical applications of design, preparing her for real-world projects like her self-directed kitchen renovations.
- The program’s strong foundation in both technical skills and creative expression shaped Angela’s ability to seamlessly integrate form and function in her work.