
Granite countertops are a popular choice for kitchens and bathrooms due to their durability and natural beauty. However, to maintain their shine and protect them from stains or damage, it’s essential to periodically reseal them.

Resealing granite countertops creates a protective barrier that prevents liquids and oils from penetrating the surface, ensuring your countertops remain in excellent condition for years to come.
This guide on how to reseal granite countertops will walk you through the steps to properly reseal your granite countertops with ease.
Why Reseal Granite Countertops?
Before we dive into the steps, let’s understand why resealing granite countertops is necessary.
Over time, your countertops can become susceptible to stains from spills or cooking oils, and scratches from knives or other sharp objects. This is because granite is a porous material, meaning it has tiny openings that can absorb liquids and oil, causing stains and damage.
Resealing creates a protective barrier that helps to seal these pores, preventing any liquids or oils from penetrating the surface. It also helps to maintain the shine and luster of your countertops, keeping them looking like new.
Needed Materials
To reseal your granite countertops, you’ll need the following materials:
Granite Cleaner and Polish
Before resealing, it’s essential to clean and polish your countertops to remove any dirt, grime, or stains. Make sure to use a cleaner specifically designed for granite surfaces.
Resealer
You can purchase a stone sealer from your local home improvement store or online. Choose a high-quality sealer that is specifically designed for natural stone surfaces like granite.
Clean Cloth
You’ll need a soft cloth to apply the sealer onto the countertop surface.
Gloves
To protect your hands, wear gloves while working with the sealer.
7 Steps on How to Reseal Granite Countertops
Step 1: Clean and Dry Countertops
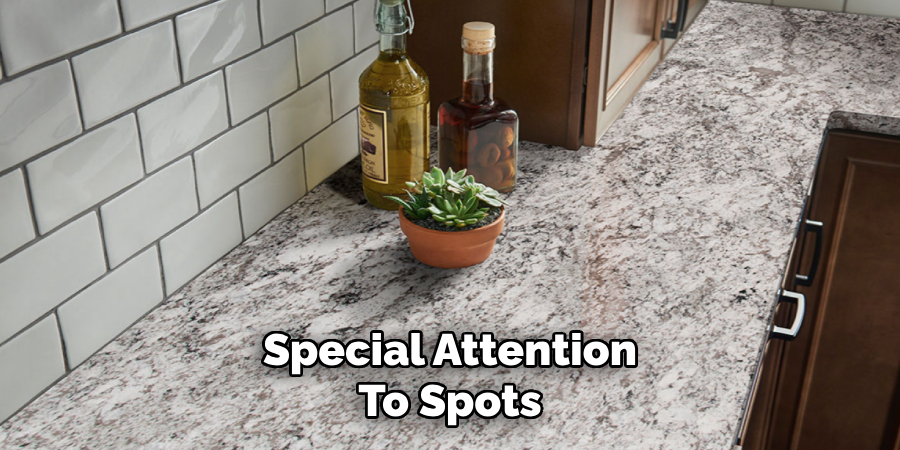
Begin by thoroughly cleaning your granite countertops to ensure the surface is free of dirt, grime, or any leftover residues. Use a granite-specific cleaner to gently scrub the countertop, and pay special attention to spots with stains or buildup.

After cleaning, wipe the surface dry with a soft, clean cloth or towel. It’s crucial to ensure the countertops are completely dry before moving on to the next step, as any moisture left behind could interfere with the sealing process. Allow the surface to air dry for an additional 15-20 minutes if needed.
Step 2: Protect Surrounding Areas
Before applying the sealer, it’s important to safeguard surrounding areas such as walls, cabinets, and sinks. Use painter’s tape to cover the edges where your countertops meet other surfaces to prevent accidental application of the sealer.
This will help ensure a clean and professional-looking finish while also avoiding potential damage to nearby materials. Taking the time to protect these areas will make the sealing process smoother and more efficient.
Step 3: Apply Sealer
Now it’s time to apply the sealer onto your clean and dry countertops. Make sure to shake the sealer bottle well before use, as this will ensure that all active ingredients are mixed evenly.
Pour a small amount of sealer onto the countertop surface and use a clean cloth to spread it in a thin layer over the entire area. Make sure to cover every inch of the countertop, including edges and corners.
Step 4: Allow Sealer to Soak In
Once you have applied the sealer to the entire countertop, allow it to soak into the granite surface. The recommended soaking time typically varies depending on the product, so refer to the instructions on your sealer for specific guidance. Generally, this can take anywhere from 5 to 15 minutes.
During this time, the sealer penetrates the pores of the granite, creating the protective barrier that helps prevent stains and damage. Avoid touching or disturbing the surface while the sealer is soaking, as this could interfere with the absorption process. If you notice any areas where the sealer has begun to dry unevenly, apply a small amount more to ensure consistent coverage.
Step 5: Wipe Off Excess Sealer
After allowing the sealer to soak into the granite surface, use a clean, dry cloth to wipe off any excess sealer. Work in a circular motion to remove the leftover product and ensure that the surface has an even finish. Be thorough during this step, as leaving excess sealer on the countertop can create a cloudy or sticky residue once it dries.
It’s important to act promptly and not allow the sealer to dry on the surface before wiping it off. Refer to the product instructions for guidance on how long the sealer can sit before wiping. Properly removing excess sealer will leave your countertops smooth and beautifully sealed.
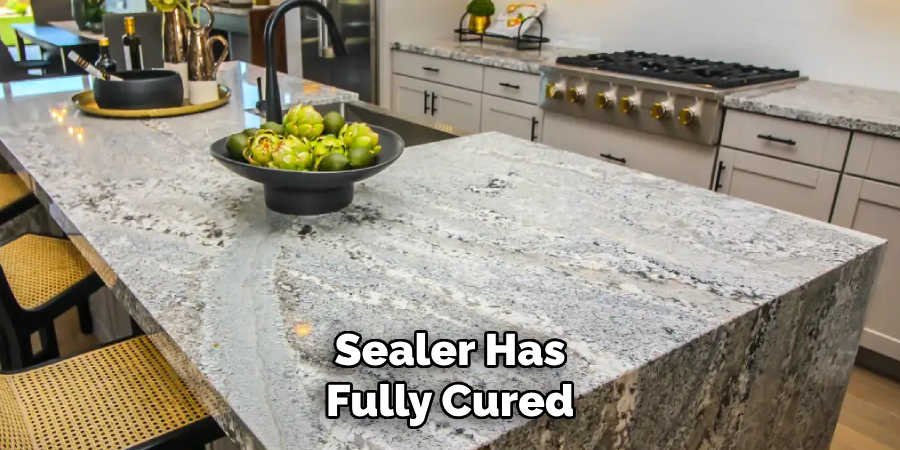
Step 6: Allow Sealer to Cure
Once you have wiped off all excess sealer, allow your countertops to cure for the recommended time. The curing process is when the sealer fully hardens and creates a strong protective barrier. This usually takes around 24 hours but can vary depending on the product’s instructions.
During this period, it’s important to avoid using or placing items on top of your countertops to prevent any damage or interference with the sealing process.
Step 7: Buff Countertops
After the sealer has fully cured, the final step is to buff your granite countertops to restore their shine and luster. Take a clean, soft cloth and gently polish the surface using circular motions. This will help to enhance the appearance of your countertops and ensure a smooth, streak-free finish.
Buffing not only improves the visual appeal of your countertops but also removes any remaining residue left from the sealing process. Pay attention to edges and corners to achieve a consistent shine across the entire surface. Once complete, your countertops should look beautifully glossy and well-protected, ready to handle daily use with ease.
Following these steps on how to reseal granite countertops will help you maintain the quality and longevity of your granite countertops. Regularly resealing them every 1-3 years, depending on use and wear, will help keep them looking like new for years to come. Remember to always follow the specific instructions provided by the sealer’s manufacturer for best results.
Maintaining Your Granite Countertops
After resealing your granite countertops, it’s important to maintain them properly to ensure they stay in top condition. Here are a few tips for ongoing maintenance:
Clean Spills Promptly
Wipe up any spills as soon as possible to prevent staining.
Use Gentle Cleaning Products
Avoid harsh or abrasive cleaners that can damage the sealer and granite surface. Stick to gentle, pH-balanced products specifically designed for granite countertops.
Avoid Placing Hot Objects Directly on Countertops
The heat from hot pots, pans, or dishes can potentially cause damage to the sealant and weaken its protective barrier. Always use trivets or hot pads to protect your countertops.
Consider Using Cutting Boards
While granite is a highly durable material, it’s always best to use cutting boards to avoid any potential scratches or nicks on the surface.
By following these maintenance tips and regularly resealing your granite countertops, you can enjoy their natural beauty and functionality for many years to come.
Common Mistakes to Avoid
While resealing your granite countertops is a straightforward process, there are a few common mistakes that can affect the outcome.
Skipping Cleaning and Drying
Failing to thoroughly clean and dry your countertops before applying sealer can lead to an uneven finish or prevent proper absorption of the sealer.
Using Too Much Sealer
Applying too much sealer can result in an unsightly, cloudy residue that is difficult to remove. Always follow the recommended amount and spread evenly.
Allowing Sealer to Dry for Too Long
If you allow the sealer to dry for too long before wiping off excess, it can create a hazy film on the surface. Be sure to promptly wipe off any excess after the recommended soaking time.
Neglecting Regular Resealing
Neglecting to reseal your granite countertops regularly can lead to stains and damage over time. Make sure to follow the recommended resealing schedule to maintain the quality of your countertops.
By avoiding these common mistakes and following the proper steps, you can successfully reseal your granite countertops and keep them looking beautiful for years to come.
Frequently Asked Questions
Q: Can I Use a Sealer on Any Type of Granite?
A: Yes, most sealers are suitable for all types of granite countertops. However, it’s always best to check with the manufacturer or test a small area before applying to the entire surface.
Q: How Often Should I Reseal My Granite Countertops?
A: The recommended time frame for resealing varies depending on the product and usage of your countertops. As a general rule, it’s best to reseal every 1-3 years.
Q: Can I Use Regular Household Cleaners on Sealed Granite Countertops?
A: It’s always best to use cleaners specifically designed for granite countertops to avoid damaging the sealant. Harsh or abrasive cleaners can weaken or strip away the sealant, leaving your countertops vulnerable to damage.
Q: Do I Need to Reseal Newly Installed Granite Countertops?
A: Yes, it’s recommended that newly installed granite countertops be resealed after the initial installation. This will help protect them from any potential damage and ensure they stay in top condition.
Conclusion
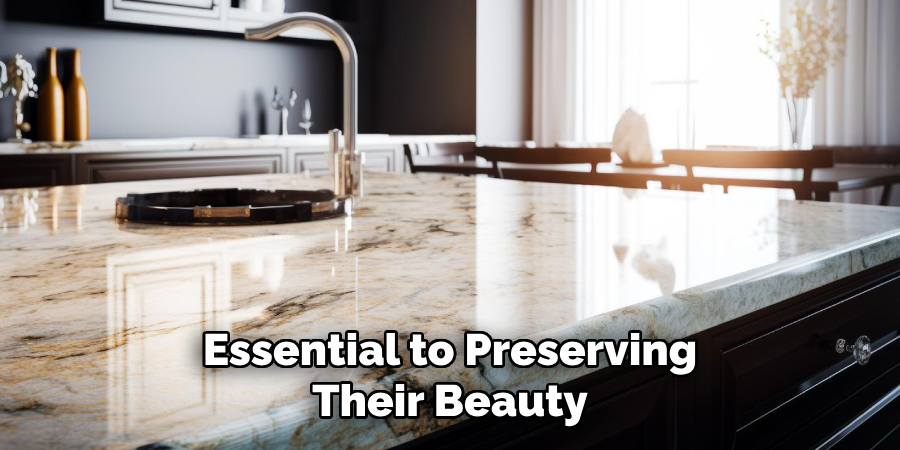
Properly resealing and maintaining your granite countertops is essential to preserving their beauty, durability, and functionality.
By following the outlined steps on how to reseal granite countertops, avoiding common mistakes, and adhering to regular maintenance routines, you can ensure your countertops remain a striking centerpiece in your home for years to come.
Professional Focus
Angela Ervin, a former interior designer turned blogger, specializes in kitchen design and renovations. Through her website, she blends her passion for cooking with design expertise, sharing practical and creative ideas. Known for balancing functionality and beauty, Angela’s insightful content has made her a trusted voice in home design and lifestyle.
About the Author
Angela Ervin, an experienced interior designer and blogger, combines her passion for kitchen renovations with storytelling. Living in Petersburg with her family, she enjoys cooking and testing her projects firsthand. Known for her humor and relatable style, Angela shares creative, functional design insights through her content, making her a trusted voice in home design.
Education History
University: Virginia Commonwealth University
Degree: Bachelor of Fine Arts (BFA) in Interior Design
- Angela’s education at VCU focused on mastering core interior design principles, including spatial planning, color theory, materials selection, and sustainable design practices.
- She gained hands-on experience through studio projects and collaborative design exercises, which honed her ability to create functional and aesthetically pleasing environments.
- Her coursework also emphasized problem-solving and practical applications of design, preparing her for real-world projects like her self-directed kitchen renovations.
- The program’s strong foundation in both technical skills and creative expression shaped Angela’s ability to seamlessly integrate form and function in her work.