
Are you tired of resetting the oven clock whenever there is a power cut in your house? Well, you’re not alone. Many people struggle with this issue and end up spending unnecessary time trying to figure out how to reset oven clock after power cut.
After a power cut, many appliances may need to be reset, and your oven clock is no exception. An incorrect oven clock not only affects the display but can also disrupt timed cooking functions, making it essential to restore the correct time promptly. Luckily, resetting the clock on most ovens is a quick and simple process, requiring only a few steps.
This guide will walk you through the process to ensure your oven returns to proper working order in no time.
What Are the Causes of Power Cuts?
Before we dive into the steps to reset your oven clock after a power cut, let’s first understand what causes power cuts. These sudden interruptions in the electricity supply can last for a few seconds or several hours. Common causes of power cuts include:
- Bad weather conditions such as thunderstorms, hurricanes, and snowstorms
- Faulty equipment or damaged power lines
- Overloaded electrical systems
- Planned maintenance or upgrades by utility companies
Power cuts can happen unexpectedly, leaving you unprepared and causing inconvenience. Knowing the potential causes can help you take preventive measures to minimize their impact on your appliances.
What Will You Need?
Before attempting to reset your oven clock, you will need a few things on hand:
- The User Manual for Your Specific Oven Model: This is essential as different ovens have varying clock reset methods. If you don’t have the manual, you can usually find it online by searching for your oven make and model.
- A Reliable Power Source: Make sure the electricity supply in your house is stable before attempting to reset the clock. If there are still frequent power cuts, consider investing in a backup power source such as a generator or UPS (uninterruptible power supply).
- A Clock or Timer: Having a clock or timer handy can help you keep track of the time while resetting the oven clock and ensure it is set accurately.
Once you have these items ready, you can proceed with resetting your oven clock after a power cut.
8 Easy Steps on How to Reset Oven Clock After Power Cut
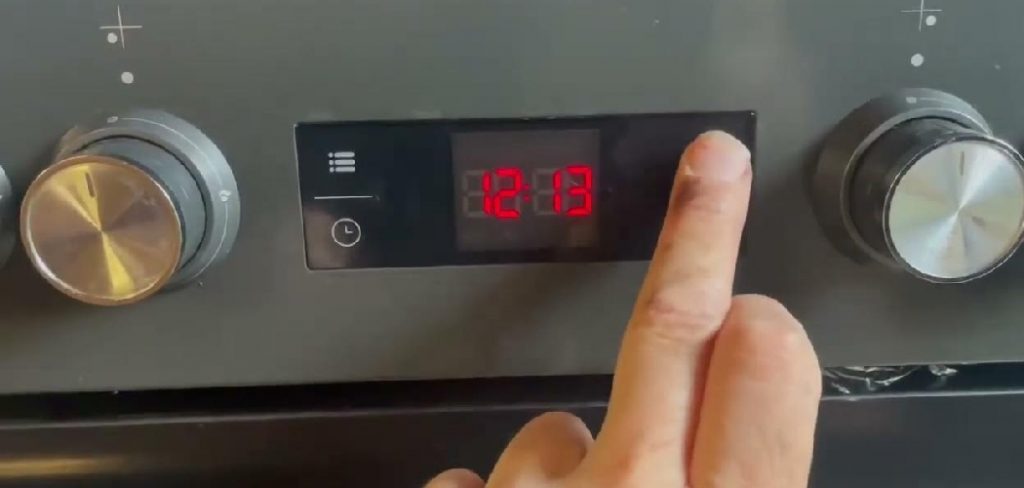
Step 1. Locate the Clock or Timer Button:
Find the clock or timer button on your oven’s control panel. This button is often labeled clearly as “Clock,” “Timer,” or sometimes an icon resembling a clock face. This function may be integrated into a touch screen interface on some newer oven models. Take a moment to familiarize yourself with the control panel layout so you can locate the button quickly. If you’re unsure, refer to the user manual for your specific model to identify the correct button. Having this information will save you time and ensure accuracy as you proceed to the next steps.
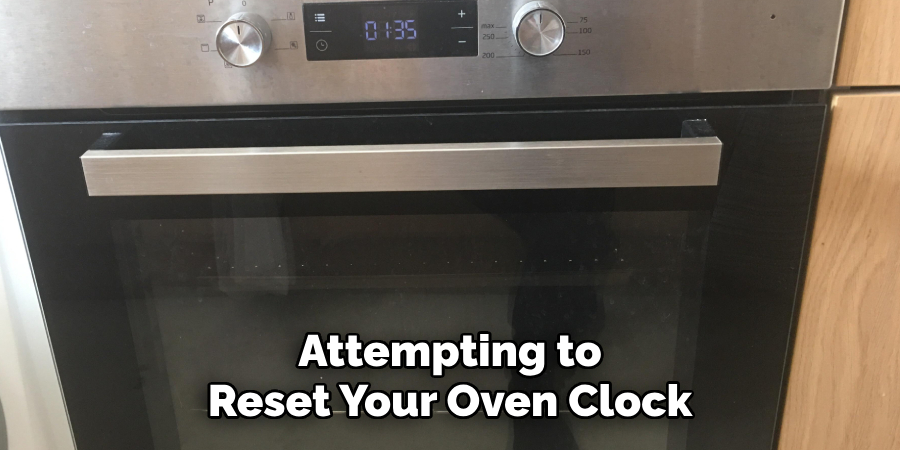
Step 2. Press and Hold the Clock Button:
Once you have located the clock or timer button, press and hold it. This action usually activates the clock-setting mode on your oven. Depending on your oven model, you might see the display start blinking or flashing, indicating that it is ready for you to input the correct time. Ensure you hold the button long enough to activate the setting mode; if nothing happens, consult your user manual for additional instructions specific to your oven.
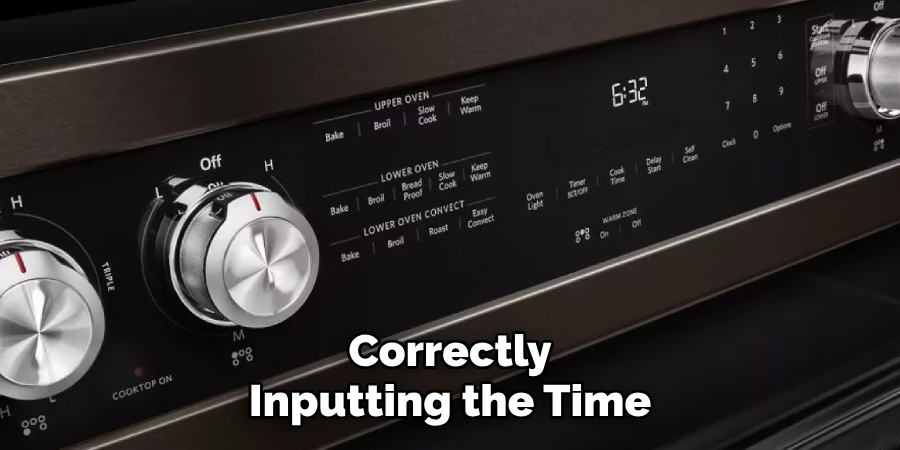
Step 3. Set the Correct Time:
Once the clock-setting mode is activated, use the appropriate controls to input the correct time. This may involve turning a dial, pressing “+” and “−” buttons, or using a touchscreen to adjust the hours and minutes. Pay attention to whether your oven uses a 12-hour or 24-hour format and set the time accordingly. If you make a mistake, you can often start over by pressing the clock button again. Take the time to ensure the accuracy of your entry before proceeding to finalize the adjustment.
Step 4. Finalize the Time Setting:
After correctly inputting the time, finalize the adjustment by pressing the “Clock” button again, or another designated confirm button, depending on your oven model. This action will lock in the time, and the display should stop blinking or flashing, proving that
the process is complete. If the time does not appear correctly or the settings do not save, repeat the steps or consult your oven’s user manual for troubleshooting tips.
Step 5. Test the Clock Setting:
Once the time has been finalized, take a moment to verify its accuracy. Observe the display briefly to ensure the clock runs correctly and advances as expected. If your oven has a timer or alarm feature, consider setting a short test timer to confirm that all related functions are working correctly. This step ensures that your clock setting process has been completed and your oven is ready for use.
Step 6. Reset the Clock if Necessary:
If you notice any issues with the clock after testing, such as incorrect time display or a malfunctioning timer, you may need to reset the clock. To do this, repeat the initial steps for setting the time, starting from clearing the current settings. Ensure that you carefully follow all instructions and double-check each input. If problems persist, consult the troubleshooting section of your oven’s user manual or contact customer support for further assistance.
Step 7. Maintain the Clock Regularly:
Perform regular maintenance checks to ensure the continued accuracy and functionality of your oven’s clock. If your area experiences frequent power outages or daylight saving time changes, remember to update the clock accordingly. Clean the display and surrounding buttons gently with a soft, damp cloth to prevent dust buildup, ensuring buttons remain responsive and the clock remains easy to read. Regular care helps extend the life of your oven’s clock and keeps it running smoothly.
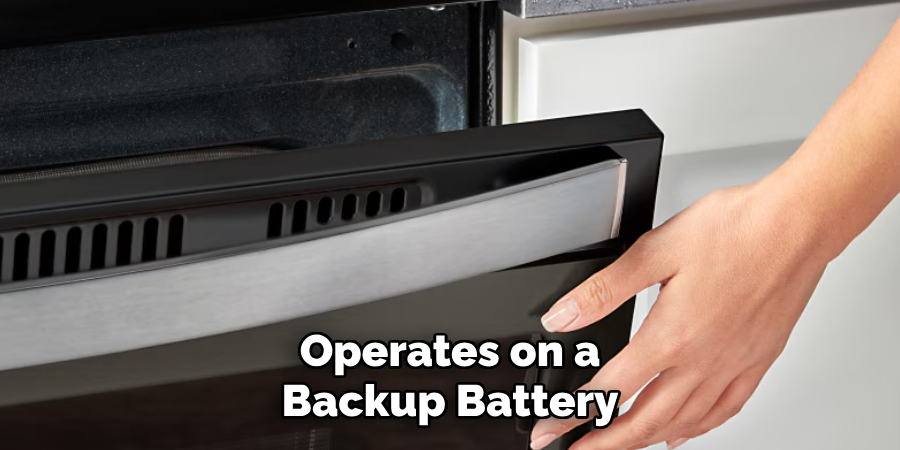
Step 8. Replace the Clock Battery if Necessary:
If your oven’s clock operates on a backup battery, it may occasionally require replacement to maintain functionality. Check your oven’s user manual to locate the battery compartment and use the recommended type of battery for replacement. Ensure the oven is turned off and unplugged before attempting to replace the battery. After installing the new battery, reset the clock to the correct time. Regularly replacing the battery ensures uninterrupted operation, especially during power outages.
By following these simple steps, you can easily reset your oven clock after a power cut and ensure that it remains accurate and functional.
5 Things You Should Avoid
- Ignoring the User Manual: Avoid skipping the user manual for your oven. Each model might have specific instructions for resetting the clock, and following generic advice could lead to errors or malfunctions.
- Forcing the Controls: Do not press buttons excessively or apply force to the controls. This may damage the oven’s interface or cause unintentional changes in its settings.
- Resetting Without Power Stability: Avoid attempting to reset the clock immediately after a power cut if the power supply is unstable. Wait until electricity has stabilized to prevent potential damage to the oven’s electronics.
- Skipping a Full Reset: Don’t neglect performing a full appliance reset if the clock doesn’t respond. Sometimes, unplugging the oven for a few minutes before trying again can resolve the issue.
- Overlooking System Updates: Avoid ignoring any firmware or software updates for newer ovens with smart features. Missing updates could lead to issues with the clock and other functionalities.
Why Isn’t My Oven Working After a Power Outage?
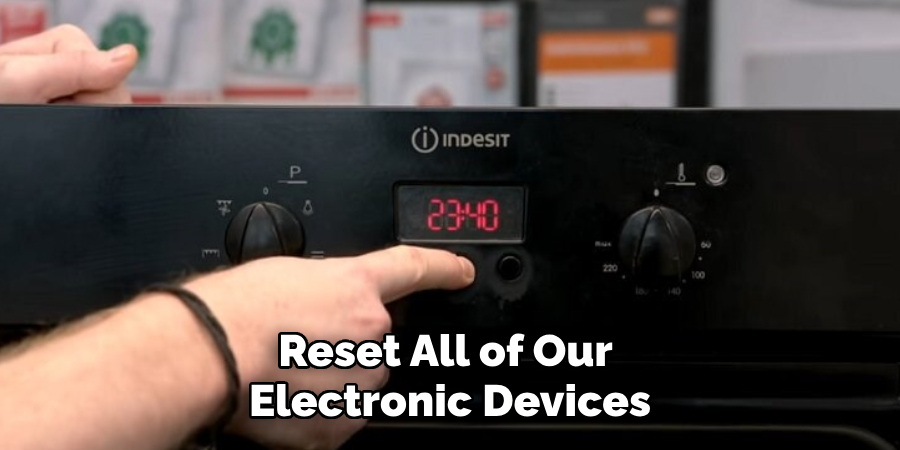
Power outages can occur unexpectedly, leaving us scrambling to reset all of our electronic devices once the power is restored. However, one appliance that may not function properly after a power outage is your oven. If you’re wondering why your oven isn’t working after a power outage, here are some common reasons and solutions to help get it up and running again.
- Power surge: A power outage can cause a sudden surge of electricity when the power is restored, damaging the electronic components in your oven. In this case, it’s important to unplug your oven and wait for the power supply to stabilize before attempting to reset it.
- Circuit breaker tripped: If your oven is not receiving any power after a power outage, check your circuit breaker to see if it has been tripped. Resetting the circuit breaker may solve the issue.
- Clock reset: Some ovens require you to reset the clock after a power outage so they function correctly again. Refer to your user manual for instructions on resetting the clock for your specific oven model.
- Electronic control board damage: In rare cases, a power outage can cause damage to the electronic control board in your oven. If none of the above solutions work and your oven still isn’t functioning, it’s best to contact a professional for assistance.
- Firmware or software issues: For newer ovens with advanced features, firmware or software updates may need to be installed after a power outage for the stove to function properly again. Check for any available updates and install them accordingly.
Conclusion
How to reset oven clock after power cut is a key step to ensure that your appliance functions correctly.
Consult your oven’s user manual for specific instructions tailored to your model. For most ovens, the process involves pressing the “Clock” or “Settings” button and using the dial or arrow keys to set the correct time. If these steps do not resolve the issue, explore additional troubleshooting steps such as checking the circuit breaker or considering software updates for more modern ovens. When in doubt, contacting a professional can provide the necessary guidance to restore your appliance to working order.
Following these steps, you can minimize downtime and ensure your oven operates seamlessly after a power outage.
Professional Focus
Angela Ervin, a former interior designer turned blogger, specializes in kitchen design and renovations. Through her website, she blends her passion for cooking with design expertise, sharing practical and creative ideas. Known for balancing functionality and beauty, Angela’s insightful content has made her a trusted voice in home design and lifestyle.
About the Author
Angela Ervin, an experienced interior designer and blogger, combines her passion for kitchen renovations with storytelling. Living in Petersburg with her family, she enjoys cooking and testing her projects firsthand. Known for her humor and relatable style, Angela shares creative, functional design insights through her content, making her a trusted voice in home design.
Education History
University: Virginia Commonwealth University
Degree: Bachelor of Fine Arts (BFA) in Interior Design
- Angela’s education at VCU focused on mastering core interior design principles, including spatial planning, color theory, materials selection, and sustainable design practices.
- She gained hands-on experience through studio projects and collaborative design exercises, which honed her ability to create functional and aesthetically pleasing environments.
- Her coursework also emphasized problem-solving and practical applications of design, preparing her for real-world projects like her self-directed kitchen renovations.
- The program’s strong foundation in both technical skills and creative expression shaped Angela’s ability to seamlessly integrate form and function in her work.