
Restoring a cast iron Dutch oven is a rewarding process that can bring new life to a well-loved piece of cookware. Over time, cast iron can develop rust, lose its seasoning, or show signs of wear, but with the right care and techniques, it can be returned to its original glory.
Whether you’ve inherited a vintage Dutch oven, found one at a flea market, or simply neglected your own, this guide on how to restore cast iron dutch oven will walk you through every step to ensure your cookware is ready for many more years of use.
Why Restore a Cast Iron Dutch Oven?
Cast iron is known for its durability and versatility in the kitchen, making it a popular choice among home cooks and professional chefs alike. When properly cared for, cast iron can last for generations. However, if not maintained, it can easily become damaged or unusable.
Restoring a cast iron Dutch oven allows you to revive an old or neglected piece of cookware and save it from being thrown away. It’s also a more sustainable option compared to constantly buying new cookware.
Preparation
Before beginning the restoration process, make sure you have all the necessary materials on hand. These include:
- Steel Wool or Wire Brush for Removing Rust and Buildup
- Mild Dish Soap
- White Vinegar
- Baking Soda
- Paper Towels or Clean Cloth
- Cooking Oil (Vegetable or Canola)
Once you have gathered all your supplies, find a well-ventilated area to work in as some of the steps may produce strong odors.
Needed Materials
- Old Newspaper or Drop Cloth to Protect the Work Area
- Protective Gloves
- Face Mask (Optional but Recommended)
- Stove or Outdoor Grill for Heat Treatment (if Needed)
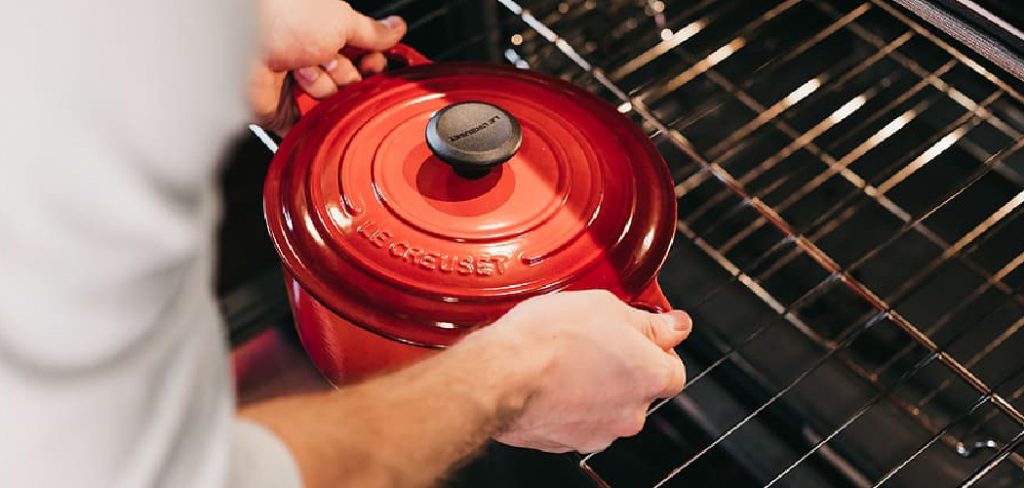
8 Step-by-step Guidelines on How to Restore Cast Iron Dutch Oven
Step 1: Remove Any Rust or Buildup From the Surface
Begin by thoroughly inspecting your cast iron Dutch oven for rust or stubborn buildup. Using steel wool or a wire brush, scrub the surface to remove rust and debris. Be sure to apply firm pressure while scrubbing, especially in areas where rust is more pronounced. If the buildup is particularly tough, you can create a paste using baking soda and a small amount of water to aid in the cleaning process.
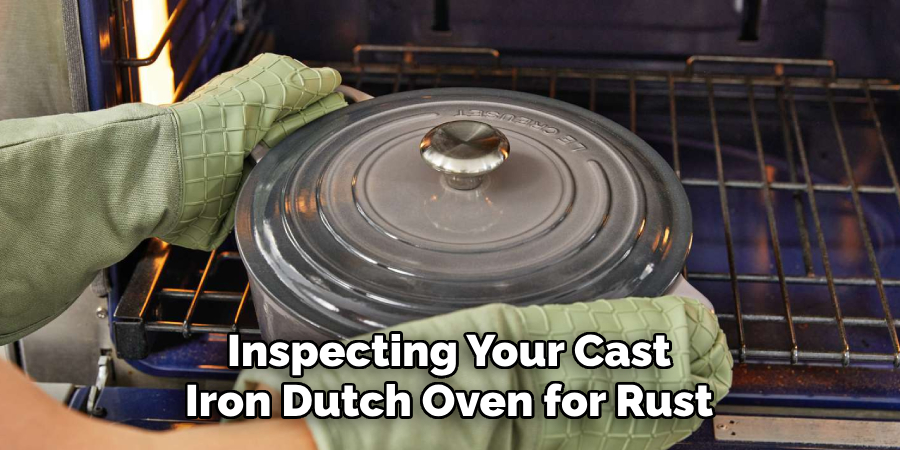
For heavily rusted pieces, submerge the Dutch oven in a solution of equal parts white vinegar and water for no more than 8 hours—this helps loosen the rust. After soaking, rinse the Dutch oven thoroughly with water and dry it completely with a clean cloth to prevent flash rusting.
Step 2: Wash With Mild Dish Soap
Once the rust and buildup have been removed, wash the Dutch oven thoroughly with mild dish soap and warm water. Use a sponge or non-abrasive scrubber to clean all surfaces, including the lid, if applicable. This step helps to remove any remaining residues or vinegar solution from the previous step.
Be sure to rinse the Dutch oven thoroughly with warm water to ensure no soap remains, as leftover soap can interfere with the seasoning process. After washing, dry the Dutch oven immediately and completely using a clean cloth or paper towel to avoid any moisture that could lead to rust.
Step 3: Wipe With Oil
It’s now time to prepare the Dutch oven for re-seasoning. Using a paper towel or clean cloth, wipe a small amount of cooking oil onto all surfaces of the Dutch oven, inside and out. This helps protect the cast iron from rust and creates a base for seasoning.
Step 4: Season the Cast Iron
Seasoning is an essential step in maintaining and restoring cast iron cookware. It creates a non-stick surface and adds flavor to your food. To season your Dutch oven, preheat your oven to 375 degrees Fahrenheit (190 degrees Celsius). After wiping off any excess oil from step 3, place the Dutch oven upside down on the middle rack of the oven. This allows any excess oil to drip off and prevents pooling.
Bake for one hour, then turn off the heat and let the Dutch oven cool completely in the oven before removing it. After cooling, your cast iron Dutch oven will have a smooth, slick surface that is ready for use.
Step 5: Repeat as Needed
The seasoning process may need to be repeated multiple times to achieve the best results. If your cast iron Dutch oven does not have a consistent, glossy finish after the first round of seasoning, simply repeat the oiling and baking steps. Reapplying thin layers of oil and allowing them to bake will build up a durable, non-stick coating over time.
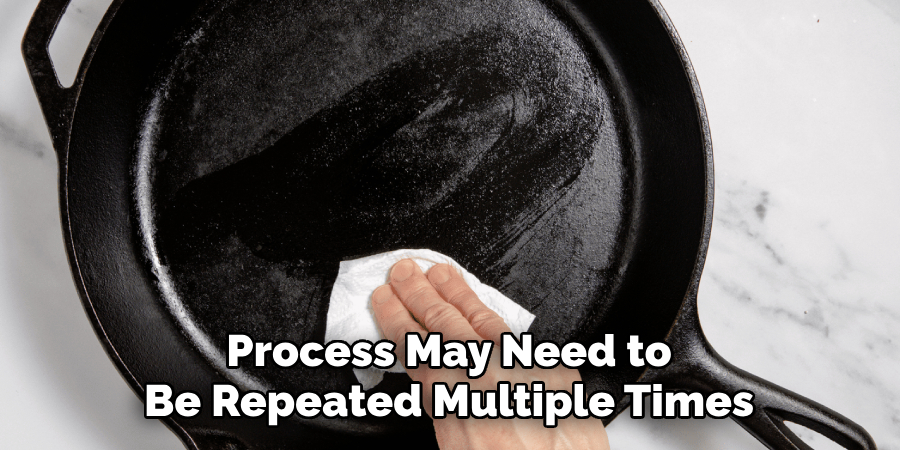
Patience is key, as a well-seasoned Dutch oven often requires several cycles of seasoning to restore its full potential. Once the desired finish is achieved, your Dutch oven will be ready for everyday cooking and future care.
Step 6: Heat Treatment (Optional)
If your Dutch oven has a thick layer of built-up seasoning or carbonized food residue that cannot be removed by scrubbing, heat treatment can help. This method involves heating the Dutch oven on high heat either on a stove or outdoor grill, until all the buildup has turned to ash.
After cooling, you can easily wipe away the ash with a cloth or paper towel. Be sure to re-season the Dutch oven after heat treatment.
Step 7: Store Properly
Proper storage is crucial to maintaining the condition of your restored cast iron Dutch oven. After seasoning, make sure the Dutch oven is completely cool and dry before putting it away to prevent moisture buildup and rust. Store it in a cool, dry place with good air circulation. If the lid fits tightly, consider placing a paper towel or small cloth between the lid and the oven to allow air to flow and prevent condensation.
Avoid stacking other cookware directly on the Dutch oven, as this may scratch the surface or damage the seasoning. With these simple steps, your restored Dutch oven will stay in great shape and be ready for your next culinary creation.
Step 8: Regular Maintenance
To keep your cast iron Dutch oven in top condition, it’s important to regularly maintain it. After each use, clean the Dutch oven with warm water and a small amount of mild dish soap. Dry thoroughly and apply a thin layer of oil before storing. If rust or buildup occurs, follow the steps outlined above to restore the Dutch oven.
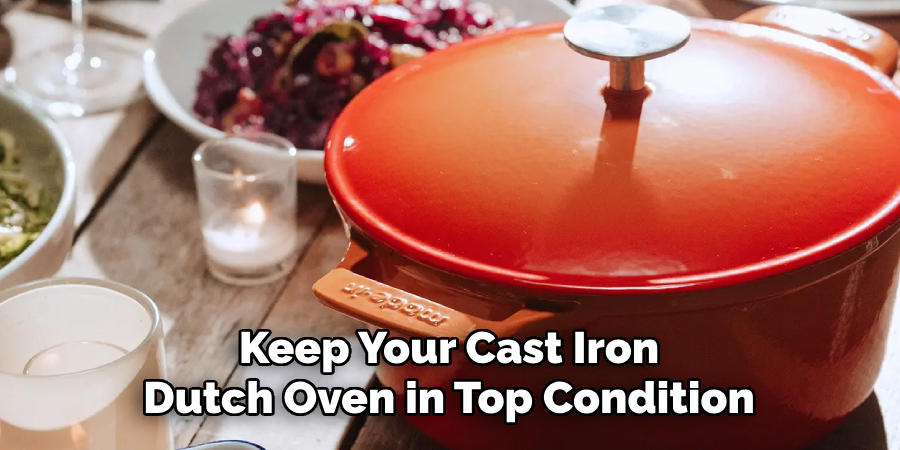
With proper care and maintenance, your cast iron Dutch oven can last for generations to come. Plus, by restoring and reusing an old piece of cookware, you are not only saving money but also reducing your environmental impact. Happy cooking!
Following these guidelines on how to restore cast iron dutch oven, you can easily restore your cast iron Dutch oven and enjoy its benefits for years to come. Remember to always protect yourself and your work area during the restoration process, as some steps may produce strong odors. And don’t forget to regularly maintain your Dutch oven for optimal performance. Happy cooking!
Frequently Asked Questions
Q: How Often Should I Re-season My Cast Iron Dutch Oven?
A: Depending on usage, it is recommended to re-season your Dutch oven every 6-12 months. If the surface is becoming dull or sticky, it may be time to re-season.
Q: Can I Use Metal Utensils on My Cast Iron Dutch Oven?
A: Metal utensils on your cast iron Dutch oven are not recommended as they can scratch the surface and damage the seasoning. Instead, opt for wooden or silicone utensils.
Q: Can I Use Soap on My Cast Iron Dutch Oven?
A: Yes, you can use mild dish soap when cleaning your cast iron Dutch oven. Just be sure to rinse thoroughly with warm water afterward and dry immediately.
Q: Will Using Acidic Foods Damage My Cast Iron Dutch Oven?
A: Yes, acidic foods like tomatoes and citrus can interact with the cast iron and potentially damage the seasoning. It’s best to avoid cooking these types of foods in your Dutch oven or use a liner to protect the surface.
Q: Can I Use My Cast Iron Dutch Oven on an Induction Cooktop?
A: Yes, most cast iron cookware is compatible with induction cooktops. Just be sure to check the manufacturer’s guidelines for your specific Dutch oven.
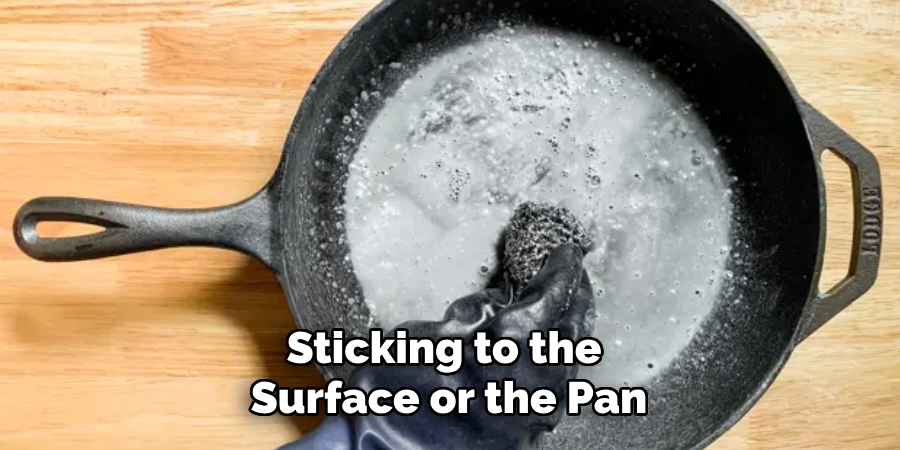
Q: How Do I Know When My Cast Iron Dutch Oven Needs to Be Re-seasoned?
A: If food is sticking to the surface or the pan appears dull or discolored, it may be time to re-season your Dutch oven. Regular maintenance and proper storage can help prevent this from happening. Overall, trust your instincts and if the Dutch oven doesn’t feel or look right, it may be time to re-season.
Conclusion
Restoring a cast iron Dutch oven is a simple process that can bring new life to an old piece of cookware. By removing rust and buildup, washing with mild soap, and seasoning the cast iron, you can create a non-stick surface and preserve the flavor of your food.
Remember to regularly maintain your Dutch oven for long-lasting results. With proper care, your restored Dutch oven can become a beloved kitchen staple for generations to come. So why not give it a try and see the difference in your cooking? Thanks for reading this article on how to restore cast iron dutch oven. Happy restoring!
Professional Focus
Angela Ervin, a former interior designer turned blogger, specializes in kitchen design and renovations. Through her website, she blends her passion for cooking with design expertise, sharing practical and creative ideas. Known for balancing functionality and beauty, Angela’s insightful content has made her a trusted voice in home design and lifestyle.
About the Author
Angela Ervin, an experienced interior designer and blogger, combines her passion for kitchen renovations with storytelling. Living in Petersburg with her family, she enjoys cooking and testing her projects firsthand. Known for her humor and relatable style, Angela shares creative, functional design insights through her content, making her a trusted voice in home design.
Education History
University: Virginia Commonwealth University
Degree: Bachelor of Fine Arts (BFA) in Interior Design
- Angela’s education at VCU focused on mastering core interior design principles, including spatial planning, color theory, materials selection, and sustainable design practices.
- She gained hands-on experience through studio projects and collaborative design exercises, which honed her ability to create functional and aesthetically pleasing environments.
- Her coursework also emphasized problem-solving and practical applications of design, preparing her for real-world projects like her self-directed kitchen renovations.
- The program’s strong foundation in both technical skills and creative expression shaped Angela’s ability to seamlessly integrate form and function in her work.