
Sealing laminate countertop joints is an essential step to ensure durability and maintain a sleek, uniform surface. Over time, moisture, dirt, and regular wear can compromise the seams, leading to damage or unsightly gaps. Properly sealing your countertop joints not only enhances their appearance but also protects against water damage and prolongs the life of your countertops.
This guide on how to seal laminate countertop joints will walk you through the necessary steps to effectively seal laminate countertop joints, ensuring a professional and lasting finish.
Why Seal Laminate Countertop Joints?
Laminate countertops are a popular choice for their affordability, versatility, and low maintenance. However, they are not impervious to damage and can develop issues over time if not properly sealed. Sealing the joints between laminate sheets is crucial for several reasons:
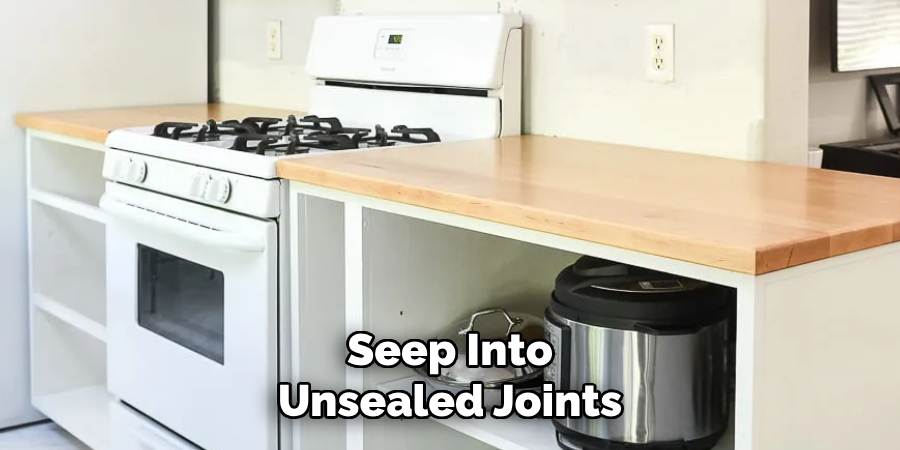
Protection Against Moisture
Moisture can seep into unsealed joints, causing swelling, warping, or rot. This can lead to costly repairs or even replacement of your countertops. Sealing the joints prevents moisture from penetrating and damaging the underlying surface.
Prevents Dirt Buildup
Unsealed seams can trap food particles, dirt, and other debris, making them harder to clean and creating breeding grounds for bacteria. By sealing the joints, you create a smooth surface that is easy to keep clean and hygienic.
Enhances Aesthetics
Sealed countertop joints look more uniform and seamless. The sealant fills any gaps between the sheets, creating a smooth surface that gives your countertop a polished finish.
Materials Needed
Laminate Sealant
Choose a high-quality sealant specifically designed for laminate countertops. These are often silicone-based and come in clear or color-matched options.
Caulk Gun
A caulk gun is used to apply the sealant evenly along the joint. Make sure it is clean and in good working condition.
Razor Knife
A razor knife will be used to trim excess sealant and create a clean, smooth finish.
Clean Cloth
You will need a clean cloth or rag to wipe away any excess sealant during application.
8 Step-by-step Guides on How to Seal Laminate Countertop Joints
Step 1: Prepare the Surface
Start by cleaning the countertop thoroughly to ensure the sealant adheres properly. Use a gentle cleaner and a soft cloth to remove any dirt, grease, or residue from the joints. Once clean, inspect the seams for any existing damage, such as chips or cracks, and address these issues before applying the sealant.
Allow the surface to dry completely, as moisture can interfere with the bonding process. Ensuring a clean and dry surface is crucial for achieving a smooth and lasting seal.
Step 2: Choose the Right Sealant
Selecting the appropriate sealant is critical for achieving a durable and seamless finish. Opt for a high-quality laminate sealant that is either clear or matches the color of your countertop to blend in effortlessly. Silicone-based sealants are especially effective due to their water-resistant and flexible properties, allowing them to expand and contract without cracking.
When purchasing a sealant, ensure it is specifically designed for use on laminate materials and check for any additional features, such as antimicrobial properties or enhanced durability. Having the right sealant ensures a professional result that will protect your countertops for years to come.
Step 3: Load the Caulk Gun
Begin by preparing the caulk gun for use. Cut the tip of the sealant tube at a 45-degree angle to create an opening that matches the size of the joint you are sealing. Use a pin or a long nail to puncture the inner seal of the tube, ensuring that the sealant can flow freely.
Next, place the tube into the caulk gun, ensuring it is securely seated. Squeeze the trigger a few times until you see the sealant start to emerge from the tip. This primes the caulk gun and gets it ready for smooth and even application.

Step 4: Apply the Sealant
Holding the caulk gun at a 45-degree angle, begin applying the sealant along the joint. Start at one end of the joint and work your way to the other end in one continuous motion. This helps to ensure an even layer of sealant without any gaps or bumps.
Use gentle pressure on the trigger as you move along, making sure to fill the entire joint evenly with sealant. It is important to avoid stopping midway through a joint as this can create visible lines or unevenness.
Step 5: Smooth Out Excess Sealant
Once you have applied the sealant along all joints, use a clean cloth or your finger (wearing a latex glove) to smooth out any excess sealant. This not only creates a neater finish but also helps the sealant adhere better to the surface.
The key is to run your finger or cloth along the joint, applying gentle pressure and smoothing out any bumps or ridges. The sealant should be evenly spread and have a smooth finish once this step is complete.
Step 6: Wipe Away Excess Sealant
After smoothing the sealant, immediately use a clean, damp cloth to wipe away any excess sealant from the surrounding surfaces. Be careful not to disrupt the sealant within the joint while cleaning. Removing the excess promptly prevents it from hardening on unintended areas, which can be challenging to clean later and may affect the appearance of your countertop.
Ensure that all smudges or residue are cleaned thoroughly for a polished and professional finish.
Step 7: Let the Sealant Dry
Allow the sealant to dry for the recommended time on the product label. This typically varies between 24-48 hours, depending on the brand and type of sealant used. During this time, avoid using or touching the countertops to prevent any damage to the freshly applied sealant.
You may notice that the sealant shrinks slightly as it dries, so be prepared to apply a second layer if needed for a complete and seamless finish.

Step 8: Trim Excess Sealant
Once the sealant is completely dry, use a razor knife to carefully trim any excess from the joint. Hold the knife at a 45-degree angle and gently run it along the joint, removing any bumps or ridges. Take your time while trimming to prevent damaging the sealant or countertop surface.
After trimming, clean up any remaining debris with a damp cloth for a perfectly sealed and polished countertop joint.
Following these steps on how to seal laminate countertop joints will help you achieve a professional and long-lasting seal for your laminate countertop joints.
By preventing moisture and dirt buildup, and enhancing the aesthetics of your countertops, sealing the joints is an essential step in maintaining their beauty and functionality. So if you notice any gaps or damage along your countertop seams, be sure to follow this guide and seal them promptly for a seamless and durable finish. So, it is important to regularly check and maintain your countertop joints to ensure they stay in pristine condition for years to come.
Frequently Asked Questions
Q1: How Often Should I Seal My Laminate Countertops?
A1: Seal your laminate countertops every 6 months to a year, depending on the amount of wear and tear they receive. If you notice any gaps or damage along the joints, be sure to seal them immediately to prevent further damage.
Q2: Can I Use Any Sealant on My Laminate Countertops?
A2: No, it is important to use a sealant specifically designed for laminate countertops. These types of sealants are formulated to withstand daily use and exposure to water, heat, and cleaning chemicals without damaging the countertop surface.
Q3: How Long Does It Take for the Sealant to Dry?
A3: The drying time of the sealant can vary depending on the brand and type used. Generally, it takes between 24-48 hours for the sealant to completely dry. Be sure to check the product label for specific instructions. Avoid using or touching the countertops during this time to ensure a proper and lasting seal.
Q4: Can I Seal My Laminate Countertop Joints if They Are Already Damaged?
A4: It is not recommended to seal damaged joints as the sealant will not adhere properly and may worsen the damage. Be sure to repair any damage before sealing the joints for a smooth and durable finish. The sealant can also help prevent further damage and maintain the integrity of the countertop.

Conclusion
Sealing laminate countertop joints is an essential step to protect your countertops from moisture, dirt buildup, and damage while enhancing their overall appearance. By following the simple step-by-step guide on how to seal laminate countertop joints and using the right tools and materials, you can achieve a professional finish that extends the life and functionality of your countertops.
Properly sealed seams not only improve the durability of your kitchen or bathroom surfaces but also ensure they remain hygienic and visually appealing for years to come. Take the time to maintain your countertops by sealing the joints, and enjoy the benefits of a beautiful and long-lasting surface.
Professional Focus
Angela Ervin, a former interior designer turned blogger, specializes in kitchen design and renovations. Through her website, she blends her passion for cooking with design expertise, sharing practical and creative ideas. Known for balancing functionality and beauty, Angela’s insightful content has made her a trusted voice in home design and lifestyle.
About the Author
Angela Ervin, an experienced interior designer and blogger, combines her passion for kitchen renovations with storytelling. Living in Petersburg with her family, she enjoys cooking and testing her projects firsthand. Known for her humor and relatable style, Angela shares creative, functional design insights through her content, making her a trusted voice in home design.
Education History
University: Virginia Commonwealth University
Degree: Bachelor of Fine Arts (BFA) in Interior Design
- Angela’s education at VCU focused on mastering core interior design principles, including spatial planning, color theory, materials selection, and sustainable design practices.
- She gained hands-on experience through studio projects and collaborative design exercises, which honed her ability to create functional and aesthetically pleasing environments.
- Her coursework also emphasized problem-solving and practical applications of design, preparing her for real-world projects like her self-directed kitchen renovations.
- The program’s strong foundation in both technical skills and creative expression shaped Angela’s ability to seamlessly integrate form and function in her work.