
Installing a dishwasher under a granite countertop requires careful planning and proper execution to ensure safety, stability, and long-term functionality. Granite countertops are elegant and durable, necessitating specific techniques to secure appliances without causing damage.
Ensuring a secure installation prevents vibrations during operation, maintains the dishwasher’s functionality, and eliminates the risk of the unit shifting over time. This article aims to provide a detailed, step-by-step guide addressing the question of how to secure a dishwasher under a granite countertop.
By following these instructions, you can achieve a professional-quality installation while protecting the integrity of your granite surfaces. Whether you’re a seasoned do-it-yourself enthusiast or a first-timer tackling this project, these tips and insights will help you complete the task confidently and effectively.
Materials and Tools Needed
Essential Materials
- Mounting brackets or dishwasher mounting kit
These are crucial for securing the dishwasher to the cabinetry or adjacent surfaces without damaging the granite countertop.
- Screws and anchors (compatible with granite)
Ensure that the screws and anchors are designed for use with granite to provide a secure hold.
- Silicone sealant (optional, for extra sealing)
This can help provide additional stability and a watertight seal if needed.
- Shims
Useful for leveling the dishwasher to ensure it sits evenly beneath the countertop.
Tools You’ll Need
- Power drill with drill bits
Essential for creating holes in the adjacent wood or cabinet sides for mounting brackets.
- Screwdriver
For tightening screws during the installation process.
- Level
A necessary tool to confirm the dishwasher is evenly aligned under the countertop.
- Tape measure
Needed to take accurate measurements for proper positioning and spacing.
- Wrench or pliers
These may be required to adjust the dishwasher’s water connections.
- Safety gloves and goggles
Protecting your hands and eyes while working with tools and small parts is important.
With these materials and tools on hand, you’re ready to proceed with the installation.
Preparing the Dishwasher and Countertop Area
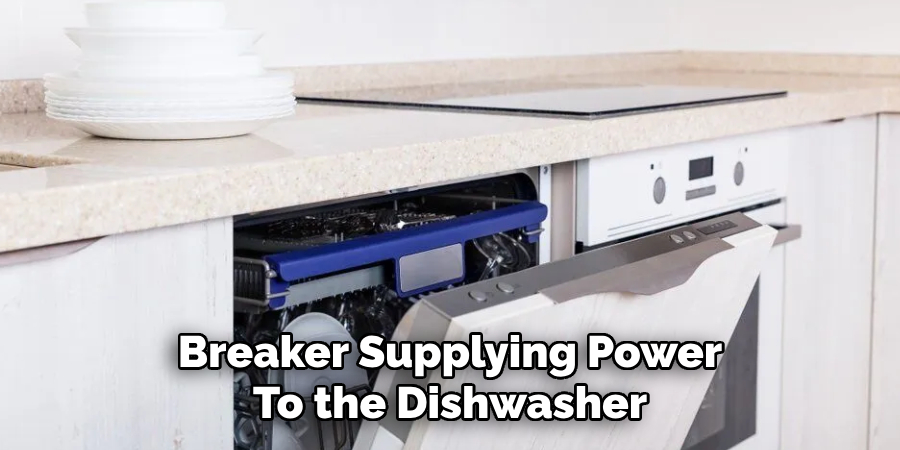
Step 1: Turn Off Water and Power Supply
Before beginning the installation process, ensure the water supply and power connected to the dishwasher are entirely turned off. This is a crucial safety step to prevent electrical shocks or accidental water leaks during installation. Locate the water shut-off valve and turn it clockwise to stop the flow of water, then switch off the circuit breaker supplying power to the dishwasher.
Step 2: Measure the Space
Accurate measurements are key to a smooth installation. Using a tape measure, determine the height, width, and depth of both the dishwasher and the space available beneath the granite countertop. Verify that the dishwasher fits snugly without leaving any noticeable gaps. Ensure enough vertical clearance for the leveling process, and account for any mounting brackets or sealants that may add dimension.
Step 3: Prepare the Area
Prepare the installation area to allow easy access to the plumbing and electrical wiring connection points. Remove any obstructions or debris from the designated space to create a clean working surface.
If replacing an old dishwasher, carefully disconnect any attached hoses, brackets, and wiring before sliding it out of place. Take care not to damage the surrounding cabinetry or countertop, and inspect and clean the area to ensure it is ready for the new unit.
How to Secure a Dishwasher Under a Granite Countertop: Securing the Dishwasher
Step 1: Install the Mounting Brackets
Attach the dishwasher mounting brackets to the top of the dishwasher unit. These brackets are typically included with the dishwasher, allowing for secure attachment to the granite countertop. Position the dishwasher under the countertop, ensuring it aligns properly with the prepared space. Once in position, line up the mounting brackets with the underside of the granite countertop, ensuring they are flush and evenly spaced.
Step 2: Mark Drill Points
After positioning the mounting brackets, mark the drill points on the underside of the granite countertop where the brackets align. Use a pencil or marker for this task. Measure the spacing on both sides of the dishwasher with a tape measure to verify even alignment. This step is crucial to ensure a balanced and secure installation.
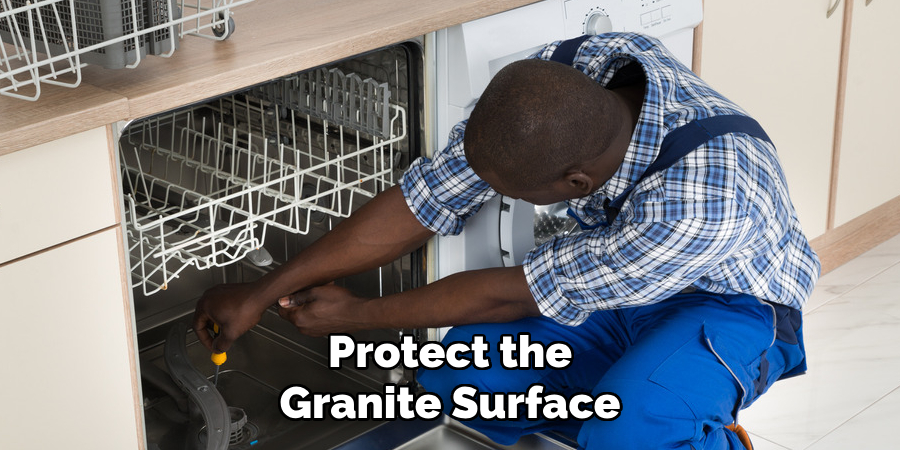
Step 3: Drill Holes in the Granite
Carefully drill pilot holes at the marked drill points using a masonry drill bit specifically designed for granite. Drill slowly and steadily to avoid cracking or chipping the granite surface. Keep the drill bit at a perpendicular angle to the countertop for accuracy. If necessary, apply masking tape to the drill points to reduce slipping and protect the granite surface.
Step 4: Attach the Dishwasher to the Countertop
Insert screws through the mounting brackets and into the drilled holes on the underside of the granite countertop. Tighten the screws using a screwdriver or electric drill, ensuring the brackets are firmly secured.
During this process, check the level of the dishwasher unit to guarantee proper installation. If adjustments are needed, use shims to balance the unit and prevent any tilting. Once the dishwasher is level and securely attached, proceed to connect the plumbing and electrical components.
Leveling the Dishwasher
Step 1: Checking for Level
Use a level tool to check if the dishwasher is evenly aligned both horizontally and vertically. Place the level across the top edge of the dishwasher to assess its horizontal alignment and then along the front of the unit to verify vertical positioning. An unbalanced dishwasher can lead to improper drainage or excessive vibration during operation, so accuracy is crucial in this step.
Step 2: Adjusting the Dishwasher
If the dishwasher isn’t level, adjust the feet at the bottom of the unit. Most dishwasher models have adjustable feet twisted up or down to alter the height. For uneven flooring or more precise adjustments, use shims under the dishwasher to compensate for the difference.
Make these changes slowly, checking with the level tool after each adjustment to ensure accuracy. Once the dishwasher is both level and stable, double-check that all sides sit securely without rocking. This step is key to ensuring the dishwasher performs at its best and prevents unnecessary wear or damage over time.
Connecting the Dishwasher to Plumbing and Electrical
Step 1: Hooking Up the Water Supply
Begin by attaching the water supply hose to the dishwasher’s inlet valve. Depending on the model, this connection is typically located at the front or underside of the unit. Use a wrench to securely tighten the connection, ensuring there are no gaps or loose fittings that could cause water leaks. Double-check that the water supply hose is appropriately aligned and free from kinks or twists that might restrict water flow.
Step 2: Wiring the Electrical Connection
You’ll need to connect the electrical wires if your dishwasher is not pre-wired. Refer to the manufacturer’s instructions for the correct wiring guide, including the placement of the live, neutral, and ground wires. Start by opening the electrical junction box on the dishwasher, typically found at its base.

Connect the wires securely using wire nuts, ensuring no exposed wire remains visible. Finish by fastening the connection with the provided clamps or brackets, then carefully close the junction box to protect the wiring. All electrical connections must be safe, secure, and properly insulated to prevent any hazards.
Step 3: Test the Connections
Before finalizing the setup, turn on the water supply to test for any leaks around the hose or inlet valve. Tighten connections as needed if small leaks are observed. Next, restore power to the dishwasher and turn it on. Select a short cycle to ensure the electrical connections function correctly and check for proper water flow during operation.
Once satisfied that both the plumbing and electrical connections are secure and working as intended, the dishwasher is ready for use. Reset any panels or covers removed during installation.
Sealing and Final Adjustments
Step 1: Apply Silicone Sealant (Optional)
For an additional layer of protection, apply a thin bead of silicone sealant along the edge where the dishwasher meets the underside of the countertop. This step helps create a watertight seal, which is handy if the countertop is exposed to water. Use a caulking gun for precise application, and carefully smooth out the sealant with your finger or a tool.
Immediately wipe away any excess sealant with a clean, damp cloth to achieve a neat appearance. Allow the sealant to fully cure as per the manufacturer’s instructions before using the dishwasher.
Step 2: Double Check Stability
It’s essential to ensure that the dishwasher is level and securely mounted. Check that all mounting brackets are tightly fastened to the granite countertop and inspect for any wobbling or shifting. Adjust the leveling legs at the base of the unit if necessary. A stable dishwasher not only prevents movement during operation but also minimizes noise and vibration.
Step 3: Final Testing
To complete the installation, run a full cycle with the dishwasher empty. Observe its performance, paying close attention to water intake, drainage, and overall functionality. Check for any leaks around the connections or along the sealant. Once it is confirmed that everything is working as intended, your dishwasher installation is complete. Enjoy your efficiently running appliance!

Conclusion
Securing a dishwasher under a granite countertop involves careful planning and execution to ensure a stable and efficient installation.
The process includes proper measuring, installing mounting brackets, drilling into the granite, leveling the unit, and making the necessary water and electrical connections. It’s essential to take your time during each step to ensure the dishwasher is securely mounted and fully functional before considering the project complete.
Consulting a professional is highly recommended if you feel unsure about drilling into granite or managing electrical work. Following these guidelines will help you master how to secure a dishwasher under a granite countertop effectively.
Professional Focus
Angela Ervin, a former interior designer turned blogger, specializes in kitchen design and renovations. Through her website, she blends her passion for cooking with design expertise, sharing practical and creative ideas. Known for balancing functionality and beauty, Angela’s insightful content has made her a trusted voice in home design and lifestyle.
About the Author
Angela Ervin, an experienced interior designer and blogger, combines her passion for kitchen renovations with storytelling. Living in Petersburg with her family, she enjoys cooking and testing her projects firsthand. Known for her humor and relatable style, Angela shares creative, functional design insights through her content, making her a trusted voice in home design.
Education History
University: Virginia Commonwealth University
Degree: Bachelor of Fine Arts (BFA) in Interior Design
- Angela’s education at VCU focused on mastering core interior design principles, including spatial planning, color theory, materials selection, and sustainable design practices.
- She gained hands-on experience through studio projects and collaborative design exercises, which honed her ability to create functional and aesthetically pleasing environments.
- Her coursework also emphasized problem-solving and practical applications of design, preparing her for real-world projects like her self-directed kitchen renovations.
- The program’s strong foundation in both technical skills and creative expression shaped Angela’s ability to seamlessly integrate form and function in her work.