
When performing maintenance or addressing issues with your dishwasher, it is often necessary to shut off the water supply. Properly turning off the water ensures safety and prevents potential flooding or water damage.
This guide on how to shut off water to dishwasher will walk you through the steps to safely and efficiently shut off the water supply to your dishwasher.
Why Is It Important to Shut Off Water to Dishwasher?
Shutting off the water supply is an essential step when working on any appliance that uses water. Many dishwasher tasks, such as cleaning, repairs, or replacing parts, will require you to turn off the water before beginning.
Leaving the water supply on during these tasks can lead to accidents and damage to your kitchen and home. Additionally, shutting off the water prevents excess pressure from building up in the pipes, which can cause leaks or bursts.
9 Steps on How to Shut Off Water to Dishwasher
Step 1: Locate the Water Supply Valve
The first step in shutting off the water in your dishwasher is to locate the water supply valve. This valve is typically found beneath the kitchen sink, alongside the other plumbing connections. Open the cabinet under the sink and look for the valve attached to a small hose or pipe leading directly to the dishwasher.
It is usually a small lever or knob. If you cannot locate the valve under the sink, consult your dishwasher manual to determine its specific location, as some setups might have the valve positioned elsewhere.
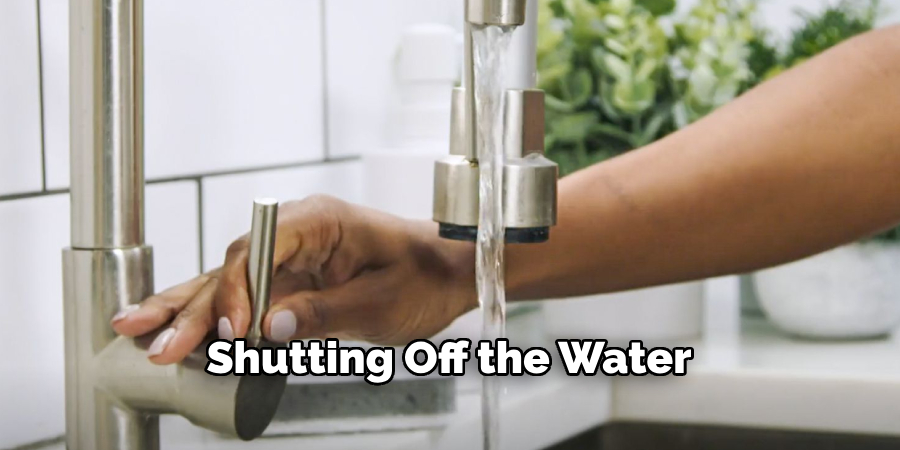
Step 2: Turn Off the Valve
Once you have located the valve, turn it off by either twisting or pulling the lever/ knob in a clockwise motion. This will shut off the water supply to your dishwasher. It is always a good idea to test if the valve has been successfully turned off by running your dishwasher and checking if any water flows through.
The valve should be completely closed, and no water should flow through. If you still see water coming through, the valve might not be working correctly, and further steps will need to be taken to shut off the water.
Step 3: Unplug the Dishwasher
Before proceeding with further steps, ensure the dishwasher is completely powered off by unplugging it from the electrical outlet. This is a crucial safety measure to prevent the risk of electrical shock or damage while working on the appliance. The power cord can usually be found beneath or behind the dishwasher, and you may need to carefully pull the appliance out to access the outlet.
If your dishwasher is hardwired, locate the circuit breaker and switch it off to cut power to the unit. Always double-check that the dishwasher’s power supply is disconnected before continuing.
Step 4: Shut Off the Water Main
In some cases, you might not be able to locate or access the water supply valve. In this situation, it is important to shut off the main water supply to your home. Most homes have a main water shut-off valve located outside near the property line or inside the house near the water meter. Use a wrench to turn off this valve clockwise.
You can also contact your local water provider for assistance in locating and shutting off the main water supply if needed.
Step 5: Remove the Dishwasher’s Access Panel
To access the dishwasher’s inner workings, you will need to remove its front access panel. This panel is typically held in place by screws or clips and can be easily removed with a screwdriver or pliers. Once removed, set it aside in a safe place where it won’t get damaged.

It is essential to have proper access to the inside of your dishwasher when performing maintenance or repairs, so take your time and make sure you remove the panel without causing any damage.
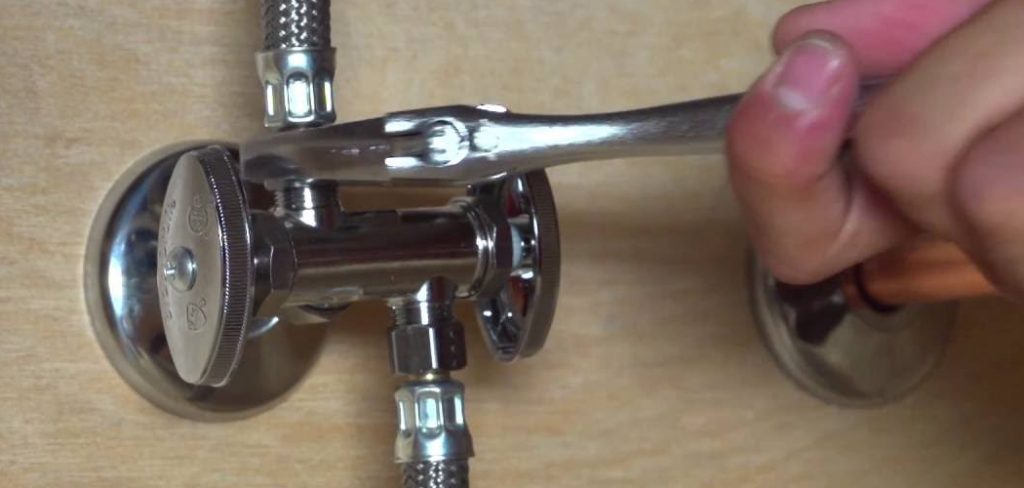
Step 6: Disconnect the Water Supply Line
Locate the water supply line leading from the valve to the dishwasher. This line is usually made of flexible tubing or copper piping. Using an adjustable wrench, carefully loosen and remove the connection between the line and the valve.
Take care not to damage the water supply line or valve while disconnecting them. If you encounter any resistance, use a lubricant such as WD-40 to loosen it up before trying again.
Step 7: Drain Any Remaining Water
After disconnecting the water supply line, there might still be some water left in the line and dishwasher. To prevent potential leaks during maintenance, you will need to drain any remaining water from the system.
Place a bucket or large container beneath the disconnected water supply line and use a towel or sponge to soak up any excess water inside the dishwasher. Once drained, you can proceed with your maintenance tasks without risking any flooding or water damage.
Step 8: Shut Off Hot Water Supply
If you are planning on replacing any parts or performing repairs that require hot water, it is crucial to shut off the hot water supply as well. This valve is typically located near your hot water heater and can be turned off by following steps similar to shutting off the main water line.
It is essential to shut off the hot water supply to prevent any accidental burns or scalding while working on your dishwasher.
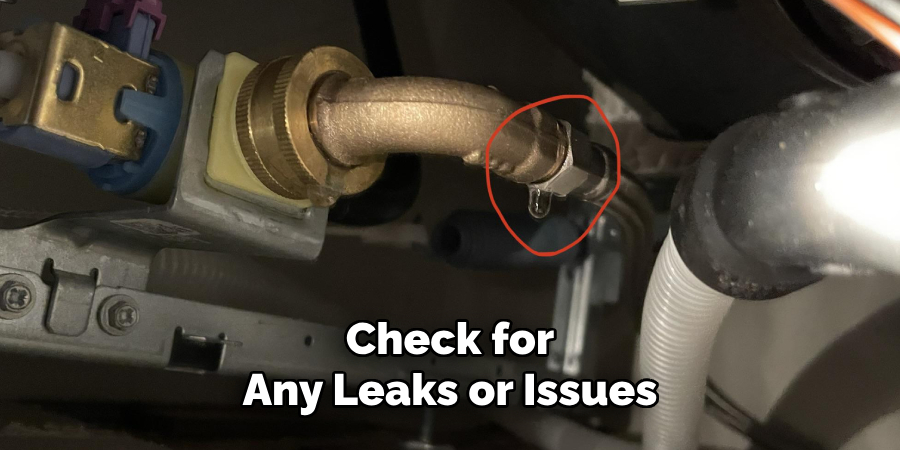
Step 9: Turn the Water Back On
After completing your maintenance tasks, it is time to turn the water back on and test if everything is functioning correctly. Start by reconnecting the water supply line to the valve and tightening it with a wrench. Then, turn the water supply back on by turning the valve or mainline in a counterclockwise motion.
Run your dishwasher and check for any leaks or issues. If everything is working correctly, you can also turn the hot water supply back on.
Following these steps on how to shut off water to dishwasher will ensure that you can safely and effectively shut off the water supply to your dishwasher when needed. Always remember to take proper precautions and consult a professional if you encounter any difficulties or problems with your dishwasher. By properly maintaining and shutting off the water, you can prevent accidents, damage, and costly repairs in your kitchen and home.
Additional Tips
Inspect Hoses and Connections Regularly
Periodically check the water supply line and connections for any signs of wear, corrosion, or leaks. Replacing worn parts early can prevent larger issues from developing.
Keep Tools Handy
Having basic tools like an adjustable wrench, screwdriver, and pliers readily available can make maintenance tasks quicker and easier to handle.
Use Plumbers Tape for Connections
When reconnecting the water supply line, applying the plumber’s tape to the threads can help create a tighter seal and reduce the risk of leaks.
Test After Repairs
Always run a quick cycle to ensure everything is working properly after reconnecting your dishwasher. This will help identify and fix any problems immediately.
Consult a Professional When Needed
If you’re unsure about any step in the process or encounter difficulties, don’t hesitate to contact a professional plumber to avoid further complications.
By following these additional tips, you can help extend the life of your dishwasher and minimize potential issues during maintenance or repairs.
Frequently Asked Questions
Q: Why is It Important to Shut Off the Water Supply to My Dishwasher?
A: Shutting off the water supply to your dishwasher is necessary for performing maintenance, repairs, or replacements without risking flooding or damage. It also ensures that no water flows through while you are working on the appliance.
Q: What if I Can’t Find the Water Supply Valve?
A: If you cannot locate or access the water supply valve, it is crucial to shut off the main water supply to your home. You can also contact your local water provider for assistance in locating and shutting off the main supply.
Q: Can I Turn Off Only the Hot Water Supply?
A: If you are planning on replacing any parts or performing tasks that require hot water, it is essential to turn off both the hot and cold water supplies to prevent accidental burns or scalding.
Q: Should I Test if the Valve Has Been Successfully Turned Off?
A: Yes, it is always a good idea to test if the water supply has been successfully turned off before proceeding with maintenance. This ensures that no water will flow while you are working on your dishwasher.
Q: Do I Need Any Special Tools to Turn Off the Water Supply?
A: You may need an adjustable wrench, pliers, or screwdriver to disconnect the water supply line from the valve and remove the access panel. Lubricants such as WD-40 can also be useful if you encounter any resistance.

Conclusion
Properly shutting off the water supply to your dishwasher is a crucial step for ensuring safe and effective maintenance or repairs. By following the outlined steps on how to shut off water to dishwasher, you can avoid potential water damage, reduce the risk of accidents, and maintain the longevity of your appliance. Regularly inspecting your dishwasher’s hoses, connections, and components can also help identify issues before they become costly problems.
Remember that while basic maintenance is manageable with the right tools and knowledge, it is always best to consult a professional if you encounter challenges or uncertainties. Keeping your dishwasher in good working condition not only ensures its efficiency but also contributes to a well-functioning and safe kitchen environment.
You can check it out to Clean Hard Water From Dishwasher
Professional Focus
Angela Ervin, a former interior designer turned blogger, specializes in kitchen design and renovations. Through her website, she blends her passion for cooking with design expertise, sharing practical and creative ideas. Known for balancing functionality and beauty, Angela’s insightful content has made her a trusted voice in home design and lifestyle.
About the Author
Angela Ervin, an experienced interior designer and blogger, combines her passion for kitchen renovations with storytelling. Living in Petersburg with her family, she enjoys cooking and testing her projects firsthand. Known for her humor and relatable style, Angela shares creative, functional design insights through her content, making her a trusted voice in home design.
Education History
University: Virginia Commonwealth University
Degree: Bachelor of Fine Arts (BFA) in Interior Design
- Angela’s education at VCU focused on mastering core interior design principles, including spatial planning, color theory, materials selection, and sustainable design practices.
- She gained hands-on experience through studio projects and collaborative design exercises, which honed her ability to create functional and aesthetically pleasing environments.
- Her coursework also emphasized problem-solving and practical applications of design, preparing her for real-world projects like her self-directed kitchen renovations.
- The program’s strong foundation in both technical skills and creative expression shaped Angela’s ability to seamlessly integrate form and function in her work.