
Are you looking for a delicious and easy way to cook Thanksgiving turkey? Look no further than smoking it in the oven!
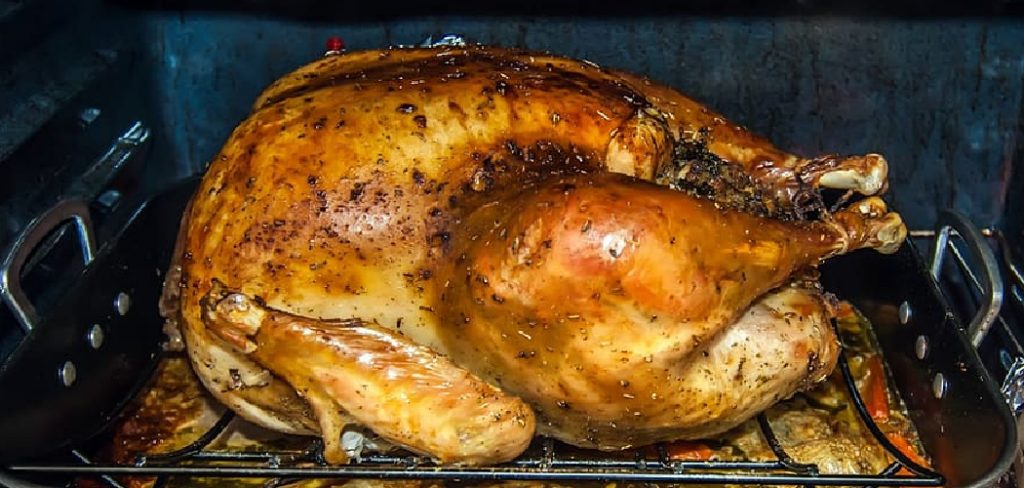
How to smoke a turkey in an oven is a fantastic way to achieve that rich, smoky flavor without needing a full outdoor smoker. This method is perfect for those who want to enjoy a tender, flavorful bird using tools available in most kitchens. By using a few simple techniques and ingredients, you can recreate the essence of traditional smoking while keeping the process manageable and accessible.
Whether you’re preparing a holiday feast or experimenting with new cooking methods, smoking a turkey in an oven is a delicious and rewarding way to elevate your meal. Let’s dive into the steps and tips for achieving a perfectly smoked turkey in your oven.
What Are the Benefits of Smoking a Turkey in an Oven?
Before we get into the process, let’s take a moment to understand why smoking a turkey in an oven is worth considering.
- First and foremost, it imparts that mouthwatering smoky flavor to your turkey, making it stand out from traditional roasting methods.
- It also creates a beautiful caramelized outer layer, adding depth and complexity to the overall taste.
- Smoking the turkey also helps keep the meat moist and juicy, resulting in a tender and succulent bird.
What Will You Need?
To smoke a turkey in an oven, you will need:
- A whole turkey (size depending on your needs)
- Your choice of wood chips or pellets for smoking
- Aluminum foil or a roasting pan
- A meat thermometer
- Salt and pepper for seasoning
Optional:
- Herbs and spices for added flavor
- Butter or oil for basting
Once you have these essential items, you’re ready to begin the smoking process.
8 Easy Steps on How to Smoke a Turkey in an Oven
Step 1: Prepare the Turkey
Start by thawing the turkey if it’s frozen. Place it in the refrigerator for several days before smoking to ensure it is completely thawed. Remove the giblets and neck from the cavity, then thoroughly rinse the turkey inside and out under cold water. Pat it dry with paper towels to remove any excess moisture.

Once the turkey is clean and dry, season it generously with salt and pepper, ensuring you cover all sides as well as the cavity. If you’d like to add more flavor, you can create a custom seasoning blend with your favorite herbs and spices, such as rosemary, thyme, paprika, garlic powder, or onion powder. Rub the seasoning mixture all over the turkey for an even coating.
Step 2. Soak the Wood Chips
Soaking wood chips is essential in enhancing your turkey’s smoky flavor. Choose a wood variety that complements poultry well, such as apple, cherry, hickory, or pecan. Take about 2-3 cups of wood chips and place them in a large bowl or container. Cover the chips completely with water; if desired, add additional liquids like apple juice, cider, or wine to infuse more flavor into the smoke.
Allow the wood chips to soak for at least 30 minutes to an hour; this prevents them from burning too quickly and promotes steady, flavorful smoke throughout the cooking process. Once soaked, drain the excess liquid from the wood chips before placing them into the smoker or grill. You can even mix dried herbs like rosemary or thyme into the soaking liquid for added aroma. This preparation ensures the wood chips are ready to impart a rich, savory taste that will elevate your smoked turkey to the next level.
Step 3: Preheat Your Oven
Proper preheating ensures that your turkey cooks evenly and achieves a golden, crisp exterior. Begin by setting your oven to 325°F (163°C) and allowing it to fully preheat before placing the turkey inside. Preheating ensures the heat is distributed evenly throughout the oven, which is particularly important when cooking a large bird like a turkey. If your turkey recipe includes stuffing, ensure the stuffing inside the bird reaches a safe internal temperature of 165°F (74°C) during cooking. This may mean you must closely monitor the oven temperature and cooking time.
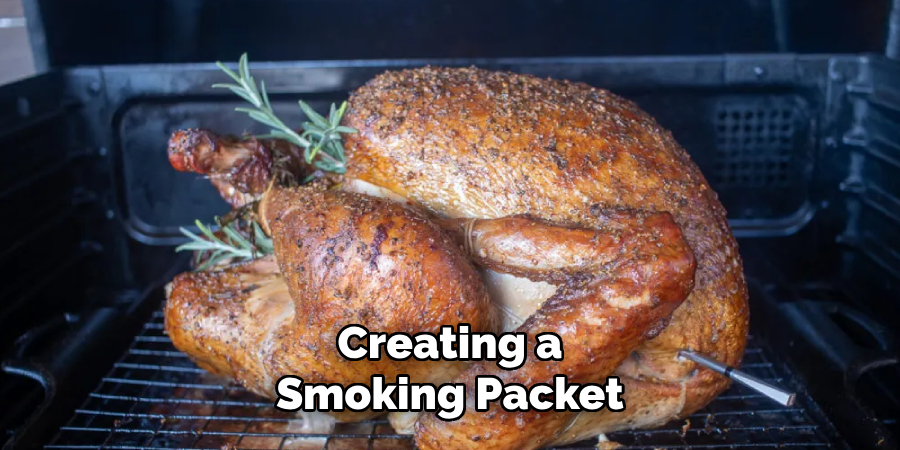
Step 4: Create a Smoking Packet
Creating a smoking packet is essential to infuse your turkey with a deep, smoky flavor. Begin by gathering a generous handful of the pre-soaked and drained wood chips, discussed earlier, and place them in the center of a large aluminum foil. Carefully fold the edges of the foil upward to form a pouch, ensuring it is large enough to hold the wood chips while leaving some airflow space inside. Next, use a fork or knife to puncture several small holes on the top of the foil packet. These holes allow the smoke to escape and penetrate the turkey as it cooks.
Once your smoking packet is ready, position it in your oven or grill. If using a grill, place the packet close to the heat source but not directly over an open flame to prevent it from burning too quickly.
Step 5: Start Cooking the Turkey
With your turkey prepared and the smoking packet in place, it is time to start cooking. Preheat your oven or grill to the appropriate temperature, typically around 325°F (163°C) for turkey. If you’re grilling, ensure you maintain indirect heat to cook the turkey evenly without scorching. Carefully position the turkey on a roasting rack inside a roasting pan or directly on the grill grates, breast side up. Close the oven door or grill lid to retain heat and allow the smoky flavors to develop.
Throughout the cooking process, monitor both the temperature of your cooking environment and the turkey’s internal temperature, using a meat thermometer. Be sure to baste the turkey every 30-45 minutes with its own juices or a mix of melted butter and seasonings for added flavor and moisture. Cook the turkey until it reaches a safe internal temperature of 165°F (74°C) in the thickest part of the breast.
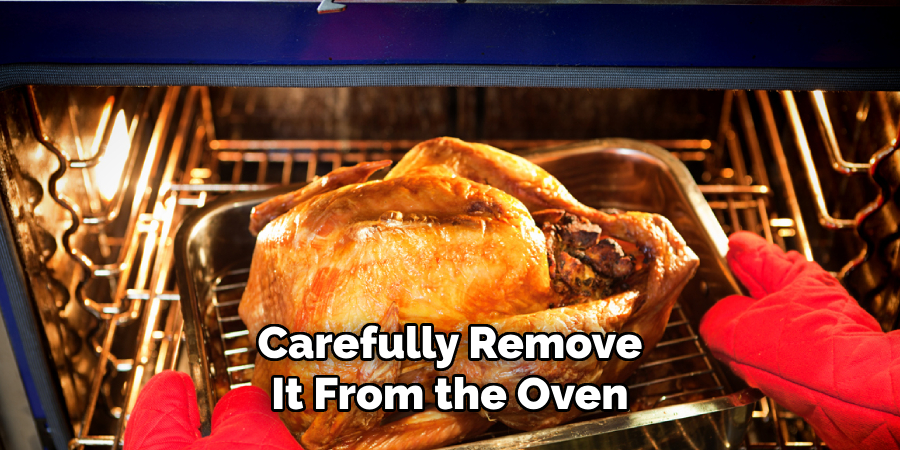
Step 6: Rest and Carve the Turkey
Once the turkey has reached the safe internal temperature of 165°F (74°C), carefully remove it from the oven or grill. Place the turkey on a large cutting board and loosely tent it with aluminum foil. Allow the turkey to rest for at least 20-30 minutes before carving. This resting period is crucial, allowing the juices to redistribute throughout the meat, ensuring a moist and flavorful turkey.
When ready to carve, use a sharp carving knife and begin by removing the legs and thighs, followed by the wings. Then, carefully slice the breast meat against the grain for tender, even pieces. Arrange the carved turkey on a serving platter, and garnish as desired for presentation. Serve immediately and enjoy your perfectly cooked and flavorful turkey.
Step 7: Storing Leftovers
After enjoying your meal, ensure that any leftover turkey is appropriately stored to maintain its freshness and safety. Begin by allowing the turkey to cool to room temperature, but do not leave it out for more than two hours to prevent bacterial growth. Once cooled, transfer the leftover turkey into airtight containers or wrap it tightly in aluminum foil or plastic wrap. Refrigerate the turkey within two hours and consume within 3-4 days. Place the turkey in the freezer for longer storage, where it can be safely kept for up to 2-6 months. Reheat leftovers thoroughly to an internal temperature of 165°F (74°C) before serving.
Step 8: Cleaning Up
After finishing your meal and storing the leftovers, it’s time to clean up the kitchen. Start by discarding any food scraps into the compost bin or trash. Wash all used dishes, utensils, and cookware with warm, soapy water. Pay special attention to cutting boards and knives, thoroughly sanitizing them to prevent cross-contamination. Wipe down countertops, tables, and any surfaces that came into contact with the turkey or other food items. Finally, remove the trash and clean the sink to keep your kitchen fresh and ready for your next cooking adventure.
By following these simple steps and tips, you can confidently smoke a delicious turkey in your own home.
5 Things You Should Avoid
1. Skipping the Brine: Failing to brine your turkey before smoking it can result in a dry and flavorless bird. Brining helps lock in moisture and infuse the meat with seasoning, so plan ahead for this crucial step.
2. Using the Wrong Wood Chips: Not all wood chips are created equal regarding smoking meat. Avoid using chips with strong or overpowering flavors, such as mesquite, as they can overshadow the delicate taste of turkey. Opt for milder woods like apple or cherry.
3. Forgetting to Preheat the Oven: Putting your turkey into a cold oven can disrupt the smoking process and lead to uneven cooking. Always preheat your oven to the desired smoking temperature for consistent results.
4. Opening the Oven Door Too Often: Constantly checking on the turkey by opening the oven door lets the heat and smoke escape, prolonging the cooking time and disrupting the flavor development. Use an oven-safe meat thermometer and trust the process.
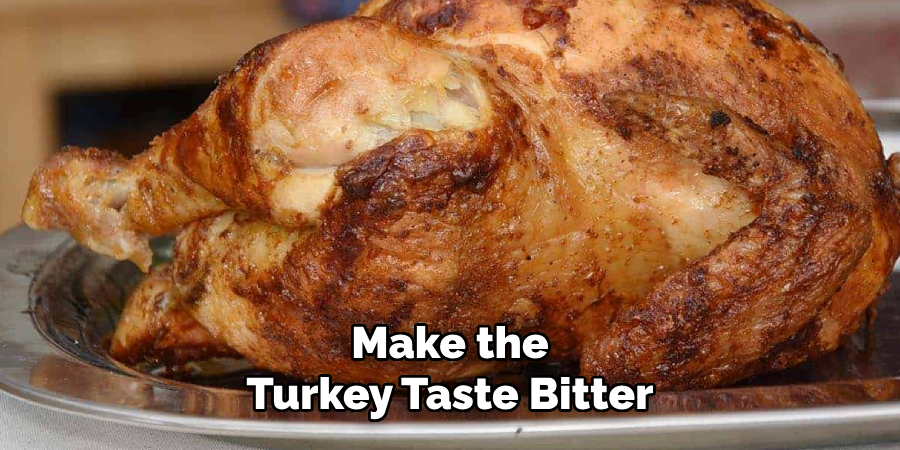
5. Over-smoking the Turkey: While smoke adds a rich, savory flavor, too much of it can make the turkey taste bitter or overpowering. Be mindful of the amount of wood chips you use and follow recommended smoking times to achieve a perfectly balanced flavor.
Conclusion
How to smoke a turkey in an oven may seem intricate at first, but with the right approach and attention to detail, it’s an achievable and rewarding task.
You can create a tender, flavorful turkey that will impress any gathering by selecting the appropriate wood chips, preheating the oven, and maintaining consistent cooking conditions. Remember to carefully monitor the cooking time and temperature while resisting the urge to peek inside the oven constantly.
With patience and preparation, you’ll master the art of oven-smoking a turkey, delivering a delicious centerpiece for your next meal.
Professional Focus
Angela Ervin, a former interior designer turned blogger, specializes in kitchen design and renovations. Through her website, she blends her passion for cooking with design expertise, sharing practical and creative ideas. Known for balancing functionality and beauty, Angela’s insightful content has made her a trusted voice in home design and lifestyle.
About the Author
Angela Ervin, an experienced interior designer and blogger, combines her passion for kitchen renovations with storytelling. Living in Petersburg with her family, she enjoys cooking and testing her projects firsthand. Known for her humor and relatable style, Angela shares creative, functional design insights through her content, making her a trusted voice in home design.
Education History
University: Virginia Commonwealth University
Degree: Bachelor of Fine Arts (BFA) in Interior Design
- Angela’s education at VCU focused on mastering core interior design principles, including spatial planning, color theory, materials selection, and sustainable design practices.
- She gained hands-on experience through studio projects and collaborative design exercises, which honed her ability to create functional and aesthetically pleasing environments.
- Her coursework also emphasized problem-solving and practical applications of design, preparing her for real-world projects like her self-directed kitchen renovations.
- The program’s strong foundation in both technical skills and creative expression shaped Angela’s ability to seamlessly integrate form and function in her work.