
Are you thinking of remodeling your kitchen? One way to give your kitchen a fresh new look is by taking out the countertops. Don’t worry, it may sound like a daunting task but with the right tools and techniques, you can easily remove your old countertops on your own.
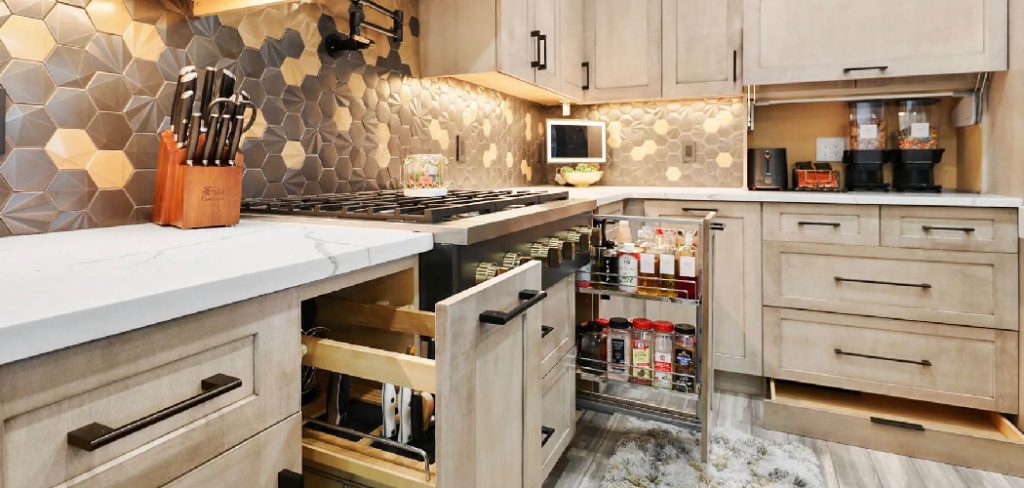
How to take out countertops can seem like a daunting task, but with the right tools and preparation, it can be done efficiently and safely. Whether you’re renovating your kitchen or replacing worn-out surfaces, understanding the steps to detach and remove countertops properly is essential. This process involves disconnecting fixtures, loosening adhesives, and carefully handling heavy materials to avoid damage to cabinets or walls.
Following a clear and organized approach ensures that the removal process is straightforward and stress-free.
What Are the Benefits of Taking Out Countertops?
Before we dive into the steps to take out countertops, let’s discuss some of the benefits of this DIY project.
- Customization: One significant benefit of removing old countertops is the opportunity to customize your kitchen space according to your preferences. You can choose from various materials, colors, and designs to give your kitchen a unique and personalized look.
- Increased Home Value: Upgrading or updating your kitchen is one of the best ways to increase the value of your home. By removing outdated or worn-out countertops and replacing them with new ones, you can significantly improve your kitchen’s overall aesthetic appeal and functionality, making it more attractive to potential buyers.
- Cost Savings: Removing countertops on your own can save you significantly more money than hiring professionals. You can complete this project without breaking the bank with the right tools and techniques.
What Will You Need?
To successfully take out your countertops, you will need the following tools and materials:
- Screwdriver
- Utility Knife
- Pry Bar
- Hammer
- Crowbar or Chisel
- Work Gloves
- Safety Glasses
- Drop Cloth or Tarp (to protect floors and cabinets)
9 Easy Steps on How to Take Out Countertops
Step 1: Prepare the Area

Before beginning the countertop removal process, it is crucial to prepare the area to ensure safety and efficiency. Start by clearing your countertops of any items such as appliances, utensils, or decorations. Disconnect any electrical appliances and ensure that the water supply to your kitchen is turned off, especially if your countertops are connected to a sink or plumbing. Protect your floors and surrounding cabinets by laying down a drop cloth or tarp to catch any debris and prevent scratches or damage.
This preparation step helps create a clean, organized workspace and reduces the risk of accidents during removal. Additionally, wear your work gloves and safety glasses to protect your hands and eyes from sharp tools and flying particles. Taking the extra time to prepare correctly will help make the entire project smoother and safer.
Step 2: Remove Any Attached Fixtures
Once the area is prepared, the next step is to remove any fixtures attached to your countertops. Begin by detaching sinks, faucets, or other plumbing components if applicable. Carefully unscrew and disconnect these fixtures while draining any remaining water to avoid spills. If your countertops include a backsplash, use a utility knife to cut through the caulk sealing the backsplash to the wall. Remove these items following the manufacturer’s instructions for countertops with mounted appliances or accessories, such as cooktops or soap dispensers. Taking care during this step prevents unnecessary damage to the fixtures and surrounding surfaces, allowing for a cleaner and easier removal process.
Step 3: Loosen and Remove the Countertops
With the fixtures detached, you can begin loosening the countertops for removal. Inspect underneath the countertops to find screws, brackets, or adhesive securing them to the cabinets. Use a screwdriver or drill to remove screws and brackets carefully. If adhesive is present, use a pry bar or putty knife to separate the countertop from the cabinets gently. Work slowly and methodically to avoid damaging the cabinetry or breaking the countertop.
For particularly stubborn sections, a bit of gentle wiggling and additional leverage might be necessary. Once loosened, lift the countertops off the cabinets with the help of another person, as they can be heavy and unwieldy to handle alone.

Step 4: Clean the Area
With the countertops successfully removed, take the time to clean the area thoroughly before proceeding. Remove any leftover adhesive, debris, or dust from the cabinets and surrounding surfaces. Use a scraper or putty knife to gently scrape off stubborn adhesive remnants, then wipe down the area with a damp cloth to ensure a smooth and clean surface. This step will ensure the installation of new countertops goes smoothly and creates a polished final look.
Step 5: Measure and Prepare for New Countertops
Before installing the new countertops, take precise measurements of the cabinet dimensions to ensure a perfect fit. Double-check the measurements and compare them with the new countertop specifications. If any adjustments are needed, make them at this stage to avoid issues during installation. Prepare the cabinets by ensuring they are level and secure, and add any necessary support brackets if required for heavy countertop materials. Proper preparation is critical to achieving a professional and seamless result.
Step 6: Dry Fit the Countertops
Before securing the new countertops, perform a dry fit to ensure everything aligns properly. Place the countertops onto the cabinets and check for gaps, overhangs, or uneven spots. Use a level to verify that the surface is even. If any adjustments are necessary, mark the areas that require modification and carefully trim or sand as needed. This step ensures a flawless fit and allows for corrections before final installation.
Step 7: Secure the Countertops
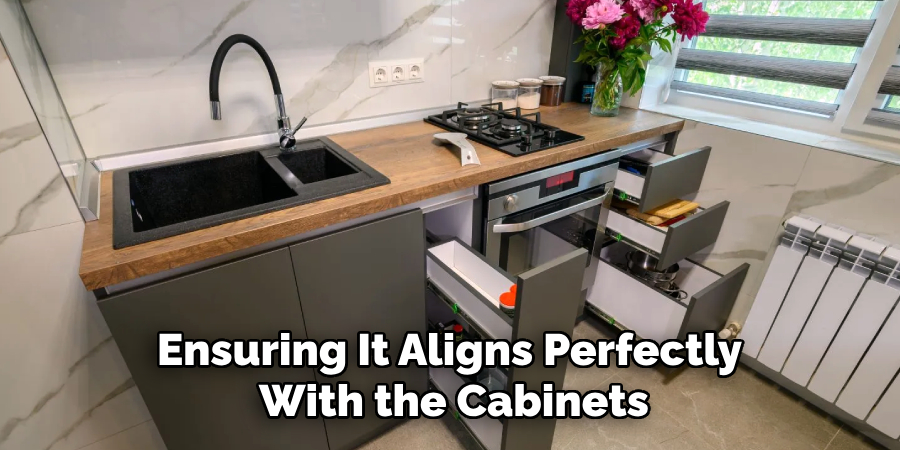
Once the dry fit is complete and all necessary adjustments have been made, it is time to secure the countertops. Apply a bead of silicone or construction adhesive along the top edge of the cabinets to bond the countertop in place. Carefully position the countertop onto the adhesive, ensuring it aligns perfectly with the cabinets. Press firmly to secure it, and wipe away any excess adhesive with a damp cloth. If required, use screws or brackets to provide additional stability, particularly for heavy materials like granite or quartz. Allow the glue to cure as instructed by the manufacturer before using the countertop.
Step 8: Seal the Edges and Joints
To ensure durability and prevent water or debris from seeping into the gaps, seal the edges and joints of the countertops. Use a high-quality silicone caulk or sealant to fill the seams where the countertop meets the wall, backsplash, or other counters. Smooth the bead of caulk with a caulking tool or your finger to achieve a clean, professional finish. Allow the sealant to dry and cure as per the manufacturer’s instructions before proceeding. Proper sealing will help maintain the longevity and appearance of your countertops.
Step 9: Keep Safety in Mind
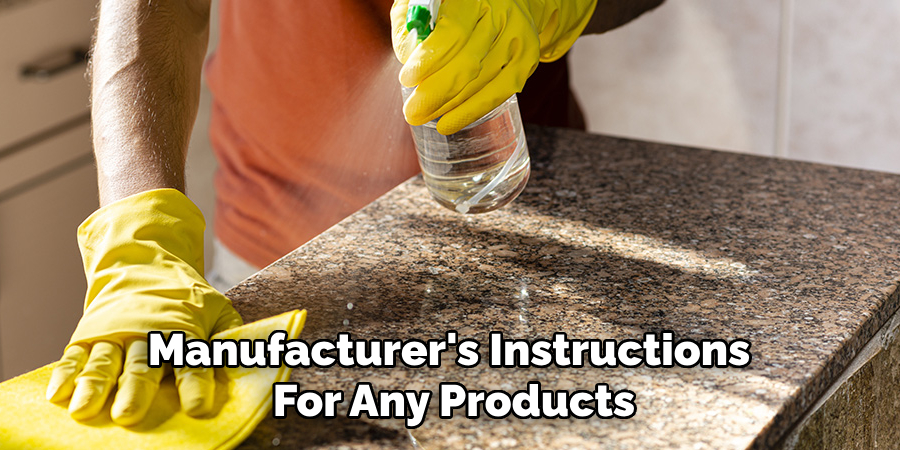
As with any home improvement project, safety should be a top priority. When handling heavy materials or using power tools, always wear appropriate personal protective equipment and take caution to avoid accidents or injuries. Additionally, pay attention to the manufacturer’s instructions for any products used during the removal and installation to ensure proper usage and precautions are taken.
Following these steps, you can successfully remove and replace your countertops for a fresh and updated look in your kitchen or bathroom.
5 Things You Should Avoid
1. Skipping Safety Precautions: Removing countertops can involve sharp tools, heavy lifting, and exposure to dust or debris. Never skip wearing protective gear, such as gloves, safety goggles, and a dust mask. Neglecting safety precautions can result in injuries or health risks.
2. Not Turning Off Utilities: Always ensure that water, gas, and electricity connected to the countertop or surrounding area are turned off. Failure to do this can lead to hazardous situations, such as electrical shocks or water leaks.
3. Using the Wrong Tools: Using improper tools for the job can cause damage to the surrounding cabinets, walls, or plumbing. Always equip yourself with the right equipment, like a crowbar, putty knife, and power drill, to ensure a clean and efficient removal process.
4. Rushing the Process: Countertops are often secured with adhesive, screws, or caulking. Rushing through their removal can result in unnecessary damage to the frame or support structure underneath. Take your time to loosen and dismantle each attachment point carefully.
5. Disregarding Structural Integrity: Be mindful of the weight and support of your countertop, especially for heavy materials like granite or marble. Removing a countertop without considering its structural integrity can lead to unintentional damage or injury, particularly if it collapses unexpectedly.
By avoiding these common mistakes, you can ensure a smooth and safe removal of your old countertops.
Conclusion
How to take out countertops may seem like a daunting task, but with careful preparation, the right tools, and attention to detail, it can be accomplished.
Start by disconnecting any utilities, like plumbing or electrical connections, to ensure safety. Use appropriate tools to detach the countertop gradually, avoiding damage to the surrounding area. Take time to analyze the structure and secure assistance if dealing with heavy materials.
By following the steps methodically and avoiding common mistakes, you can complete the removal process smoothly, paving the way for new installations and a refreshed space.
Professional Focus
Angela Ervin, a former interior designer turned blogger, specializes in kitchen design and renovations. Through her website, she blends her passion for cooking with design expertise, sharing practical and creative ideas. Known for balancing functionality and beauty, Angela’s insightful content has made her a trusted voice in home design and lifestyle.
About the Author
Angela Ervin, an experienced interior designer and blogger, combines her passion for kitchen renovations with storytelling. Living in Petersburg with her family, she enjoys cooking and testing her projects firsthand. Known for her humor and relatable style, Angela shares creative, functional design insights through her content, making her a trusted voice in home design.
Education History
University: Virginia Commonwealth University
Degree: Bachelor of Fine Arts (BFA) in Interior Design
- Angela’s education at VCU focused on mastering core interior design principles, including spatial planning, color theory, materials selection, and sustainable design practices.
- She gained hands-on experience through studio projects and collaborative design exercises, which honed her ability to create functional and aesthetically pleasing environments.
- Her coursework also emphasized problem-solving and practical applications of design, preparing her for real-world projects like her self-directed kitchen renovations.
- The program’s strong foundation in both technical skills and creative expression shaped Angela’s ability to seamlessly integrate form and function in her work.