
Electric grills are a game-changer for anyone who loves the joy of grilling without the hassle of managing charcoal or propane. They offer convenience, easy cleanup, and adaptability, making them a must-have in modern kitchens or small outdoor spaces. Whether you’re a seasoned grilling aficionado or a complete beginner, learning how to turn on an electric grill is the first step to enjoying perfectly grilled meals.
This article will walk you through the correct process to power up and use an electric grill safely. From understanding your grill’s controls to properly preheating it, we’ll break everything down into simple, approachable steps. By the end, you’ll not only know how to use your electric grill but also feel confident in tackling new recipes. Grilling can be fun, stress-free, and flavorful, and it all starts with powering up your electric grill correctly.
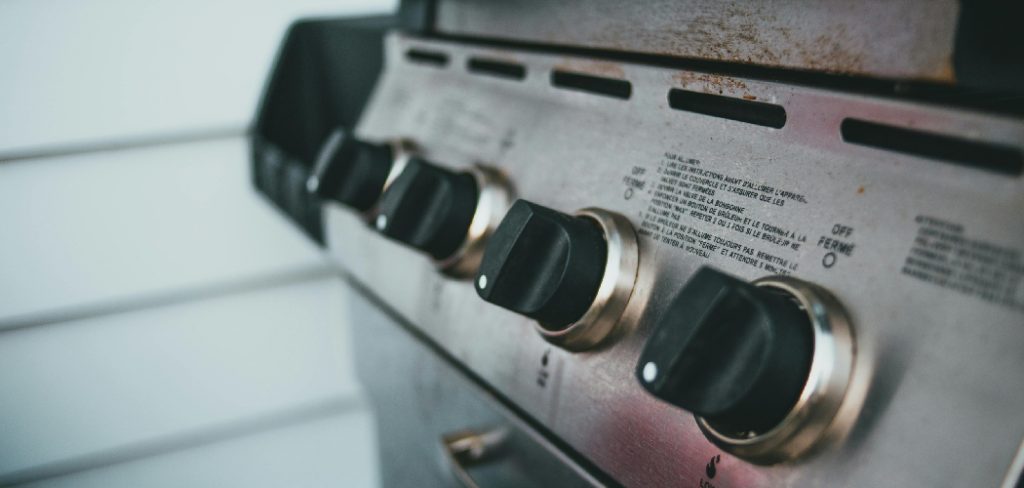
Before starting, ensure your electric grill is placed on a flat, stable surface in a well-ventilated area away from flammable objects. Next, check that the grill is clean from any previous use, as leftover grease or food particles can affect both safety and flavor. Once the grill is plugged into a suitable outlet, locate and familiarize yourself with the power and temperature controls. Set the desired temperature based on your recipe or preference and allow the grill to preheat fully, which is essential for even cooking. With these steps complete, you’re now ready to begin your grilling adventure.
Why Learning How to Turn on Electric Grill Matters
Electric grills have become increasingly popular due to their eco-friendliness and user-friendly designs. Unlike traditional grills, they don’t require messy fuels or expensive gas canisters, making them accessible to urban dwellers, RV enthusiasts, and anyone with limited outdoor space.
Properly turning on your electric grill isn’t just about pushing the power button. Not following the correct steps could lead to uneven cooking, potential safety hazards, or inadvertent damage to your appliance. By understanding the procedure, you ensure consistent results, efficient use of energy, and most importantly, safety. Learning this essential skill will allow you to harness the full potential of your grill, creating delectable dishes every time.
10 Step-by-Step Guide on How to Turn on Electric Grill
Turning on an electric grill may sound straightforward, but there’s more to it than you might think. Follow these steps to ensure you’re setting up your grill correctly and safely for the best cooking results.
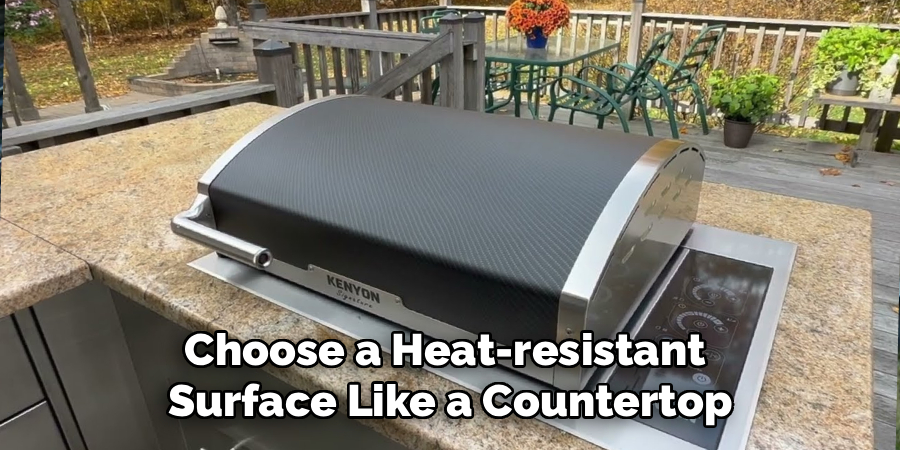
Step 1: Place Your Grill on a Stable, Heat-Resistant Surface
Before powering up your grill, you’ll need to position it properly. Choose a heat-resistant surface like a countertop, patio table, or other sturdy and non-flammable materials. This minimizes the risk of accidents while you cook. The grill should also stand on a flat surface to avoid tipping or uneven heating.
Ensure proper ventilation around the grill, as electric grills, while smoke-free, may still release steam or light vapors during use.
Step 2: Inspect Your Grill and Power Connections
Ensuring the safety of your grill before turning it on is crucial. Check that the power cord is undamaged and securely connected to your grill. If there are detachable heating elements, confirm they are fixed tightly in place. Take a moment to inspect the drip tray and make sure it’s clean and correctly installed.
Finally, double-check that the outlet you’ll be plugging into is functional and safe. Using a grounded power source is always recommended for extra protection.
Step 3: Clean the Grill Plates or Surface
A clean grill guarantees better food safety and taste. Even if your grill looks clean, there might be dust or residue from previous use. Wipe the grill surface with a damp cloth or sponge, removing any unwanted particles. For smokeless indoor electric grills or models with detachable plates, you may use warm soapy water if needed.
Not cleaning your grill beforehand may result in burnt-on debris affecting your food’s flavor or causing potential smoking issues.
Step 4: Preheat Your Grill for Optimal Cooking
Most electric grills need time to heat up before cooking. Turn on your grill by pressing the power switch or dial and set it to your desired cooking temperature. For many models, you’ll need to wait for a heat indicator light or a specific sound to confirm that it’s fully preheated. This step often takes 5 to 10 minutes, depending on the type of electric grill.
This preheating stage is essential for achieving even cooking and tasty results.
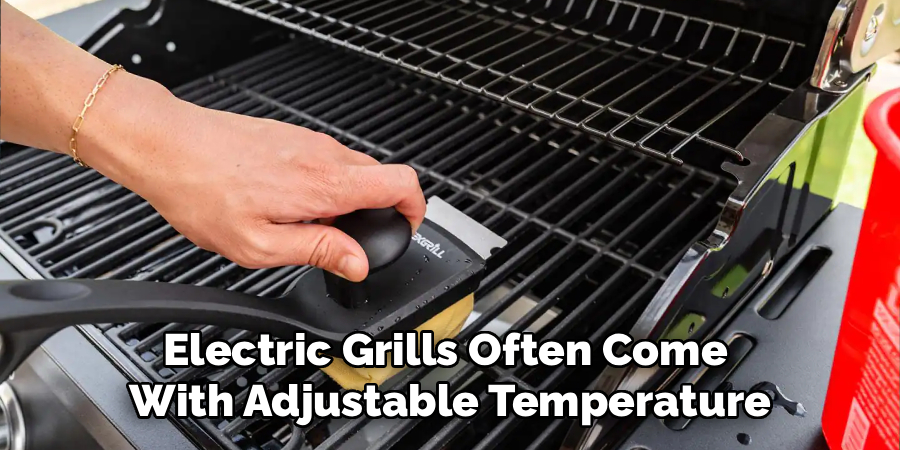
Step 5: Adjust Temperature Settings Based on Your Cooking Needs
Electric grills often come with adjustable temperature settings. If your recipe indicates a specific temperature, set the heat accordingly. Some dishes—like grilled vegetables or delicate fish—require lower heat, whereas hearty options like steaks or burgers need higher temperatures.
Using the right temperatures not only enhances flavors but also helps avoid over- or under-cooking.
Step 6: Apply Oil or Cooking Spray to the Grill Surface
To prevent your food from sticking, lightly coat the grill surface with oil or a non-stick spray. For models with non-stick plates, this step might be optional, but it helps maintain food quality and makes post-cooking cleanup easier.
Make sure to apply the oil when the grill is preheated for the best results.
Step 7: Place Food on the Grill Once It Reaches the Desired Temperature
Now that your grill is preheated and prepared, go ahead and place your food on the cooking surface. Maintain the right spacing between food items to ensure even heat distribution. Crowding the grill may lead to unevenly cooked dishes, so it’s okay to cook in batches if needed.
If you’re cooking something new, follow recipe guidelines for cook time and temperature.
Step 8: Monitor Your Food as It Cooks
While electric grills are designed for convenience, you’ll still need to check your food periodically. Turn it to ensure even cooking on all sides. Modern grills often have timers or temperature indicators which you can use to track progress efficiently.
Keeping an eye on your food also prevents the risk of overcooking or burning.
Step 9: Turn Off the Grill Safely After Use
Once cooking is complete, switch off your grill using the power button or dial. Unplug the grill from the outlet to avoid unnecessary power consumption. Allow the appliance to cool completely before cleaning or storing it away. Make sure to remove and clean all removable parts, such as drip trays and grilling plates, following the manual’s instructions for care.
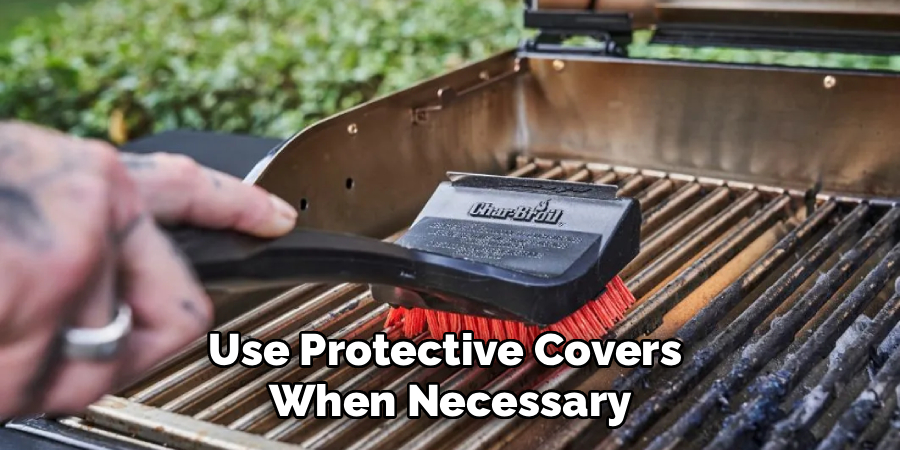
Step 10: Store Your Grill for Future Use
After cleaning, store your grill in a dry, safe location. Use protective covers when necessary to keep dust and debris at bay. Proper maintenance ensures the longevity of your appliance so it’s always ready for your next grilling adventure.
Grilling Safety Precautions
Grilling can be an enjoyable and rewarding cooking method, but it’s important to prioritize safety to prevent accidents or injuries. Always ensure your grill is placed on a stable, flat surface and positioned away from flammable materials such as overhanging branches or walls. Never leave the grill unattended while in use, as flare-ups or unexpected flames can occur. Use heat-resistant tools and gloves to protect yourself from burns, and avoid wearing loose clothing that could accidentally catch fire.
Additionally, keep a fire extinguisher or a bucket of sand nearby in case of emergencies. Check for gas leaks regularly if you’re using a gas grill by inspecting the propane tank and hose connections. By following these precautions, you can enjoy a safe and stress-free grilling experience.
Frequently Asked Questions
1. Can I use an electric grill indoors?
Yes, electric grills are designed for both indoor and outdoor use. They produce less smoke compared to charcoal or gas grills, making them safe for enclosed spaces. However, ensure adequate ventilation to prevent steam buildup and consider using a grill mat to protect your countertop.
2. Is preheating an electric grill really necessary?
Absolutely. Preheating allows the grill to reach a consistent temperature, which is essential for evenly cooked food. Skipping this step may result in uneven heating and less-than-ideal cooking outcomes.
3. What should I do if my grill isn’t heating up?
If your electric grill doesn’t heat up, check the power cord and outlet for issues. Ensure that all components, like the heating element, are properly connected. Refer to your grill’s manual for troubleshooting tips, or reach out to the manufacturer’s customer service for assistance.
4. How can I clean my electric grill after cooking?
Most electric grills have removable plates or surfaces that can be washed with warm, soapy water. For non-removable surfaces, wipe them down with a damp cloth once the grill has cooled. Clean the drip tray regularly to prevent grease buildup.
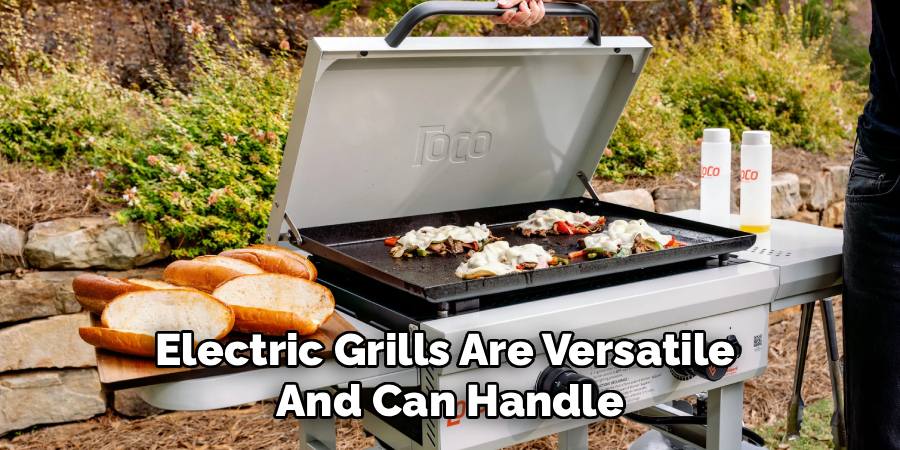
5. What types of dishes can I make with an electric grill?
Electric grills are versatile and can handle a variety of dishes. From burgers and steaks to grilled vegetables, seafood, and even paninis, your options are nearly endless. Experiment with different ingredients to find your favorite grill recipes.
Conclusion
An electric grill is the perfect tool for hassle-free grilling, whether you’re indoors or outdoors. By following these simple steps, you now know exactly how to turn on an electric grill and start cooking delicious meals with confidence. From preheating to cleaning, mastering this process ensures you get the most out of your appliance every time.
With your electric grill ready to go, don’t forget to prioritize safety. Always ensure the grill is placed on a stable, heat-resistant surface and avoid using it near flammable materials. Keep a close eye on the cooking process and never leave the grill unattended while in use. By following these precautions, you can enjoy a safe and enjoyable grilling experience every time.
Grab your electric grill, try out some recipes, and enjoy the tasty world of grilling without the mess or stress. Happy grilling!
Professional Focus
Angela Ervin, a former interior designer turned blogger, specializes in kitchen design and renovations. Through her website, she blends her passion for cooking with design expertise, sharing practical and creative ideas. Known for balancing functionality and beauty, Angela’s insightful content has made her a trusted voice in home design and lifestyle.
About the Author
Angela Ervin, an experienced interior designer and blogger, combines her passion for kitchen renovations with storytelling. Living in Petersburg with her family, she enjoys cooking and testing her projects firsthand. Known for her humor and relatable style, Angela shares creative, functional design insights through her content, making her a trusted voice in home design.
Education History
University: Virginia Commonwealth University
Degree: Bachelor of Fine Arts (BFA) in Interior Design
- Angela’s education at VCU focused on mastering core interior design principles, including spatial planning, color theory, materials selection, and sustainable design practices.
- She gained hands-on experience through studio projects and collaborative design exercises, which honed her ability to create functional and aesthetically pleasing environments.
- Her coursework also emphasized problem-solving and practical applications of design, preparing her for real-world projects like her self-directed kitchen renovations.
- The program’s strong foundation in both technical skills and creative expression shaped Angela’s ability to seamlessly integrate form and function in her work.