
Are you looking to update your granite countertops? You may want to change the color, add a new finish, or fix any damage that has occurred over time.
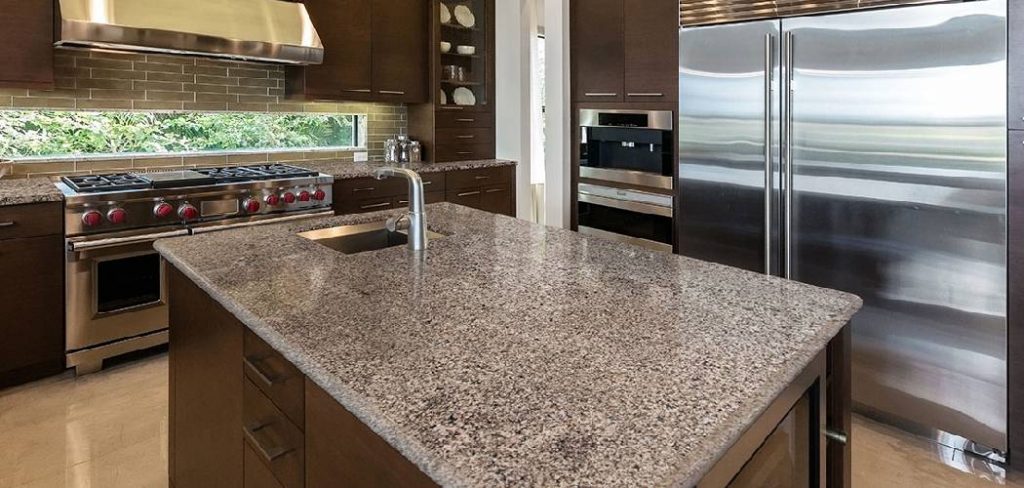
How to update granite countertops can breathe new life into your kitchen or bathroom, giving it a fresh and modern look without the need for a complete renovation. While granite is known for its durability and timeless appeal, styles and preferences can change over time, making updates desirable. Whether you’re looking to restore their original shine, add a new finish, or completely revamp their appearance, practical and cost-effective methods are available.
With the right tools and techniques, you can transform your countertops to match your evolving aesthetic and functional needs better. Let’s explore the various ways you can update your granite countertops.
What Are the Benefits of Updating Granite Countertops?
Before we dive into the steps for updating granite countertops, it’s essential to understand the potential benefits of doing so. Here are a few reasons why you may want to consider updating your granite countertops:
- Enhance Aesthetics: Over time, your existing countertops may look dull or outdated compared to the rest of your space. By updating them, you can revitalize your kitchen or bathroom’s entire look and feel.
- Increase Value: Granite countertops are a desirable feature for potential home buyers. By updating them, you can increase the value of your property and make it more appealing to potential buyers.
- Fix Damage: Constant use can cause wear and tear on granite countertops, resulting in chips, scratches, or stains. Updating them can help fix any damage and restore their original beauty.
- Improve Functionality: If you’ve been using your countertops for several years, they may not meet your current functional needs. Updating them allows you to make necessary changes to suit your lifestyle and preferences better.
What Will You Need?
Before you begin updating your granite countertops, gather the following materials and tools:
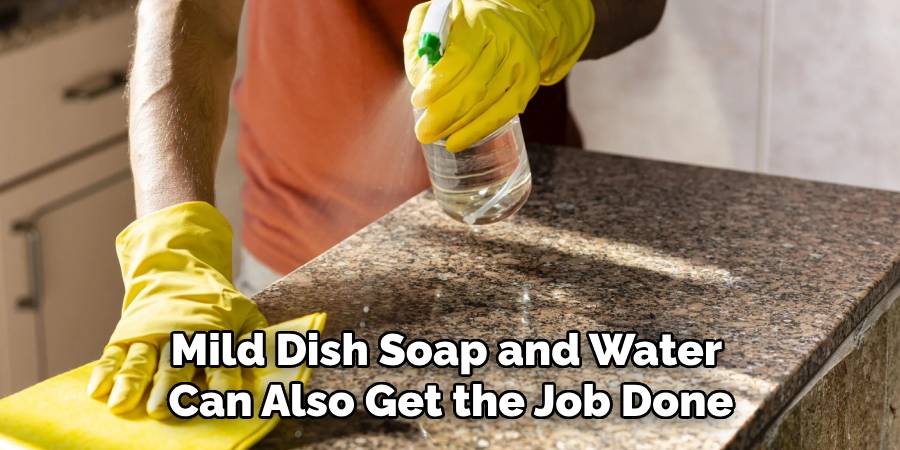
- Cleaner: Granite-specific cleaners are ideal, but mild dish soap and water can also get the job done.
- Sponge or Soft Cloth: These will apply the cleaner and wipe down the countertops.
- Sealer: This is necessary if you plan on changing the color or adding a new finish to your countertops. Ensure to choose a sealer specifically designed for use on granite.
- Sandpaper: Use this to smooth out rough edges or repair minor damage.
- Paintbrushes, Rollers, or Sprayer: Depending on the type of update you’re doing, you may need one or more of these tools to apply the sealer or paint.
- New Hardware: If you’re replacing any hardware on your countertops, ensure the new pieces are on hand before starting the update.
Once you have everything you need, it’s time to start updating your granite countertops.
8 Easy Steps on How to Update Granite Countertops
Step 1: Clean the Countertops
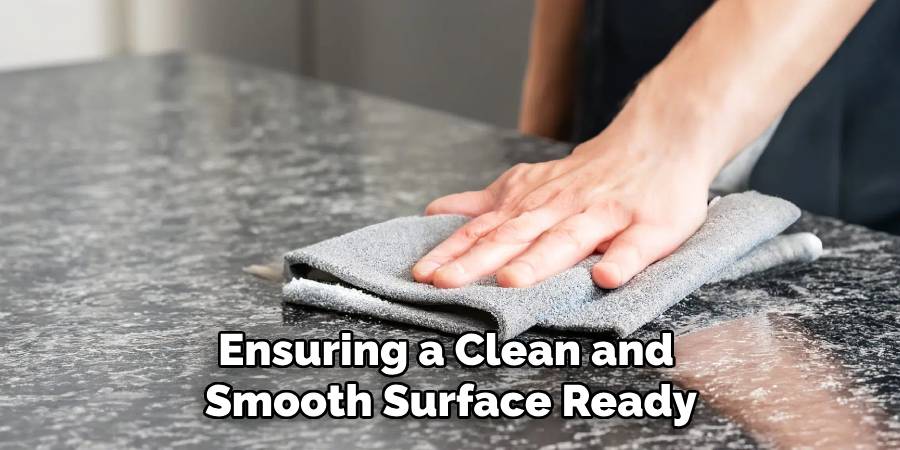
Begin by thoroughly cleaning your granite countertops to remove any dirt, grease, or residue that may have accumulated over time. Use a cleaner specifically made for granite to avoid any potential damage to the surface. If a granite cleaner is unavailable, a mix of mild dish soap and warm water can be an effective alternative. Apply the cleaner using a sponge or a soft cloth, gently scrubbing the surface to lift any stubborn stains.
Be sure to clean the edges and corners of the countertop, as these areas often collect dust and grime. Once the entire surface is clean, wipe it down with a damp cloth to remove any remaining cleaning solution. Finally, use a dry, lint-free cloth to thoroughly dry the countertop, ensuring a clean and smooth surface ready for the next steps in the updating process.
Step 2: Inspect for Damage
Carefully inspect your granite countertops for any cracks, chips, or other signs of damage. Small issues such as hairline cracks or minor chips can often be repaired using an epoxy resin designed for stone surfaces. If you find larger cracks or more serious damage, you may need to consult a professional for repair to ensure the structural integrity of your countertop. Pay extra attention to the seams and edges, as these areas are more prone to wear. By addressing any imperfections at this stage, you can maintain the durability and appearance of the granite before proceeding with further updates.
Step 3: Seal the Surface
Sealing your granite countertops is crucial to protecting them from stains and damage. Begin by selecting a high-quality granite sealer suitable for your specific countertop. Before applying, ensure the surface is immaculate and dry. Using a clean cloth or applicator pad, evenly apply the sealer across the countertop in a thin layer. Allow the sealer to penetrate the stone for the time the product instructions recommend, usually around 10-15 minutes. Once absorbed, use a clean, dry cloth to remove any excess sealer and buff the surface to a polished finish. Proper sealing enhances the granite’s natural beauty and adds an essential protective barrier, ensuring its longevity.
Step 4: Perform Regular Maintenance
To keep your granite countertops in pristine condition, establish a routine maintenance plan. Clean the surface daily with a mild, pH-balanced granite cleaner and a soft cloth or sponge to remove dirt and spills. Avoid using harsh chemicals, abrasive pads, or acidic substances, as these can damage the sealer and the granite itself. Inspect the countertops periodically for any signs of wear or damage to the seal, and reapply the sealer as needed—typically every 6 to 12 months, depending on usage and the type of sealer used. By performing regular maintenance, you can preserve the beauty and functionality of your granite countertops for years to come.
Step 5: Address Stains Promptly
Even with proper sealing, spills can penetrate the surface if left unattended. To address stains, act quickly by blotting (not wiping) the spill with a clean, dry cloth to prevent spreading. For tough stains, use a poultice specifically designed for granite or a mixture of baking soda and water to draw out the discoloration. Apply the poultice to the stained area, cover it with plastic wrap, and leave it for 24 to 48 hours. Once the stain is removed, rinse the area with warm water and dry thoroughly. Promptly addressing stains ensures your granite countertops remain flawless and resistant to long-term damage.
Step 6: Keep Hot Items Off the Countertop
Placing hot items directly on your granite countertop can cause damage, including the potential for thermal shock, which may result in cracks or discoloration. Although granite is heat-resistant, repeated exposure to high temperatures can weaken the sealant, making the surface more susceptible to stains and scratches over time. Always use trivets, heat pads, or coasters under hot pans, pots, or appliances to protect your countertop. This simple precaution helps preserve the integrity and appearance of your granite while preventing costly repairs or restoration. Maintaining this habit ensures your countertop remains durable and visually appealing for years to come.

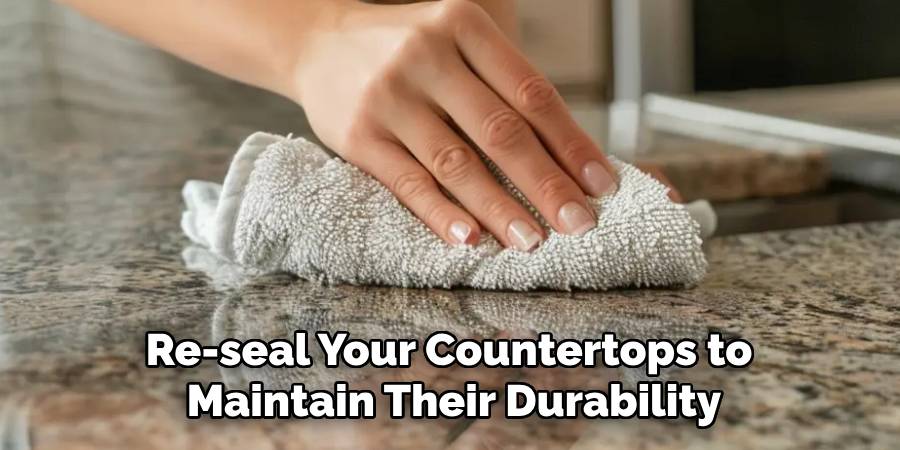
Step 7: Regular Resealing
Granite countertops are naturally porous, which means they can absorb liquids and stains if not properly sealed. To maintain their durability and resistance to stains, it’s essential to reseal the surface periodically. Depending on the type of granite and usage, resealing may be necessary every 1 to 3 years. To check if your countertop needs resealing, pour some water on the surface and observe if it beads up. If the water seeps into the stone, it’s time to reseal. Use a high-quality sealer designed for granite, and follow the manufacturer’s instructions carefully for the best results. Regular resealing ensures your granite countertops will remain both beautiful and functional over time.
Step 8: Enjoy Your Beautiful Countertops
With proper care and maintenance, your granite countertops will continue to enhance the beauty and functionality of your space for many years. By following these steps, you can ensure your investment in high-quality granite is protected and maintained for optimal performance. As you enjoy your countertops’ natural elegance and durability, remember to keep up with regular cleaning and resealing to preserve their beauty for generations to come.
By following these simple steps, you can update and maintain your granite countertops for a long time.
5 Things You Should Avoid
1. Using Harsh Chemicals: Avoid using acidic or abrasive cleaners like vinegar, ammonia, or bleach, as these can dull the surface and damage the sealant of your granite countertops. Opt for pH-balanced cleaners specifically designed for granite.
2. Skipping Sealing: Never skip the sealing process. Granite is a porous material, and without proper sealing, it can absorb liquids, leading to stains and potential damage over time. Regularly re-seal your countertops to maintain their durability.
3. Applying Paint Without Preparation: If you plan to alter the color or finish of your granite, do not apply paint directly without careful surface preparation. Failing to sand, prime, or clean properly can result in peeling or uneven finishes.
4. Ignoring Small Cracks or Chips: Overlooking minor cracks or chips can lead to bigger issues over time. Always repair these imperfections promptly to ensure the longevity and aesthetics of your countertops.
5. Using Heat Directly on the Surface: Avoid placing hot pots, pans, or appliances directly on your granite countertops. Although granite is heat-resistant, extreme temperatures can cause thermal shock, potentially cracking the surface or affecting its finish. Always use a trivet or heat pad.
Conclusion
How to update granite countertops is an excellent way to enhance the appearance and functionality of your kitchen or bathroom.
By following proper maintenance techniques, promptly addressing issues like cracks or chips, and avoiding common mistakes such as neglecting sealing or using harsh chemicals, you can ensure the longevity of your investment. For those looking to refresh or modernize their countertops, consider professional services for polishing or altering the finish if necessary.
Professional Focus
Angela Ervin, a former interior designer turned blogger, specializes in kitchen design and renovations. Through her website, she blends her passion for cooking with design expertise, sharing practical and creative ideas. Known for balancing functionality and beauty, Angela’s insightful content has made her a trusted voice in home design and lifestyle.
About the Author
Angela Ervin, an experienced interior designer and blogger, combines her passion for kitchen renovations with storytelling. Living in Petersburg with her family, she enjoys cooking and testing her projects firsthand. Known for her humor and relatable style, Angela shares creative, functional design insights through her content, making her a trusted voice in home design.
Education History
University: Virginia Commonwealth University
Degree: Bachelor of Fine Arts (BFA) in Interior Design
- Angela’s education at VCU focused on mastering core interior design principles, including spatial planning, color theory, materials selection, and sustainable design practices.
- She gained hands-on experience through studio projects and collaborative design exercises, which honed her ability to create functional and aesthetically pleasing environments.
- Her coursework also emphasized problem-solving and practical applications of design, preparing her for real-world projects like her self-directed kitchen renovations.
- The program’s strong foundation in both technical skills and creative expression shaped Angela’s ability to seamlessly integrate form and function in her work.