
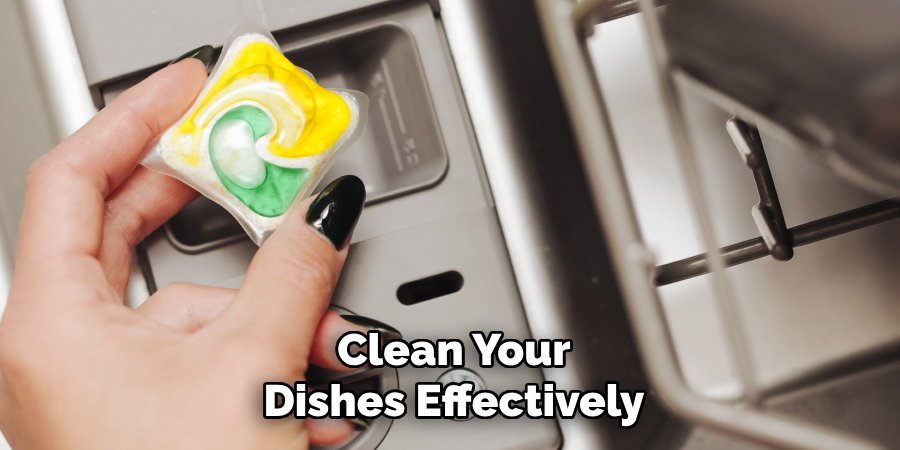
A broken soap dispenser on your dishwasher can be frustrating, but it doesn’t have to render the appliance unusable. With a few simple adjustments, you can continue to clean your dishes effectively without the need for immediate repairs.
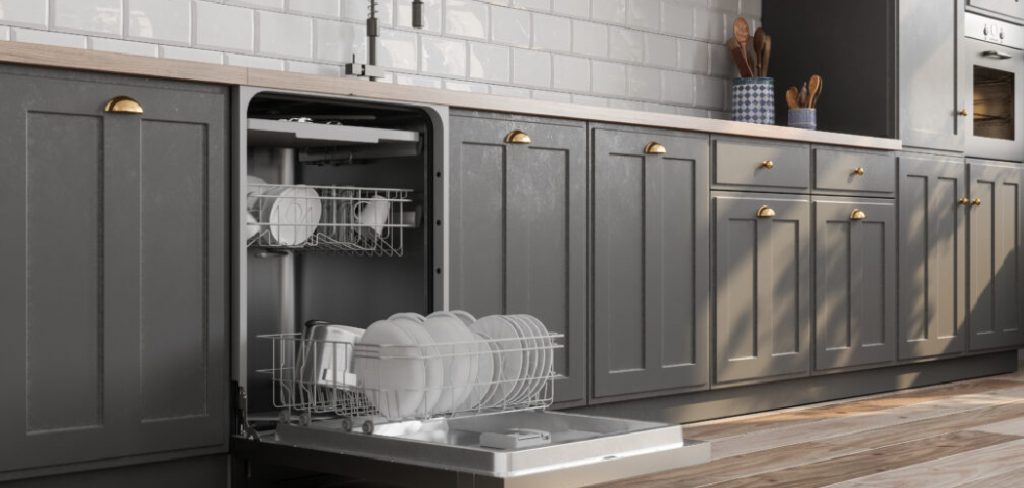
This guide on how to use dishwasher with broken soap dispenser will walk you through practical tips and alternative methods to ensure your dishwasher still delivers sparkling results, even when the soap dispenser isn’t working.
Understanding Bosch Dishwasher Racks
Bosch dishwashers are known for their efficient and innovative designs, and their racks are no exception. These racks are crafted with adjustable features to optimize the use of space and accommodate various types of dishes, utensils, and cookware. The upper rack typically offers flexibility through adjustable heights, allowing users to fit taller items like glasses or bottles.
Meanwhile, the lower rack provides ample space for larger items such as pots and pans, with foldable tines to create extra room when needed.
Bosch dishwashers often include a third rack at the top, specifically designed for cutlery and smaller items, ensuring a more thorough and organized cleaning process.
By understanding and utilizing the adjustable and customizable features of these racks, you can maximize the efficiency of your dishwasher while maintaining spotless results.
Needed Materials
Before we dive into the steps on how to use a dishwasher with broken soap dispenser, make sure you have these materials ready:
Dishwasher Detergent Tablets or Powder
These are the most common types of dishwasher detergents and can be used as a substitute for liquid soap. They usually come in pre-measured amounts, making it easier to use without a dispenser.
Dishwasher Rinse Aid
This is an optional but highly recommended product that helps dry your dishes and reduce water spots. It also helps break down grease and residue, resulting in cleaner dishes.
Dishwasher Safe Dishes
Make sure all the items you put in the dishwasher are labeled as “dishwasher safe” to avoid any damage or accidents during the cleaning process.
8 Steps on How to Use Dishwasher With Broken Soap Dispenser
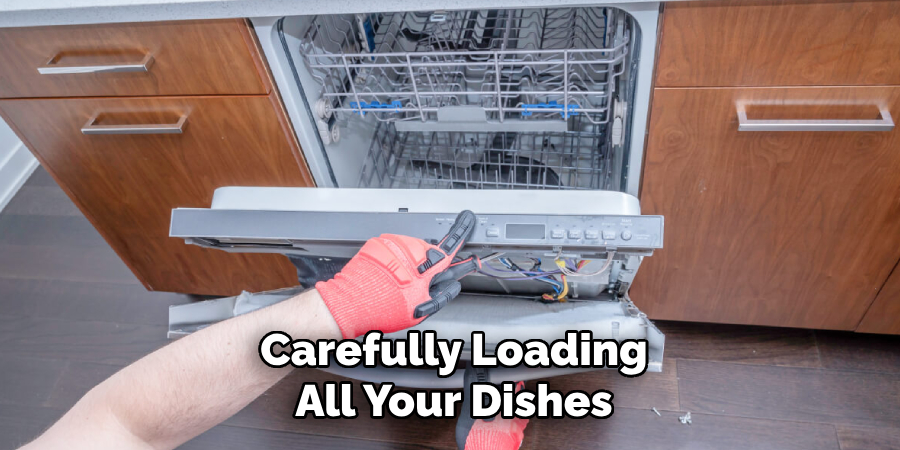
Step 1: Start by Loading the Dishwasher
Begin by carefully loading all your dishes, utensils, and cookware into the dishwasher. Place larger items such as pots and pans on the lower rack, ensuring they do not block the spray arms. Use the adjustable features of the upper rack to fit smaller items like glasses, cups, and bowls securely. If your dishwasher includes a third rack, arrange silverware, knives, and other small items in this space for better organization and cleaning efficiency.
Make sure that all items are properly positioned to allow water to reach every surface during the wash cycle. Remember to check that nothing obstructs the spinning arms or blocks the detergent area.
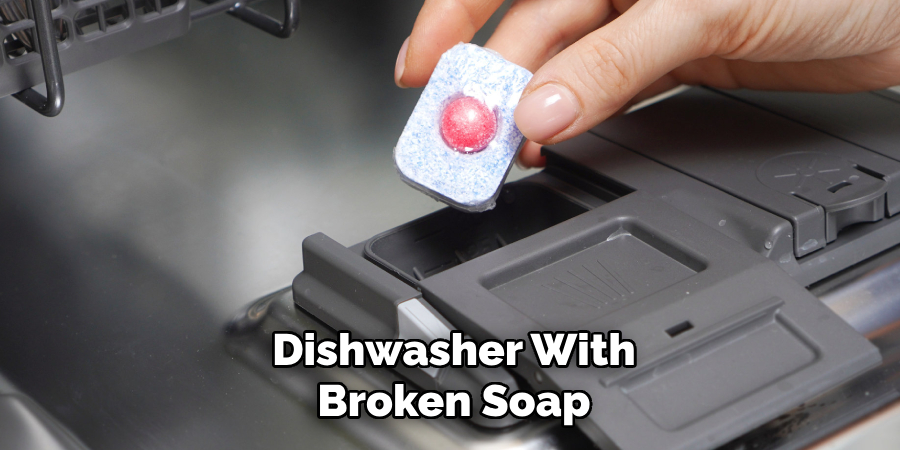
Step 2: Add the Detergent
Since the soap dispenser is broken, you will need to add detergent manually. For detergent tablets, place one tablet directly at the bottom of the dishwasher, ensuring it sits in a flat, central position. If you are using powdered detergent, sprinkle the recommended amount evenly across the bottom of the dishwasher instead.
Avoid placing detergent in areas where it may be immediately washed away during the initial rinse cycle. This will allow the detergent to dissolve properly and clean the dishes effectively during the main wash cycle.
Step 3: Fill the Rinse Aid Dispenser
If your dishwasher has a rinse aid dispenser, fill it according to the manufacturer’s instructions. This will help with drying and reducing water spots on your dishes. If you do not have a rinse aid dispenser, consider using white vinegar instead. Simply pour a small amount into the bottom of the dishwasher before starting the wash cycle.
The acetic acid in vinegar helps to break down grease and residue, resulting in a cleaner and more sparkling finish.
Step 4: Choose the Right Cycle
Select the appropriate wash cycle based on the type of load you are cleaning. For heavily soiled items like pots and pans, choose a heavy-duty or intensive cycle to ensure thorough cleaning, for delicate items such as glasses and dishware, an eco or gentle cycle may be more suitable to prevent damage.
If you are washing a mixed load, a standard or automatic cycle is usually the best option, as it adjusts the wash intensity based on the load’s dirt level.
Refer to your dishwasher’s manual to understand the available cycle options and select the one that matches the needs of your dishes. Choosing the correct cycle is essential for conserving water and energy while ensuring your dishes come out clean and spotless.
Step 5: Select Additional Settings
Some dishwashers come with additional settings or options to cater to specific needs. For example, if you have heavily soiled dishes, selecting a pre-wash option can help loosen food particles before the main wash cycle. If you are washing items that require extra sanitization, choosing a high-temperature wash or sanitize setting is recommended.
Take advantage of these different settings to customize your dishwasher’s cleaning process and achieve the best results.
Step 6: Start the Dishwasher
Once everything is loaded and the detergent and rinse aid are added, close the dishwasher door and start the wash cycle. Most dishwashers have an automatic start feature where they begin the wash cycle once the door is closed. If your dishwasher does not have this feature, refer to your manual for instructions on how to start it.
You can also choose to delay the start of the wash cycle if needed, allowing you to set it to run at a more convenient time.
Step 7: Monitor and Refill as Needed
While your dishwasher is running, periodically check for any issues such as unusual noises or leaks. Although it is not common, a broken soap dispenser might cause minor disruptions. Ensure that the dishwasher is running smoothly and the detergent has dissolved properly during the wash cycle.
Additionally, once the cycle is complete, inspect the rinse aid level and refill it if necessary. Keeping the rinse aid dispenser full will ensure that your dishes dry more effectively and come out spotless. Regularly monitoring the performance of your dishwasher and refilling rinse aid or adjusting detergent use as needed will help maintain optimal cleaning results.
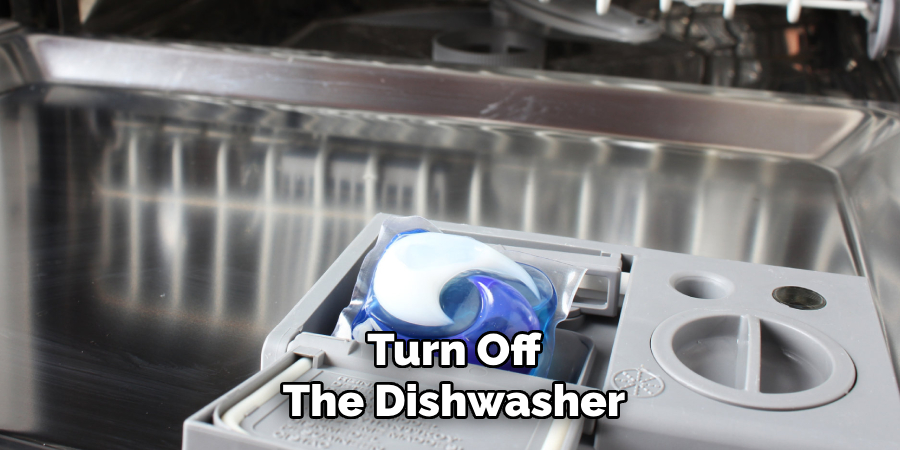
Step 8: Unload and Enjoy Clean Dishes!
Once the wash cycle is complete, turn off the dishwasher and wait for it to cool down before unloading. Remove each item carefully, inspecting them for any remaining food particles or residue. If you notice any dishes that are not fully clean, hand wash them or place them in the dishwasher again for an additional cycle.
For proper maintenance of your dishwasher and optimal cleaning results, continue regularly checking on the soap dispenser issue and addressing it as needed.
Following these steps on how to use dishwasher with broken soap dispenser will help you effectively use a dishwasher with a broken soap dispenser and still enjoy clean, spotless dishes. Remember to always refer to your dishwasher’s manual for specific instructions and recommendations.
Tips for Best Cleaning Performance
Achieving the best cleaning performance from your dishwasher requires proper usage and regular maintenance. Follow these tips to ensure consistently spotless results:
Pre-Rinse Lightly Soiled Items
While modern dishwashers are designed to handle some food residue, pre-rinsing lightly soiled dishes can prevent clogs and improve cleaning efficiency. Avoid over-rinsing, as detergents work better with some grease and food particles.
Do Not Overload
Overloading the dishwasher can prevent water and detergent from reaching all areas of the dishes, resulting in incomplete cleaning. Follow the manufacturer’s recommendations for loading capacity to ensure optimal performance.
Regularly Clean the Dishwasher
Periodically clean your dishwasher by running an empty cycle with distilled white vinegar or a specialized dishwasher cleaner. This helps remove any buildup or residue that may affect cleaning performance.
Check Water Temperature
Ensure that your water heater is set to at least 120°F (49°C) to effectively dissolve detergent and sanitize dishes. Check the temperature with a thermometer at the hot water tap closest to your dishwasher.
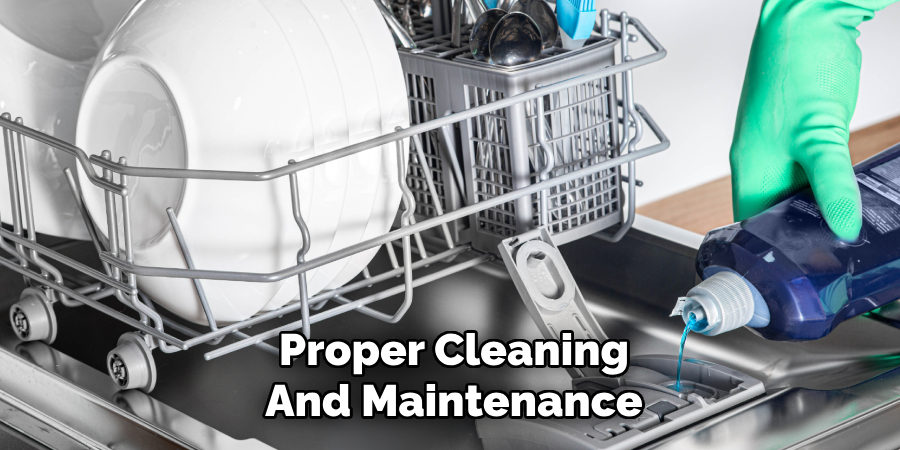
Cleaning and Maintenance Tips
Proper cleaning and maintenance of your dishwasher are essential to keep it running efficiently and prolong its life. Follow these tips to ensure your dishwasher stays in top condition:
Clean the Filter Regularly
Check and clean the dishwasher filter at least once a month to remove trapped food particles and debris. A clogged filter can reduce cleaning performance and cause unpleasant odors. Refer to your manual for instructions on removin
g and cleaning the filter.
Inspect the Spray Arms
Occasionally, remove and clean the spray arms to ensure they are not clogged with food particles. Use a toothpick or small brush to clear any debris from the spray arm holes.
Check for Leaks
Periodically check for leaks around your dishwasher, including under the door and at hose connections. If you notice any leaks, immediately address them to prevent damage to your appliance or home.
Regularly following these tips will help keep your dishwasher running efficiently and extend its lifespan. As always, refer to your manual for specific instructions on proper maintenance procedures.
Frequently Asked Questions
Q: Can I Still Use My Dishwasher With a Broken Soap Dispenser?
A: Yes, you can still use your dishwasher with a broken soap dispenser. Follow the steps outlined above on how to use a dishwasher with a broken soap dispenser for optimal cleaning results.
Q: How Can I Tell If My Dishwasher Filter Needs Cleaning?
A: Signs that your dishwasher filter needs cleaning include cloudy glasses, unpleasant odors, and visible food particles on dishes after a wash cycle. Regularly checking and cleaning the filter can improve cleaning performance and prevent these issues.
Q: What Should I Do If My Dishwasher is Leaking?
A: If you notice any leaks from your dishwasher, turn it off immediately and address the issue. Check for any loose or damaged connections and tighten or replace them as needed. If the issue persists, consult a professional for further assistance.
Q: Is it Necessary to Use Rinse Aid in the Dishwasher?
A: While it is not necessary, using rinse aid can improve the drying performance of your dishwasher and prevent water spots on dishes. Experiment with different amounts to find the right balance for optimal results in your specific appliance.
Conclusion
Using a dishwasher with a broken soap dispenser may seem challenging at first, but with the right approach and regular maintenance, you can still achieve clean and spotless dishes. By following the outlined steps and tips on how to use dishwasher with broken soap dispenser, you ensure your dishwasher operates efficiently while mitigating issues caused by the damaged dispenser.
Remember to maintain your appliance by cleaning filters, spray arms, and other critical components regularly, as this will help extend its lifespan and optimize performance. A well-maintained dishwasher will continue to be a reliable and time-saving tool in your kitchen, even with minor issues like a broken soap dispenser.
Professional Focus
Angela Ervin, a former interior designer turned blogger, specializes in kitchen design and renovations. Through her website, she blends her passion for cooking with design expertise, sharing practical and creative ideas. Known for balancing functionality and beauty, Angela’s insightful content has made her a trusted voice in home design and lifestyle.
About the Author
Angela Ervin, an experienced interior designer and blogger, combines her passion for kitchen renovations with storytelling. Living in Petersburg with her family, she enjoys cooking and testing her projects firsthand. Known for her humor and relatable style, Angela shares creative, functional design insights through her content, making her a trusted voice in home design.
Education History
University: Virginia Commonwealth University
Degree: Bachelor of Fine Arts (BFA) in Interior Design
- Angela’s education at VCU focused on mastering core interior design principles, including spatial planning, color theory, materials selection, and sustainable design practices.
- She gained hands-on experience through studio projects and collaborative design exercises, which honed her ability to create functional and aesthetically pleasing environments.
- Her coursework also emphasized problem-solving and practical applications of design, preparing her for real-world projects like her self-directed kitchen renovations.
- The program’s strong foundation in both technical skills and creative expression shaped Angela’s ability to seamlessly integrate form and function in her work.